



















Quick view
- The Golden Rules of Staggered Mushroom Shelves Arrangement
- 5 Staggered Mushroom Shelves Arrangements That Actually Work
- Spacing Math - Quick Reference Table
- What to Put on Each Shelf (Without Overthinking It)
- Weight Matters More Than You Think
- Common Mistakes in Staggered Mushroom Shelves Arrangements
- Room-by-Room Staggered Mushroom Shelves Ideas
- How to Plan Your Staggered Arrangement Before Drilling
- FAQ
- The Bottom Line
Shop this guide
Handcrafted Lamps for Modern Homes, made to order in solid wood.
 Christmas edit
Rustic Driftwood Floor Lamp – Handmade Solid Wood Standing Light for Home Décor
From $1,220.00
Christmas edit
Rustic Driftwood Floor Lamp – Handmade Solid Wood Standing Light for Home Décor
From $1,220.00
 Christmas edit
Driftwood Wall Sconce - Handcrafted Rustic Wooden Wall Lamp
From $650.00
Christmas edit
Driftwood Wall Sconce - Handcrafted Rustic Wooden Wall Lamp
From $650.00
 Christmas edit
Rustic Driftwood Floor Lamp with Shelves – Handmade Wooden Standing Light
From $2,350.0010% off at checkout
Christmas edit
Rustic Driftwood Floor Lamp with Shelves – Handmade Wooden Standing Light
From $2,350.0010% off at checkout
 Christmas edit
Twisted Vine Wooden Floor Lamp - Handcrafted Driftwood Standing Light With Leaf Shade
From $1,280.00
Christmas edit
Twisted Vine Wooden Floor Lamp - Handcrafted Driftwood Standing Light With Leaf Shade
From $1,280.00
 Christmas edit
S-Curve Wooden Floor Lamp - Driftwood Standing Light With Dual Glow Openings
From $1,480.00
Christmas edit
S-Curve Wooden Floor Lamp - Driftwood Standing Light With Dual Glow Openings
From $1,480.00
 Christmas edit
Dual Nursery Mushroom Floor Lamp with Gill Glow Caps
From $1,680.00
Christmas edit
Dual Nursery Mushroom Floor Lamp with Gill Glow Caps
From $1,680.00
Staggered Mushroom Shelves Ideas: How to Arrange Them So They Look Intentional
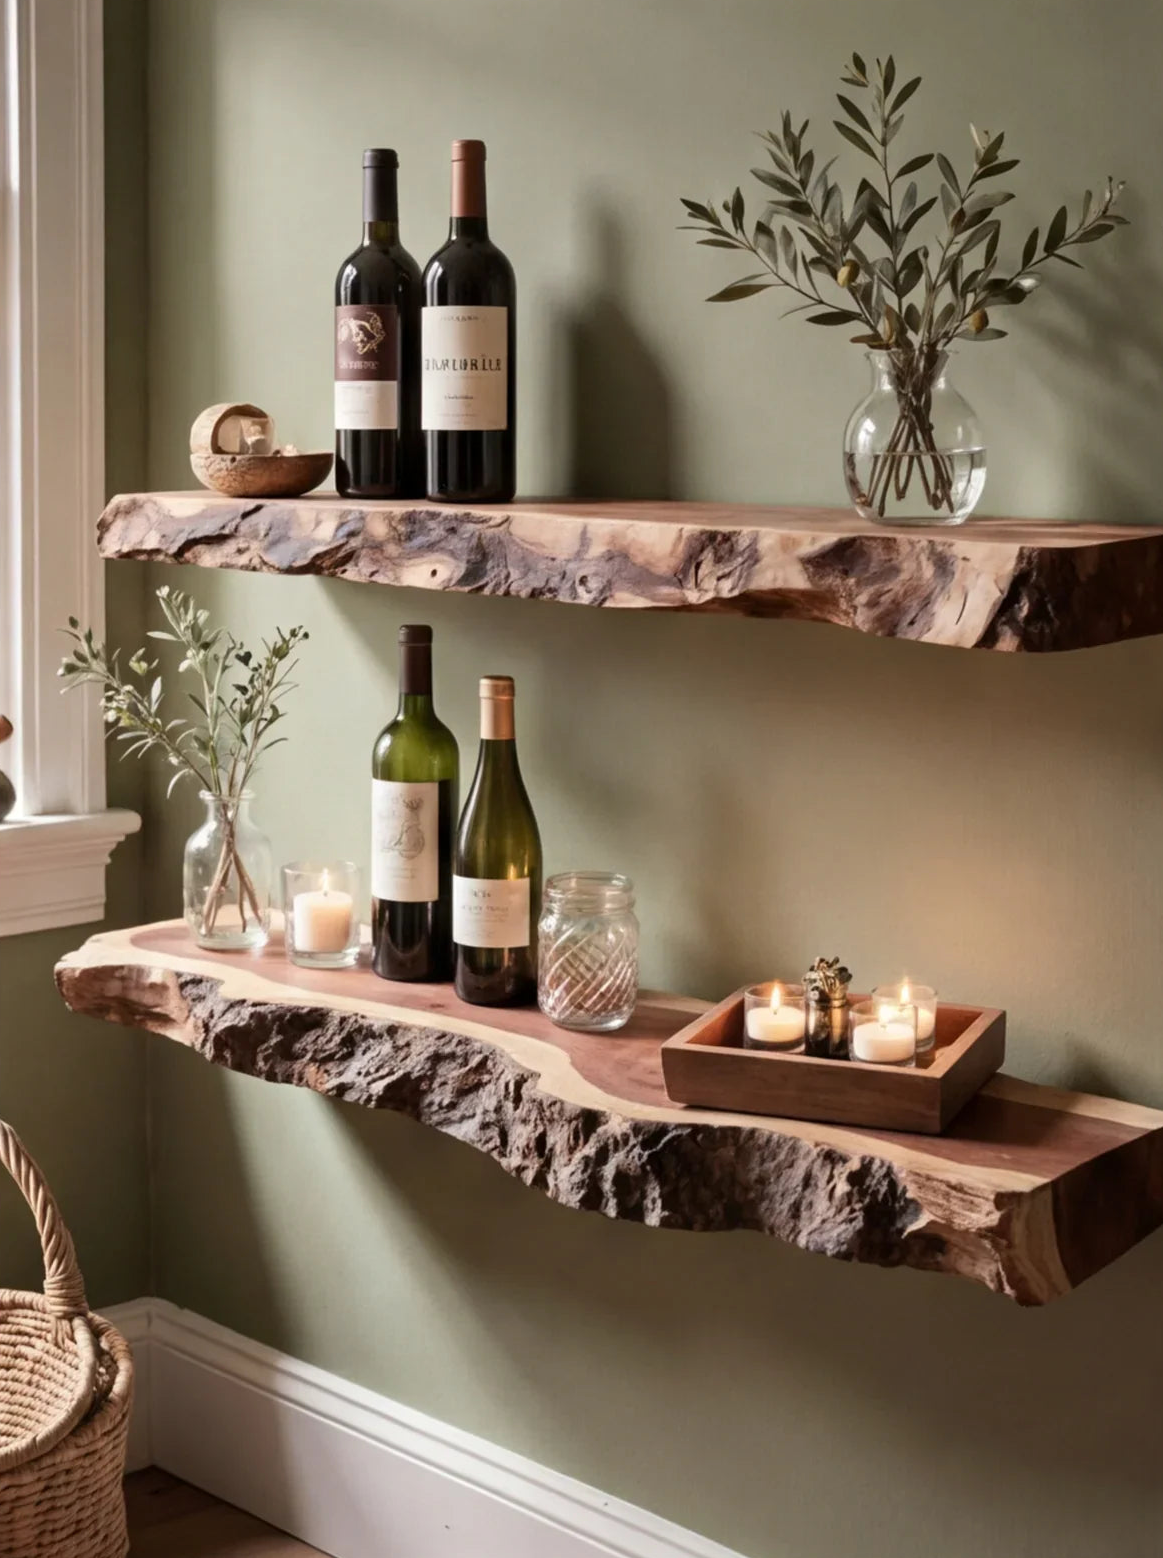
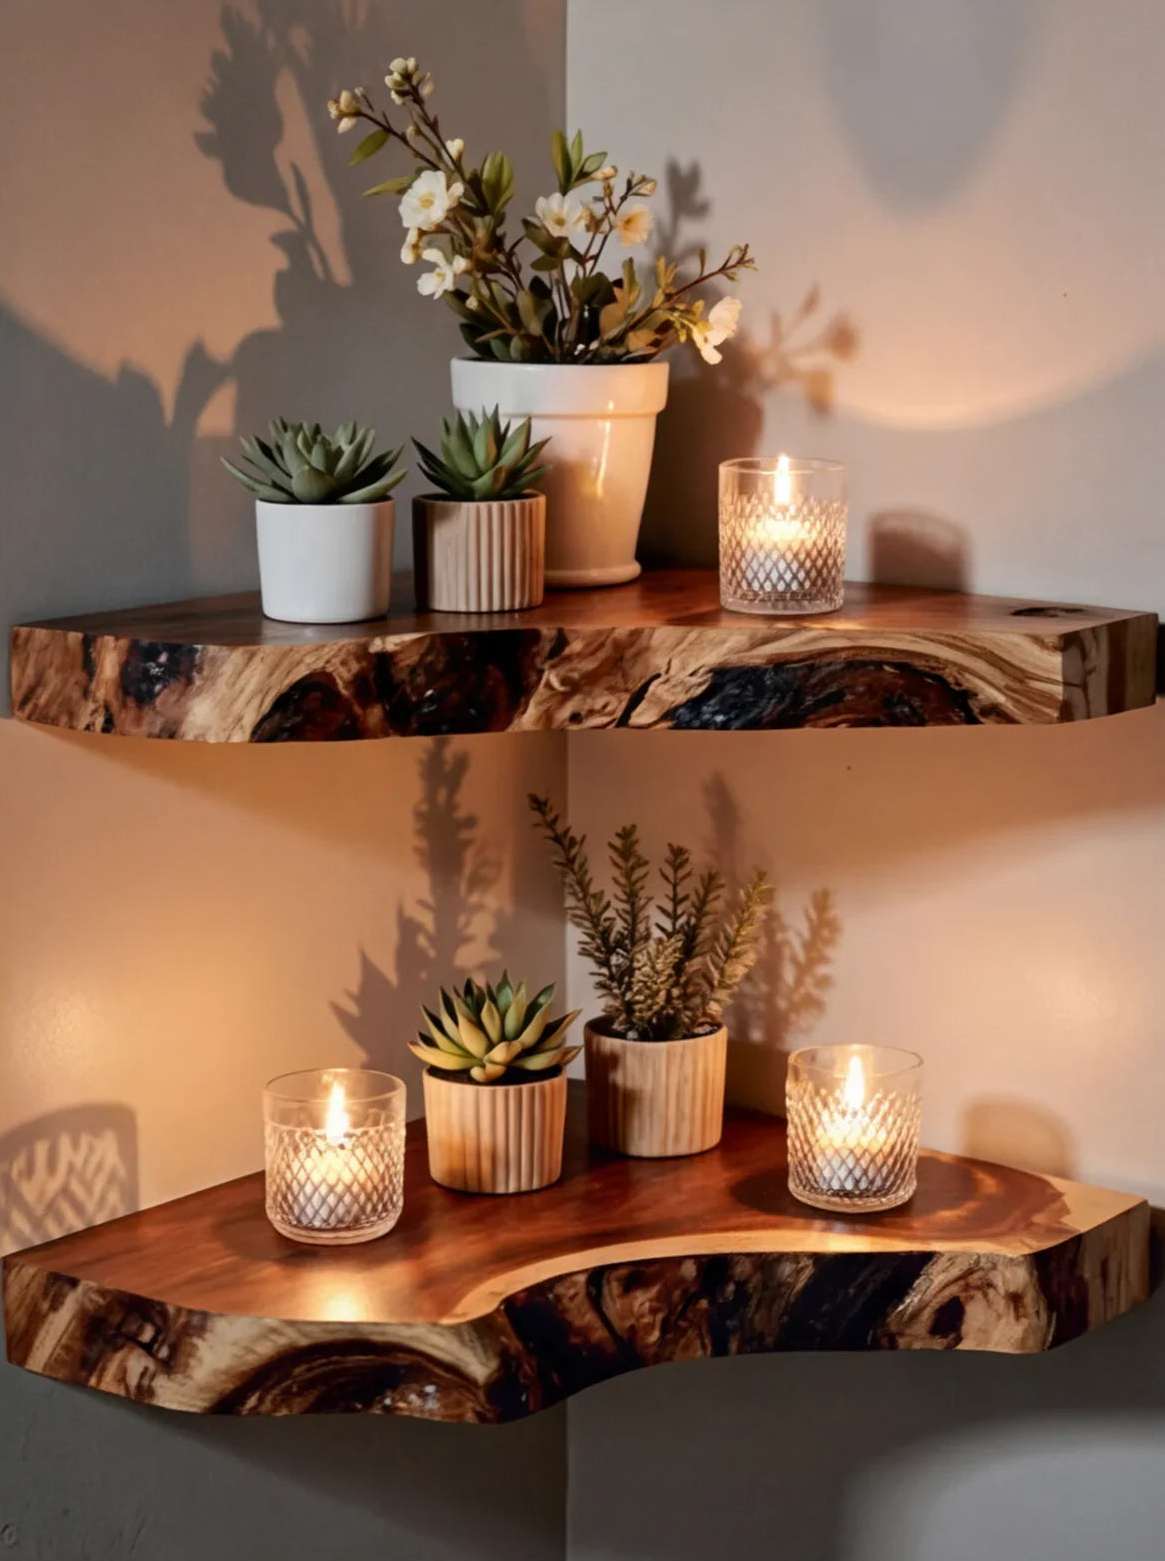
One mushroom shelf on a wall looks cute. Three mushroom shelves on a wall can look magical - or chaotic. The difference isn't the shelves. It's the arrangement.
Staggering mushroom shelves - varying their height, spacing, and what you put on each one - turns a collection of individual pieces into a cohesive wall display. It's the difference between "I put some shelves up" and "this wall looks like it belongs in a magazine."
Here's exactly how to do it. Not with vague advice like "play with the layout." With real numbers, real patterns, and real mistakes to avoid.

Modern Minimalist Mushroom Shelf Set
Ready to try one of the arrangements below? This set gives you multiple caps to stagger straight out of the box - hand-carved solid wood, sold as a matching set so the spacing and sizing already work together.
Shop Mushroom Floating ShelvesThe Golden Rules of Staggered Mushroom Shelves Arrangement
Three principles before you drill any holes. These aren't preferences - they're what make a staggered arrangement read as intentional rather than accidental.
Rule 1: Odd numbers tend to feel more natural, but even numbers work too
Three shelves create a natural rhythm - top, middle, bottom - that the eye follows effortlessly. Five shelves give you even more room to play with visual variety.
That said, four shelves work fine when your wall width demands it (two pairs on a wider wall, for instance). The "odd numbers are better" thing is a guideline, not a law. What matters most is that the spacing between them feels deliberate, not that the count is odd.
Rule 2: Minimum 6 inches between everything
Every gap - vertical, horizontal, shelf-to-shelf - should be at least 6 inches. Here's why:
- Less than 6" vertically: shelves compete visually. The caps overlap in your peripheral vision and the whole thing looks cramped.
- Less than 6" horizontally: adjacent shelves feel like they're crowding each other instead of complementing.
- 6 inches is your floor. Below that, the arrangement loses its staggered rhythm and starts looking like one cluttered mass.
There's no strict upper limit, but gaps wider than 20" make shelves feel disconnected - like separate installations on the same wall rather than parts of one display.
Rule 3: Mix cap sizes if you can
Pairing a large cap with medium and small creates a "colony" effect that mimics how real mushrooms grow on trees. A wall with three same-size mushroom shelves reads as a set. A wall with three different-size mushroom shelves reads as a landscape.
If you only have one size? That's fine - vary what you put on each shelf instead (we'll cover that below).

5 Staggered Mushroom Shelves Arrangements That Actually Work
Each of these patterns has a specific use case. Pick the one that matches your wall.
Arrangement 1: The Diagonal Cascade
Three shelves arranged in a diagonal line - top-left to bottom-right, or the reverse.
- Vertical gap between each shelf: 10–12"
- Horizontal gap between each shelf: 12–18"
- Total wall area needed: roughly 36" × 36"
- Number of shelves: 3
- Best for: wide blank walls, stairwell walls, living room feature walls
Visual effect: Like mushrooms cascading down a tree trunk. The eye naturally follows the diagonal line, which makes this arrangement feel dynamic without being busy.
Tip: The direction matters. A top-left to bottom-right cascade reads as "settling in" - grounded, calm. Bottom-left to top-right reads as "growing upward" - more energetic. Match the direction to the room's mood.

Arrangement 2: The Vertical Column
Three to four shelves stacked mostly vertically with a slight horizontal offset.
- Vertical gap between each shelf: 12–16"
- Horizontal offset between each shelf: 2–6" (just enough to break the straight line)
- Total wall area needed: roughly 12" wide × 48–64" tall
- Number of shelves: 3–4
- Best for: narrow walls, beside a reading chair, entryway columns, tight spaces
Visual effect: Like a single mushroom stalk with multiple caps sprouting at different heights. The slight horizontal offset keeps it from looking like a product catalog display.
Tip: Don't offset them all in the same direction. Alternate left-right-left for a more organic feel. Perfect zigzag looks calculated; imperfect zigzag looks natural.

Arrangement 3: The Cluster (Colony)
Three to four shelves grouped within a compact wall area - like mushrooms that grew together naturally.
- Vertical gap between each shelf: 6–12"
- Horizontal gap between each shelf: 6–12"
- Total wall area needed: roughly 24" × 36"
- Number of shelves: 3–4
- Best for: nursery walls, reading nooks, above a side table, smaller walls
Visual effect: Organic and intimate. This is the arrangement that most closely mimics how actual mushrooms grow in nature - clustered, overlapping slightly, growing from the same "source."
Tip: Keep the items on each shelf light and thematically related. A cluster with wildly different objects (a plant, a book, a candle, a framed photo) reads as scattered. A cluster with nature-themed items across all shelves reads as a vignette. For full styling examples, check our mushroom shelf styling guide.

Arrangement 4: The Asymmetrical Gallery
Three to five shelves scattered across a larger wall area - each one its own "frame" in a gallery-style composition.
- Vertical gap between each shelf: 8–20" (intentionally varied)
- Horizontal gap between each shelf: 12–24" (intentionally varied)
- Total wall area needed: roughly 48" × 60" or larger
- Number of shelves: 3–5
- Best for: large feature walls, above sofas, gallery wall alternative, spacious rooms
Visual effect: Artful and gallery-like. Each mushroom shelf functions like a picture frame - but instead of holding a photo, it holds a small curated display. The irregular spacing is what makes it feel like a gallery rather than a grid.
Tip: Sketch the layout on paper first. With this much wall space, it's easy to over-spread the shelves. You want them to feel connected enough to be one display, but spaced enough that each has room to breathe.

Arrangement 5: The Stairwell Descent
Four to six shelves following the angle of a staircase - each one positioned at the visual height of the next step.
- Vertical gap: follows the stair pitch (typically 6–10" equivalent per step)
- Horizontal gap: 6–12"
- Total wall area needed: depends on staircase length
- Number of shelves: 4–6
- Best for: stairwell walls (this one's made specifically for staircases)
Visual effect: Like mushrooms growing alongside the stair climb. Each shelf becomes a visual landmark as you walk up or down.
Tip: Keep items lightweight. Foot traffic on stairs creates subtle vibrations that can shift objects over time. Nothing tall or top-heavy on a stairwell shelf.
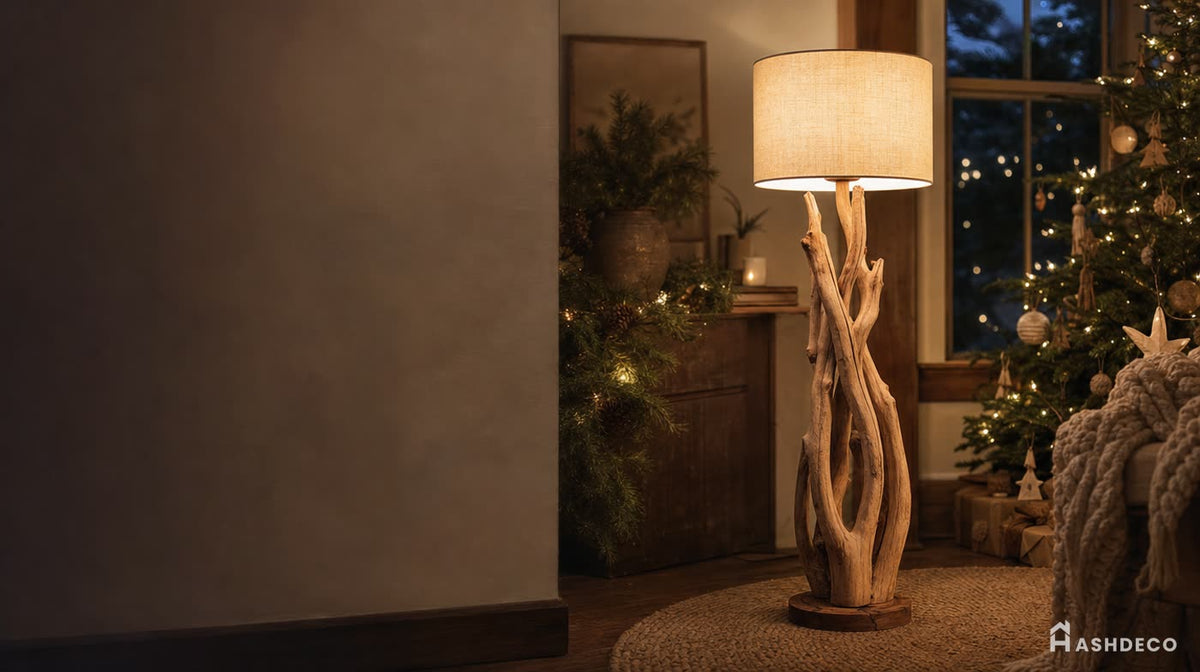


Spacing Math - Quick Reference Table
All minimums are 6". No exceptions below that.
| Arrangement | Shelves | Vertical gap | Horizontal gap | Wall area needed |
|---|---|---|---|---|
| Diagonal Cascade | 3 | 10–12" | 12–18" | ~36" × 36" |
| Vertical Column | 3–4 | 12–16" | 2–6" (slight offset) | ~12" × 48–64" |
| Cluster / Colony | 3–4 | 6–12" | 6–12" | ~24" × 36" |
| Asymmetrical Gallery | 3–5 | 8–20" (varies) | 12–24" (varies) | ~48" × 60"+ |
| Stairwell Descent | 4–6 | follows stair pitch | 6–12" | depends on staircase |
Why these ranges work:
- 6" minimum prevents visual crowding - the absolute floor for any gap
- 12–16" vertical gives each shelf its own "zone" without disconnecting it from the group
- 12–24" horizontal keeps shelves visually related without overlapping
- Above 20" vertical starts to feel like separate installations - fine for gallery arrangements on large walls, too spread out for clusters
What to Put on Each Shelf (Without Overthinking It)
The staggered arrangement only works if each shelf has something worth looking at - but not so much that it looks cluttered.
The Formula: 1 anchor + 1–2 accents = clean display
Each shelf gets one "anchor" item (the thing you notice first) and one or two "accent" items (smaller pieces that complement the anchor).
Anchor ideas by shelf position:
| Shelf position | Anchor idea | Accent ideas |
|---|---|---|
| Top shelf | Small trailing plant | Candle, tiny figurine |
| Middle shelf | Stack of 2–3 books | Small framed photo, ceramic piece |
| Bottom shelf | Larger plant or decorative bowl | Bookend, small sculpture |
Pro tip: vary the object types across shelves. Don't put a plant on every shelf - it reads as repetitive. Plant on top, books in middle, bowl on bottom = visual rhythm. The eye moves from one shelf to the next because each one offers something slightly different.
For complete step-by-step styling setups (minimalist, woodland cluster, and mixed shelf looks), see our 3 mushroom shelf looks in under 10 minutes guide.

Don't miss
These pieces qualify for 10% off orders over $2,000. Applied automatically at checkout.
10% off
Rustic Driftwood Floor Lamp with Shelves – Handmade Wooden Standing Light
From $2,350.00
10% off at checkout
 10% off
Rustic Driftwood Floor Lamp with Side Table – Solid Wood Standing Light with Rattan Shade
From $2,350.00
10% off at checkout
10% off
Rustic Driftwood Floor Lamp with Side Table – Solid Wood Standing Light with Rattan Shade
From $2,350.00
10% off at checkout
 10% off
Authentic Hand-Carved Solid Wood Twisted Floor Lamp - Sculptural Timber Column with Fabric Shade
From $2,280.00
10% off at checkout
10% off
Authentic Hand-Carved Solid Wood Twisted Floor Lamp - Sculptural Timber Column with Fabric Shade
From $2,280.00
10% off at checkout
 10% off
Authentic Hand-Carved Solid Wood Abstract Floor Lamp - Sculptural Biomorphic Accent Light
From $2,280.00
10% off at checkout
10% off
Authentic Hand-Carved Solid Wood Abstract Floor Lamp - Sculptural Biomorphic Accent Light
From $2,280.00
10% off at checkout
Weight Matters More Than You Think
When you stagger shelves across a wall, the weight on each shelf matters - especially on lower shelves where you naturally tend to put heavier items.
Quick reference (from our mushroom shelf weight capacity guide):
- Single cap shelf: 8–15 lbs
- Per cap in a cluster: 5–10 lbs each
- Tree bookshelf (per branch): 12–18 lbs
Practical advice: put heavier items on lower shelves. Not just because it's safer (though it is), but because it's visually more grounded. A heavy decorative bowl on the bottom shelf and a light candle on the top shelf feels right. Reverse it, and the display feels top-heavy.
Also: if you're mounting multiple staggered shelves, each one needs its own stud hit or a shared horizontal cleat. Don't mount three 10-lb-loaded shelves into drywall with plastic anchors. That's 30 lbs of stuff suspended on gypsum.
Common Mistakes in Staggered Mushroom Shelves Arrangements
Mistake 1: Perfectly equal spacing
Three shelves exactly 12 inches apart, horizontally aligned, looks like a product catalog - not a natural display. Intentional irregularity looks better. Vary the gaps slightly: 10", 13", 11". The eye reads this as "organic" rather than "measured."
Mistake 2: Same object on every shelf
A plant on all three shelves, a candle on all three shelves, a book on all three shelves - defeats the purpose of having multiple shelves. Each shelf should tell a slightly different part of the story.
Mistake 3: Ignoring weight capacity
We covered this above, but it bears repeating: heavier items belong on lower shelves, and don't exceed the per-shelf limit. See the weight capacity guide for specific numbers by shelf type and mounting method.
Mistake 4: Starting too high or too low
The top shelf shouldn't be above eye level (roughly 60–65" from the floor for most people) - it's hard to see, hard to style, and easy to forget about. The bottom shelf shouldn't be below waist level (roughly 30–36" from the floor) - it looks accidental and is hard to reach.
Mistake 5: Not accounting for wall studs
Staggered shelves need individual stud hits or a horizontal cleat. If you plan a beautiful diagonal cascade and none of the three mounting points line up with studs, you're either drilling into drywall (risky) or re-planning the arrangement (better). Find the studs before you fall in love with a layout.

Room-by-Room Staggered Mushroom Shelves Ideas
Living Room
Arrangement: Diagonal cascade on a wide blank wall above a sofa or console table.
Setup: 3 shelves. Small trailing pothos (top), stack of 2 art books + candle (middle), ceramic bowl with keys or small decor (bottom).
Keep it sophisticated - this isn't a nursery. Neutral-toned objects, natural materials, nothing overtly whimsical unless that's your room's overall style. For more on keeping mushroom decor from looking childish, see our sophisticated styling guide.
Reading Nook
Arrangement: Vertical column beside the reading chair.
Setup: 3–4 shelves. Current book or two on the lower shelf, small reading candle on the mid shelf, small framed quote or art piece on top.
Keep each shelf within arm's reach of the chair. The whole point is functional display - books you're actually reading, candles you actually light.
Nursery / Kids Room
Arrangement: Cluster at child-safe height.
Setup: 3–4 shelves. Board books on the lower shelves (within reach), small stuffed animal or night light on the mid shelf, decorative mobile or framed name art on top.
Higher shelves for decor, lower shelves for items the child can reach. For detailed sizing and safety guidance, see our mushroom shelf kids room guide.
Entryway / Hallway
Arrangement: Asymmetrical gallery on a narrow hall wall.
Setup: 3 shelves. Keys/bowl on the bottom shelf, small plant on the mid shelf, framed family photo or art on top.
Functional + decorative - the entryway shelf should serve a purpose (keys, mail) while looking good. Don't sacrifice function for aesthetics here.
Stairwell
Arrangement: Stairwell descent following the stair angle.
Setup: 4–6 shelves. Lightweight items only - small framed photos, tiny plants, light decorative objects. Nothing heavy or top-heavy.
Foot traffic creates vibrations. Over time, heavy or unbalanced items on stairwell shelves can shift or fall. Keep it light.
Bedroom
Arrangement: Small cluster above the nightstand or dresser.
Setup: 2–3 shelves. Candle or small lamp on the bottom shelf, small plant on the mid shelf, framed photo or jewelry dish on top.
Keep it calm and minimal. The bedroom is a rest space - the shelves should add warmth without adding visual noise.

How to Plan Your Staggered Arrangement Before Drilling
This takes 15 minutes and saves you from the most expensive mistake in wall-mounted decor: drilling holes in the wrong place.
Step 1: Find the studs. Use a stud finder. Mark each stud location on the wall with a small piece of painter's tape. This is your structural constraint - everything else works around it.
Step 2: Pick your arrangement type. Cascade, column, cluster, gallery, or stairwell. Match it to your wall size and the room's purpose.
Step 3: Cut cardboard templates. Trace each mushroom shelf's cap onto cardboard and cut it out. If your shelf has a 10" cap, cut a 10" circle. This gives you a physical representation of what the shelf will look like on the wall.
Step 4: Tape the templates to the wall. Use painter's tape. Arrange them in your chosen pattern, starting with the shelf that must hit a stud and working outward from there.
Step 5: Step back and live with it. Don't drill immediately. Walk out of the room, come back in 10 minutes later. Look at the templates from different angles. Does the spacing feel right? Does the top shelf feel too high? Does the cluster feel too tight?
Step 6: Adjust the templates. Move them around until the arrangement feels natural - not measured, not calculated, just right. If a template doesn't line up with a stud, either shift it or plan a horizontal cleat.
Step 7: Mark and drill. Once you're happy, mark the mounting points through the templates, remove the templates, and drill. The cardboard step is what separates "I hope this looks good" from "I know this looks good."
FAQ
How many mushroom shelves should I put on one wall?
There's no hard limit. Three is the sweet spot for most walls. Five works on larger feature walls. Six or more works for stairwells or full-wall gallery arrangements. The real constraint is your wall space and stud locations - not the number of shelves.
How far apart should staggered mushroom shelves be?
Minimum 6 inches between any two shelves - vertically or horizontally. Below 6", they look cramped and compete visually. For a clean staggered look, aim for 10–16" vertical gaps and 12–18" horizontal gaps. On large walls, you can stretch this to 20"+ vertically for a more gallery-like feel.
Can I mix different mushroom shelf styles on the same wall?
Yes - and it often looks better than using all the same style. Pairing a single cap with a multi-cap cluster or a tree-style shelf creates visual variety that mimics natural growth patterns. Just make sure the wood tones and finishes are compatible (or intentionally contrasting).
Should staggered mushroom shelves be the same size or different sizes?
Different sizes look more organic and natural - like a real mushroom colony. Same sizes look more curated and symmetrical. Both work. Different sizes give you more visual interest; same sizes give you a cleaner, more uniform look. Match the choice to the room's overall aesthetic.
How do I stagger mushroom shelves on a narrow wall?
Use the vertical column arrangement. Stack 3–4 shelves with 12–16" vertical gaps and only 2–6" horizontal offset. This works on walls as narrow as 12" wide. The slight horizontal offset keeps the arrangement from looking like a product display while staying within the narrow footprint.
Can I use staggered mushroom shelves in a bathroom?
Yes, but with caveats. Bathrooms generate humidity, which affects wood over time. Use solid wood shelves with a good natural oil finish (avoid MDF entirely in bathrooms). Keep plants minimal or use faux plants to reduce moisture. And make sure your mounting is solid - bathroom walls are often tile over drywall, which makes stud-finding trickier.
The Bottom Line
Staggering mushroom shelves is about creating visual rhythm, not just filling wall space. The arrangement should feel natural - like the shelves grew there - not calculated like a grid.
Start with the 6" minimum rule. Pick a pattern that matches your wall. Vary what you put on each shelf. Find the studs first, drill second. And if you're unsure, use cardboard templates - they're free, they're reusable, and they save you from permanent mistakes.
Get the arrangement right and a wall of mushroom shelves becomes the most interesting thing in the room. Get it wrong and it's just a bunch of shelves with stuff on them. The difference is all in the spacing.
Ready to build your staggered mushroom shelf display? Browse our full mushroom floating shelf collection - every piece is hand-carved from solid wood by Vietnamese artisans. For styling inspiration, see 3 mushroom shelf looks in under 10 minutes, our guide on keeping mushroom decor sophisticated, and the full mushroom shelf weight capacity breakdown. Want more mushroom decor ideas? Check our general mushroom decor guide and our mushroom wall shelf buying guide.