






























Quick view
- What Makes Floating Vanity Uniquely Vulnerable in Wet Rooms
- Material Breakdown: What Works, What Doesn't
- Solid Wood Floating Vanities: The Deep Dive
- MDF Floating Vanities in Wet Rooms: Honest Assessment
- What to Look For When Buying a Floating Vanity for a Wet Room
- Installation Mistakes That Defeat Good Materials
- Care and Maintenance for Floating Vanities in Wet Rooms
- Frequently Asked Questions
- Final Thought
Shop this guide
Handcrafted Bathroom Vanities, made to order in solid wood.
 Curved Floating Solid Wood Bathroom Vanity Sculptural Wall Mounted Washstand
From $1,843.00
Curved Floating Solid Wood Bathroom Vanity Sculptural Wall Mounted Washstand
From $1,843.00
 Curved Arch Solid Wood Bathroom Vanity Freestanding Four Drawer Washstand
From $2,365.0010% off at checkout
Curved Arch Solid Wood Bathroom Vanity Freestanding Four Drawer Washstand
From $2,365.0010% off at checkout
 Sculptural Tree Trunk Solid Wood Bathroom Vanity Organic Live Edge Storage Console
From $2,154.0010% off at checkout
Sculptural Tree Trunk Solid Wood Bathroom Vanity Organic Live Edge Storage Console
From $2,154.0010% off at checkout
 Sculpted Branch Pedestal Solid Wood Bathroom Vanity Organic Live Edge Washstand
From $1,432.00
Sculpted Branch Pedestal Solid Wood Bathroom Vanity Organic Live Edge Washstand
From $1,432.00
 Floating Live Edge Solid Wood Bathroom Vanity Wall Mounted Storage Cabinet
From $2,316.0010% off at checkout
Floating Live Edge Solid Wood Bathroom Vanity Wall Mounted Storage Cabinet
From $2,316.0010% off at checkout
 Sculptural Hand-Carved Tree Solid Wood Bathroom Vanity & Sprawling Branch Wall Unit
$3,265.0010% off at checkout
Sculptural Hand-Carved Tree Solid Wood Bathroom Vanity & Sprawling Branch Wall Unit
$3,265.0010% off at checkout
Can a Floating Vanity Survive a Wet Room? The Honest Answer
A floating bathroom vanity looks stunning in a showroom photo - minimalist lines, visible floor space underneath, that effortless modern aesthetic. But put that same vanity in a wet room with the wrong material, and twelve months later you're looking at swollen edges, peeling finish, and a unit that's slowly sagging off the wall.
Bathrooms regularly hit 80%+ humidity during hot showers. A wet room - where the shower area has no glass partition - means that humidity and splash hit every surface, including the underside of your floating vanity. Unlike a traditional vanity that rests on the floor and has a protected base, a floating vanity is exposed to moisture from the front, back, bottom, and all edges simultaneously.
That's why material choice isn't a style preference for floating vanities in wet rooms. It's the single factor that determines whether your vanity survives five years intact or needs replacing in two.
This guide walks through why specific materials succeed or fail in wet room conditions, what to look for when buying, and how installation and maintenance choices can protect - or defeat - even the best material.

What Makes Floating Vanity Uniquely Vulnerable in Wet Rooms
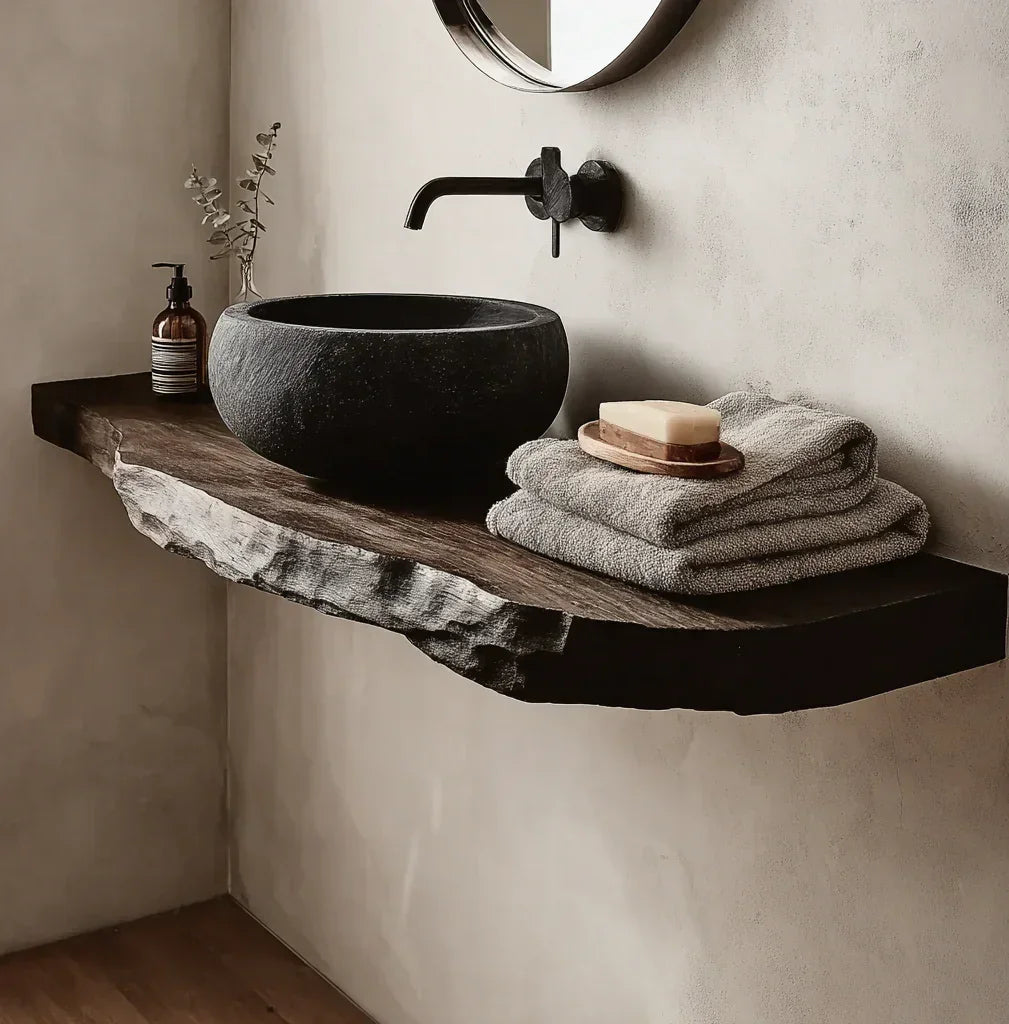
A traditional vanity sits on the floor. That base blocks moisture from below, and the back panel rests against the wall with minimal exposure. A floating vanity mounts directly to wall studs with nothing underneath. That gap - usually 4 to 8 inches of visible floor - is exactly what makes them look so good. It's also what makes them so vulnerable.
Every side is exposed. Steam from the shower rises and condenses on the underside of the vanity. Splash from the sink hits the front and bottom edges. Humidity seeps into any unsealed surface - including the back panel, which on most floating vanities is thin, unfinished plywood or MDF.
Wall-mount multiplies moisture exposure. Because the unit hangs rather than sits, the underside becomes a condensation surface. Water droplets form on the bottom during every shower, then pool at the edges. Over time, that constant wet-dry cycle breaks down finishes and swells composite materials.
Wet rooms amplify everything. Without a glass partition, every shower sends humidity across the entire bathroom. The vanity doesn't sit in a dry corner - it sits in the splash zone.
The good news: the right material handles this environment without issue. The bad news: choosing wrong means the failure is structural, not cosmetic. A swollen traditional vanity still sits on the floor. A swollen floating vanity is a safety risk.

Material Breakdown: What Works, What Doesn't
| Material | Moisture Resistance | Durability | Best For |
|---|---|---|---|
| Solid Wood (Teak, White Oak, Walnut) | High | Excellent | Primary wet room vanity |
| Marine-Grade Plywood | High | Very Good | Budget-friendly alternative |
| MDF / Particle Board | Low | Poor | Powder rooms only (no shower) |
| PVC / Vinyl-Wrapped | Medium-High | Good | High-humidity climates |
| Bamboo | Medium | Good | Eco-conscious buyers |
A note on this table: these assessments are based on material science - how each material's cellular structure responds to moisture - not on subjective ratings. You'll see the reasoning for each below.
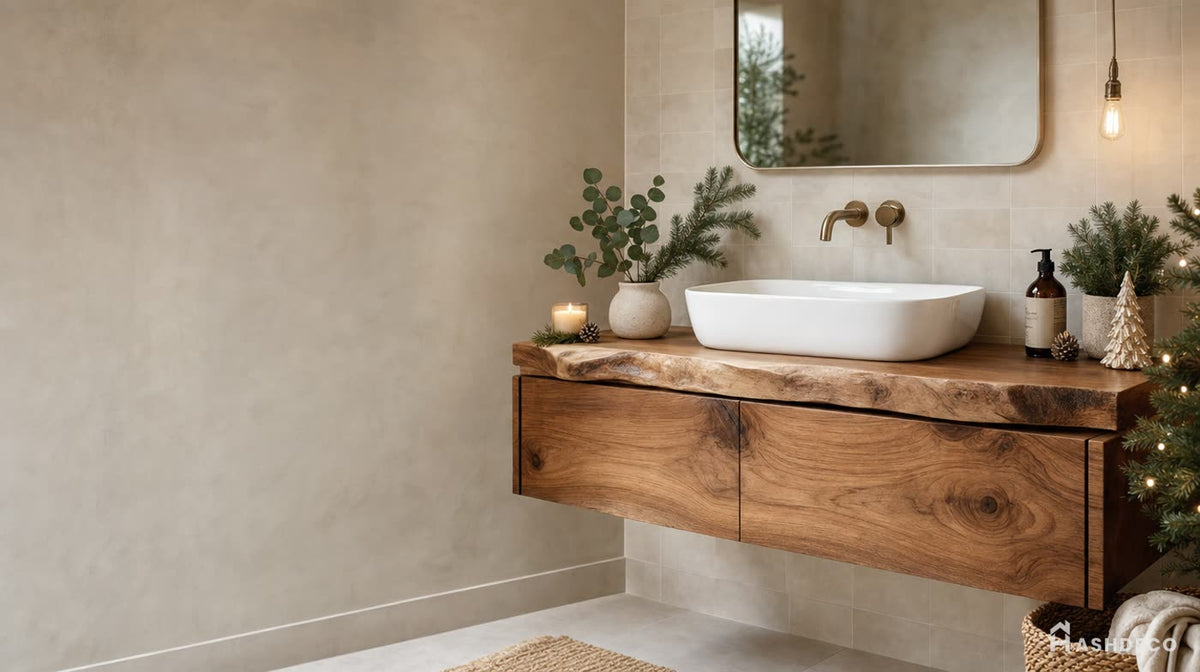


Solid Wood Floating Vanities: The Deep Dive
Solid wood is the most recommended material for floating vanities in wet rooms, and the reasons are structural, not aesthetic.
Why Solid Wood Handles Wet Rooms
Wood has a cellular structure. Each cell contains lignin, a natural polymer that gives wood its rigidity and allows it to absorb and release moisture without permanent deformation. The USDA Wood Handbook documents this property extensively: solid wood swells when it absorbs moisture and shrinks as it dries, but the movement is uniform and reversible.
Compare this to MDF, where fibers are held together by resin adhesive. Once moisture breaks that adhesive bond, the fibers swell individually and stay swollen. There's no "moving back."
For a wall-mounted vanity, this matters because:
Structural integrity under load. A solid wood vanity bracket bears the weight of the vanity, countertop, sink, and contents. If the wood swells unevenly, the bracket connection can shift. Solid wood's uniform movement keeps those connections stable.
No sag over time. The underside of a floating vanity is unsupported. Materials that weaken with moisture exposure - like MDF whose fibers separate - will sag. Solid wood maintains its structural strength even after years of humidity cycles.
Sealable and repairable. Scratch a solid wood vanity and you can sand, restain, and reseal it. Scratch an MDF vanity and you've exposed raw fiberboard that immediately starts absorbing moisture.
Best Wood Species for Bathroom Floating Vanities
Teak. The gold standard for wet environments. Teak contains natural oils that repel water - it's the same wood used for boat decks and outdoor furniture. Unsealed teak still resists moisture better than sealed softer woods. The downside: price and limited supply.
White Oak. Tight grain structure means fewer pathways for moisture to penetrate. White oak (not red oak - red oak has open pores) is the second-best choice after teak and significantly more affordable. It takes stain and finish beautifully.
Walnut. Dense and stable, with moderate moisture resistance. Walnut is darker and richer in appearance, making it popular for modern and transitional bathroom designs. It needs a good finish in a wet room, but once sealed, it performs well.
Acacia. Dense, affordable, and increasingly popular for handcrafted vanities. Acacia has natural oils similar to teak (though less concentrated) and takes sealant well. The grain variation adds character.
Avoid in wet rooms: Pine, fir, and other softwoods. Their open cellular structure absorbs moisture quickly and they dent easily. Even with a good finish, the risk of water entering through a scratch is too high in a wet room.

The Finish Matters as Much as the Wood
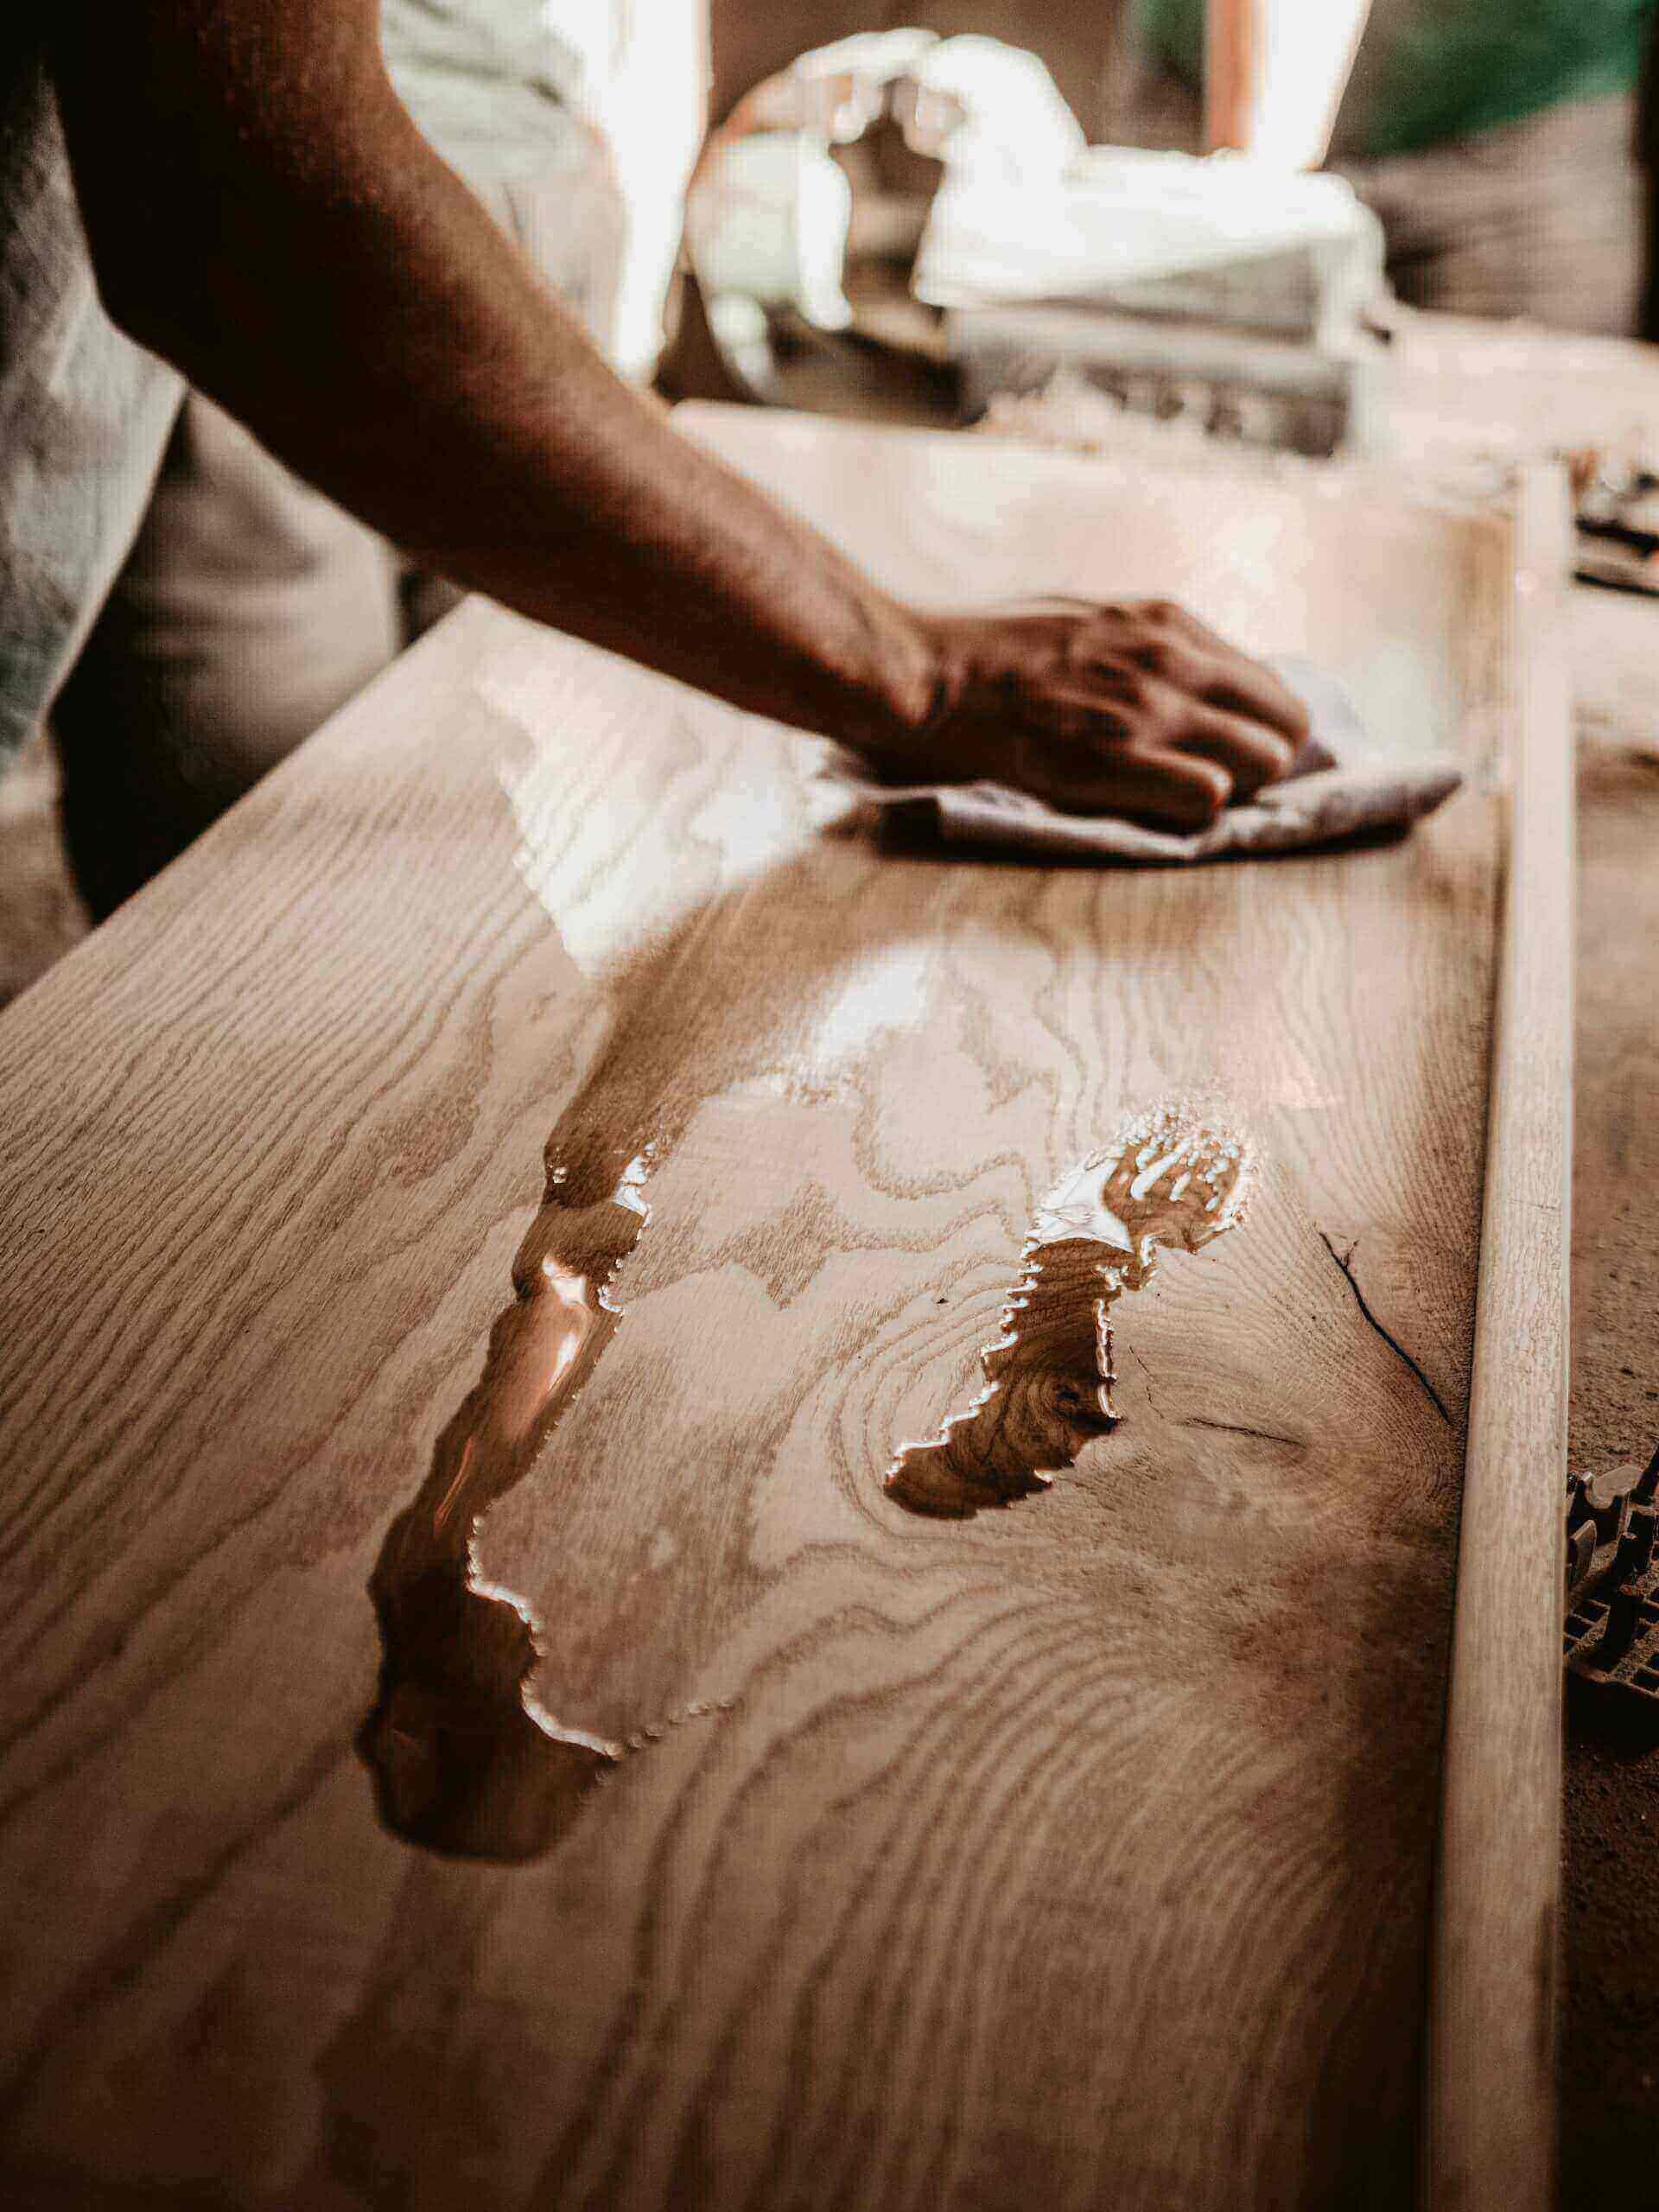
A common mistake: assuming solid wood doesn't need sealing in a bathroom. It absolutely does. The wood's natural resistance buys time, but in a wet room with daily humidity exposure, a proper finish is non-negotiable.
Oil-based polyurethane outperforms water-based polyurethane in bathrooms. It creates a harder, more moisture-resistant film. The trade-off: longer dry time and stronger odor during application. For a wet room, the extra protection is worth it.
Marine-grade varnish is the premium option. It's formulated for constant water exposure (literally, boats) and will outlast any standard bathroom finish. It's overkill for most bathrooms but reasonable for a true wet room.
Re-seal schedule: every 2 to 3 years for oil-based polyurethane, every 1 to 2 years for water-based, every 3 to 5 years for marine varnish. In a high-use wet room, check annually and re-seal at the first sign of wear.
For a deeper dive into why wood outperforms engineered materials in humid environments, see our solid wood vs MDF bathroom vanity guide.

MDF Floating Vanities in Wet Rooms: Honest Assessment
MDF - Medium-Density Fiberboard is made from wood fibers bonded with wax and resin under heat and pressure. It's smooth, consistent, and inexpensive. Furniture manufacturers love it. In a wet room, it's the wrong choice. Here's why.
How MDF Fails in Moisture
Months 1–6. Everything looks perfect. The painted surface is smooth, the doors close evenly. There's no visible problem.
Months 6–18. The bottom edge of the vanity - closest to the floor where splash lands and steam condenses - starts feeling rough. The paint bubbles in one or two spots, usually along the bottom edge or around the sink cutout.
Months 18–30. Door edges swell visibly. Doors that used to close flush now catch. The back panel (most MDF vanities use unfinished MDF for the back) has warped. Hinge screws start loosening because the material around them has expanded and lost density.
Month 30 and beyond. The finish is peeling in multiple spots. At least one hinge has pulled free. The bottom of the vanity has a visible sag. The vanity still "works" but it looks worn, and fixing it means replacing it.
Peer-reviewed research published via PubMed Central confirms that MDF thickness swell during moisture absorption consistently exceeds shrinkage during drying - meaning the damage is cumulative and permanent.
When MDF Is Acceptable
MDF isn't inherently bad. It's bad for wet rooms. Here's where it works fine:
- Powder rooms (half baths) with no shower or tub. Humidity stays low because there's no hot water source.
- Guest bathrooms used infrequently. Limited exposure means limited damage.
- Ensuite bathrooms with a separate, enclosed shower and good ventilation.
If you're set on MDF in a bathroom with a shower, take these precautions:
- Use marine-grade MDF (more moisture-resistant resin) if available
- Seal ALL edges before installation, including the back panel and any cutouts
- Add ventilation - exhaust fan rated for the bathroom size, run during and after every shower
- Expect to replace the vanity within 3 to 5 years
Don't miss
These pieces qualify for 10% off orders over $2,000. Applied automatically at checkout.
10% off
Curved Arch Solid Wood Bathroom Vanity Freestanding Four Drawer Washstand
From $2,365.00
10% off at checkout
10% off
Sculptural Tree Trunk Solid Wood Bathroom Vanity Organic Live Edge Storage Console
From $2,154.00
10% off at checkout
10% off
Floating Live Edge Solid Wood Bathroom Vanity Wall Mounted Storage Cabinet
From $2,316.00
10% off at checkout
10% off
Sculptural Hand-Carved Tree Solid Wood Bathroom Vanity & Sprawling Branch Wall Unit
$3,265.00
10% off at checkout
What to Look For When Buying a Floating Vanity for a Wet Room
Use this checklist when evaluating any floating vanity for a wet room installation:
Material first. Solid hardwood or marine-grade plywood. If the product description says "engineered wood" without specifying the core material, assume it's MDF and ask the seller directly.
Finish on all sides. The vanity should be sealed on the front, back, bottom, top, and all edges. Many manufacturers seal the visible surfaces and leave the back and bottom unfinished. In a wet room, that's a failure point. Ask the seller or inspect in person.
Stainless steel brackets and hardware. Standard steel brackets rust in high humidity. Rust weakens the bracket and stains the wall. Stainless steel or powder-coated brackets are essential. The wall-mounting principles for floating installations apply equally to vanities: the hardware must survive the environment.
Weight capacity and stud requirements. A solid wood floating vanity with a stone countertop and undermount sink weighs 150 to 250 pounds. The bracket system and wall studs need to support that weight. Verify the bracket rating and confirm your wall has appropriate studs or blocking.
Ventilation clearance. Leave at least a 1/4-inch gap between the back of the vanity and the wall. This allows air circulation behind the unit and prevents moisture from being trapped between the vanity back panel and the bathroom wall.
Drainage design. The bottom of the vanity should not create a flat surface where water can pool. Look for a slight slope or raised edge design on the underside. If the bottom is perfectly flat, water from condensation will sit there indefinitely.
Size considerations. Common floating vanity widths range from 24 inches for powder rooms to 60 to 72 inches for master bathrooms. Depth is typically 18 to 22 inches. In a wet room, err on the side of a narrower vanity - less surface area means less exposure.
For styling inspiration on how floating vanities integrate with bathroom design, check out our floating shelf styling ideas - the same principles of visual weight and negative space apply.
Installation Mistakes That Defeat Good Materials
You can buy the best solid wood floating vanity on the market and still have it fail in a wet room if installation goes wrong. Here are the most common mistakes:
Not sealing cut edges. When the installer cuts the sink opening or trims the vanity to fit, the exposed raw wood or MDF edge is unsealed. In a wet room, that single unprotected edge becomes a moisture entry point. Seal every cut edge immediately after cutting.
Skipping the vapor barrier. Behind the vanity, between the back panel and the wall, moisture gets trapped. A thin vapor barrier (polyethylene sheet) prevents wall moisture from migrating into the vanity back panel. It costs almost nothing and takes two minutes to install.
Using the wrong brackets. Standard steel brackets, even painted ones, will rust in a wet room. Rust weakens the metal and creates stains that run down the wall. Use stainless steel brackets designed for high-humidity environments.
Not checking wall studs. A floating vanity's weight must be anchored into wall studs - not just drywall. If the bracket holes don't align with studs, you need to add blocking (extra lumber behind the drywall). Mounting into drywall alone is a failure waiting to happen.
The same floating shelf installation principles that apply to decorative shelves apply here - except the stakes are higher when the shelf holds a 200-pound vanity over someone's head. See our floating shelf installation principles guide for the full step-by-step.
Ignoring plumbing clearance. The drain pipe and water supply lines either run visible underneath the vanity or route inside the wall. If they're visible, ensure they're not creating condensation that drips onto the vanity bottom. If they're in-wall, make sure the plumber sealed the wall penetrations properly - gaps let moisture into the wall cavity behind the vanity.

Care and Maintenance for Floating Vanities in Wet Rooms
Even the best material needs maintenance in a wet room. Here's what to do:
Daily or after use: Wipe down the vanity surface and edges with a dry or slightly damp cloth after showering. This removes standing moisture before it can penetrate the finish.
Weekly: Check the underside of the vanity for water droplets or condensation pooling. If you see consistent pooling, improve ventilation or consider adding a small dehumidifier.
Monthly: Inspect the bracket area and the bottom edges of the vanity for early signs of moisture damage - discoloration, slight swelling, finish bubbling. Catching problems early means a spot repair instead of a full replacement.
Every 6 to 12 months: Check bracket tightness. Humidity cycles can cause wood movement that loosens screws over time. Tighten any that feel loose - don't wait for them to fail.
Re-seal on schedule: Every 2 to 3 years for oil-based polyurethane, every 1 to 2 years for water-based, every 3 to 5 years for marine varnish. In a high-use wet room, inspect annually and re-seal at the first sign of finish wear.
Warning signs that need immediate attention:
- Discoloration or dark spots on the bottom edge
- Doors that no longer close flush
- Bracket loosening that tightening doesn't fix
- A visible sag in the underside of the vanity
Frequently Asked Questions
Can I Put a Solid Wood Floating Vanity in a Full Wet Room?
Yes - solid wood is the best material for this exact scenario. The key is proper sealing on all sides (including the back panel and bottom) and using stainless steel hardware. Teak and white oak perform best because of their natural moisture resistance. Re-seal every 2 to 3 years and the vanity will last a decade or more.
Is MDF OK for a Floating Bathroom Vanity?
Only in bathrooms without a shower. Powder rooms, half baths, and infrequently used guest bathrooms are fine for MDF. In any bathroom with a shower or tub - and especially in a wet room - MDF will absorb moisture and fail within 2 to 3 years.
How Do I Seal a Floating Vanity for a Wet Room?
Use oil-based polyurethane for the best moisture protection. Apply at least 3 coats to all surfaces - front, back, bottom, top, and edges. Let each coat dry fully before applying the next. For cut edges (sink openings, trimmed edges), seal immediately after cutting. Marine-grade varnish is an even more protective option for true wet rooms.
What's the Best Wood Species for a Bathroom Floating Vanity?
Teak is the top choice - its natural oils repel water without any finish. White oak is the best value - tight grain, excellent moisture resistance, and significantly more affordable than teak. Walnut and acacia are solid alternatives for buyers who want a darker or more distinctive grain pattern.
Do Floating Vanities Hold Up in High-Humidity Bathrooms?
Yes, if you choose the right material and install correctly. Solid wood vanities with proper sealing, stainless steel brackets, and adequate ventilation perform well even in bathrooms with daily hot showers. The failure cases almost always come down to material choice (MDF in a wet room) or installation errors (unsealed edges, wrong brackets, no stud mounting).
Final Thought
A floating vanity in a wet room isn't a gamble - but it does demand respect for the environment it lives in. Pick the right material, seal it properly, install it with the right hardware, and maintain it on schedule. Get those four things right and your floating vanity will look as good in year five as it did on day one. Get those wrong, and you'll be replacing a swollen, sagging vanity in two years - with a hole in your wall where the brackets used to be.

Built for Real Bathrooms, Not Just Showroom Photos
Handcrafted from solid teak, white oak, and walnut - sealed on every side, wall-mounted on stainless steel hardware, and made to survive daily wet room use for years, not months.
Shop Solid Wood Floating Vanities →