






















Quick view
- How to Install Floating Shelves: A Complete Step-by-Step Guide
- Tools and Materials You'll Need
- Step 1: Choose Your Location
- Step 2: Find the Studs
- Step 3: Mark and Level Your Bracket Position
- Step 4: Drill Pilot Holes
- Step 5: Install Wall Anchors (If Needed)
- Step 6: Mount the Bracket
- Step 7: Slide the Shelf Onto the Bracket
- Installing on Different Wall Types
- Weight Distribution: How Much Can Floating Shelves Hold?
- Common Installation Mistakes and How to Avoid Them
- Frequently Asked Questions
- Get Shelving
Shop this guide
Handcrafted Floating Shelves, made to order in solid wood.
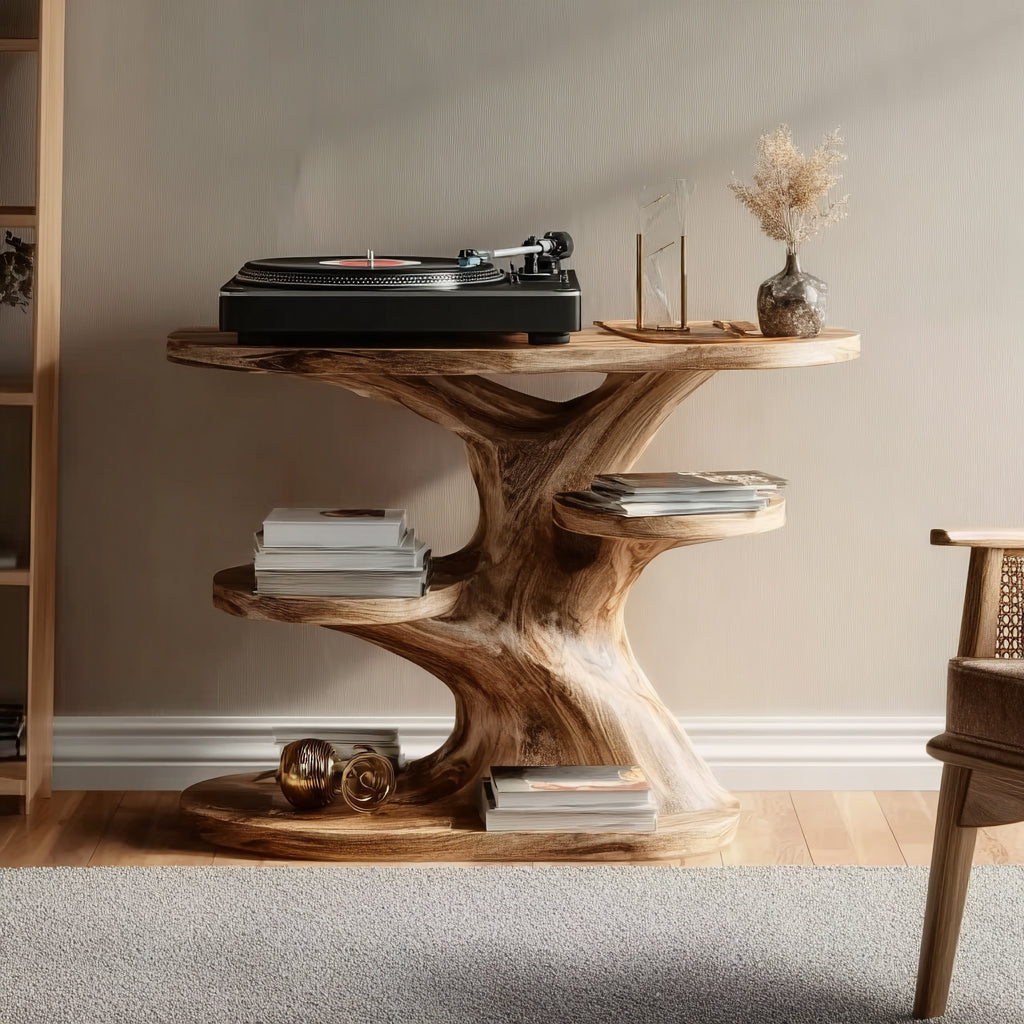
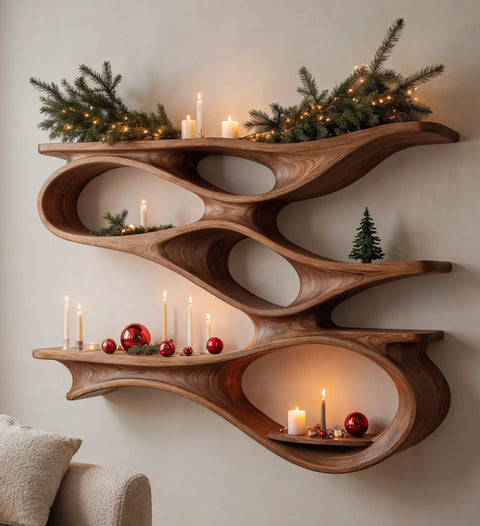
 Sculptural Overlapping Circular Solid Wood Wall Shelf with Multi Tier Display
From $1,354.00
Sculptural Overlapping Circular Solid Wood Wall Shelf with Multi Tier Display
From $1,354.00
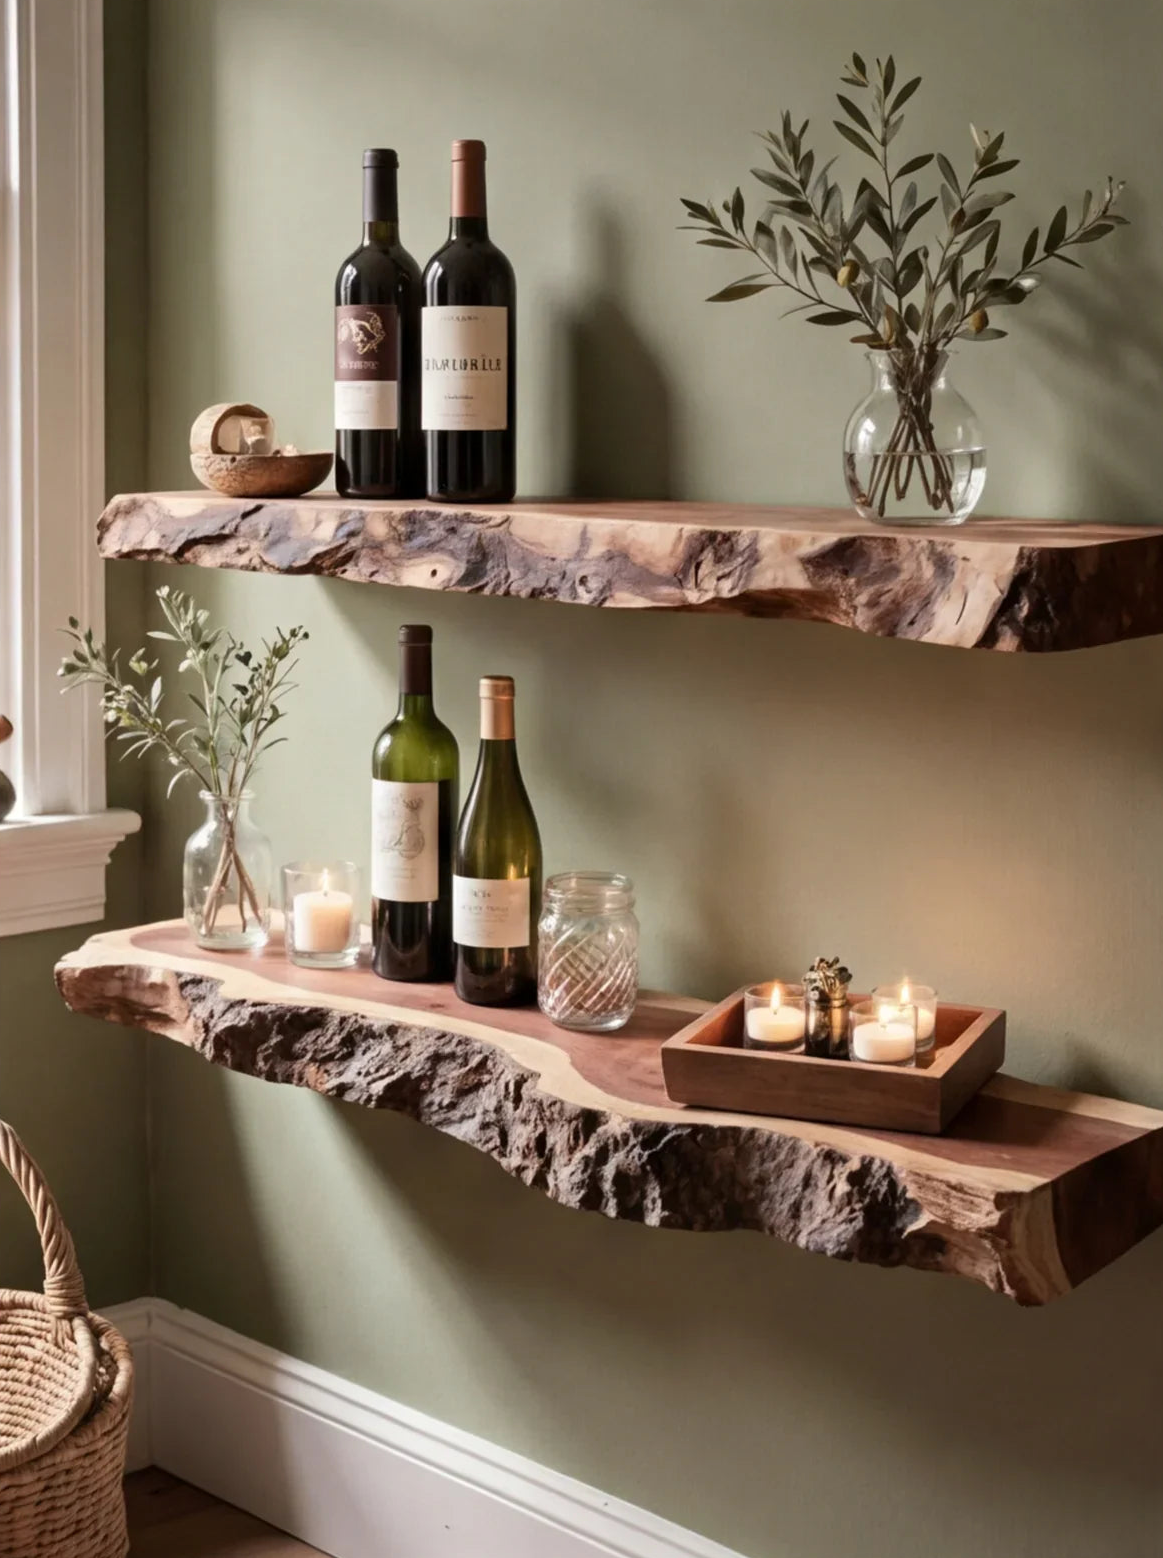
 Mountain Landscape Relief Solid Wood Floating Shelf Live Edge Display Ledge
From $1,154.00
Mountain Landscape Relief Solid Wood Floating Shelf Live Edge Display Ledge
From $1,154.00
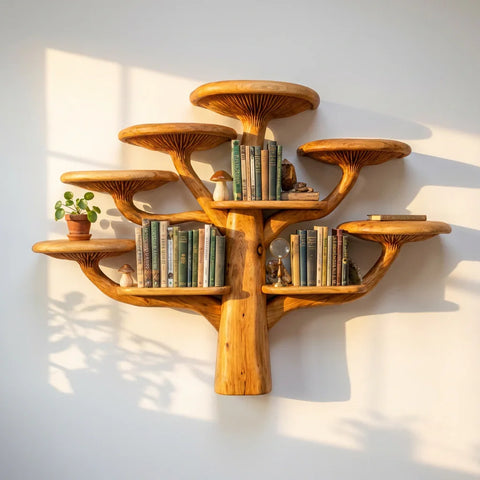
 Enchanted Forest Circular Wall Shelf - Round Carved Timber Mushroom Portal
From $1,023.00
Enchanted Forest Circular Wall Shelf - Round Carved Timber Mushroom Portal
From $1,023.00
 Cottagecore Arched Wood Wall Niche - Hand-Carved Fairy Mushroom Alcove Shelf
From $1,356.00
Cottagecore Arched Wood Wall Niche - Hand-Carved Fairy Mushroom Alcove Shelf
From $1,356.00
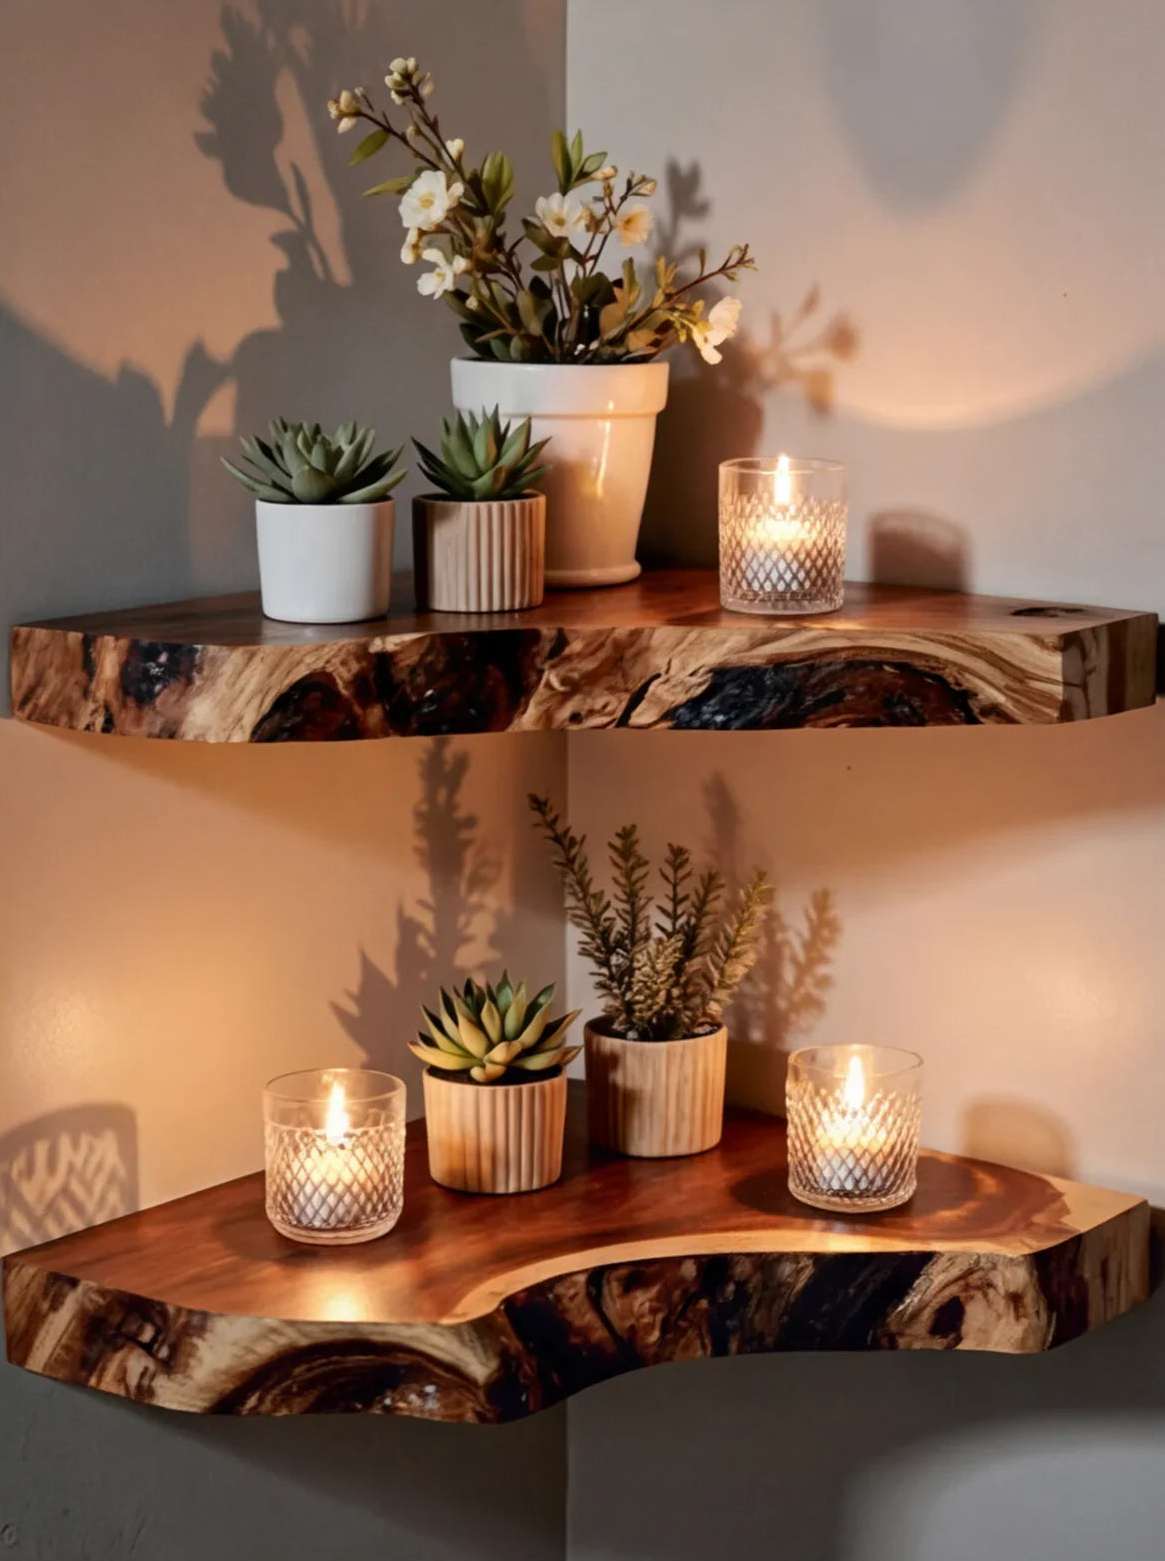
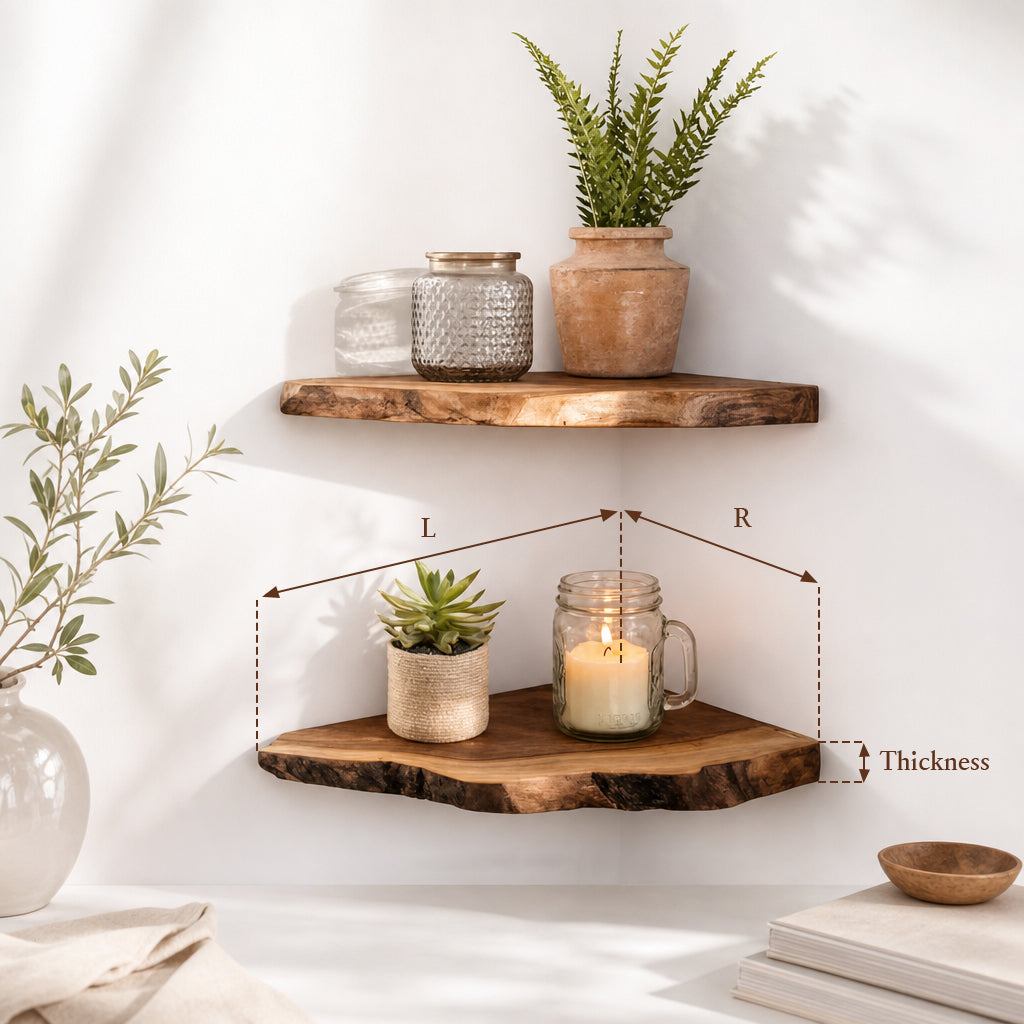
 Sculptural Hand-Carved Mushroom Solid Wood Corner Floating Shelf & Biomorphic Wall Display Ledge
From $345.00
Sculptural Hand-Carved Mushroom Solid Wood Corner Floating Shelf & Biomorphic Wall Display Ledge
From $345.00
 Sculptural Hand-Carved Mushroom Solid Wood Floating Shelves & Biomorphic Wall Display Ledges
From $345.00
Sculptural Hand-Carved Mushroom Solid Wood Floating Shelves & Biomorphic Wall Display Ledges
From $345.00
How to Install Floating Shelves: A Complete Step-by-Step Guide
Floating shelves look like they're defying gravity. No visible brackets, no bulky supports - just a clean, minimal shelf flush against the wall. The secret isn't magic; it's hidden mounting hardware and proper installation technique.
The good news: installing floating shelves is a straightforward DIY project that most people can complete in under an hour per shelf. The bad news: do it wrong and you'll come home to a shelf on the floor surrounded by broken items and drywall dust.
This guide covers everything - tools, stud finding, bracket types, wall material considerations, weight distribution, and the specific steps to get a secure, level mount every time.
Tools and Materials You'll Need
Gather everything before you start. Nothing kills momentum like a mid-project trip to the hardware store.
Essential tools:
- Stud finder. Electronic or magnetic. Electronic models are more reliable for deep studs. Budget: $15-$40.
- Level. A 24-inch torpedo level or a laser level. Your phone's level app works in a pinch, but a dedicated tool is more accurate.
- Drill/driver. Cordless drill with both drill bits and driver bits. You'll need to drill pilot holes and drive screws.
- Drill bits. A set that includes 1/8", 3/16", and 1/4" bits. Match the bit size to your screws and anchors.
- Pencil. For marking drill points. A sharp pencil beats a marker - easier to erase mistakes.
- Tape measure. For positioning shelves at the right height and spacing.
- Painter's tape. Optional but useful. Place it on the wall to visualize shelf position before committing to holes.
Materials (usually included with the shelf):
- Mounting bracket or rod system. Most floating shelves include a metal bracket that screws to the wall; the shelf slides over it.
- Screws. 2.5-3 inch screws for stud mounting. Shorter screws for anchor mounting.
- Wall anchors. Only needed if you can't hit studs. Toggle bolts or snap-toggle anchors are the strongest options for drywall.


Step 1: Choose Your Location
Before picking up a drill, decide where the shelf goes. This sounds obvious, but poor placement is the most common installation mistake.
Height guidelines:
- Eye-level display shelves: 57-63 inches from floor (average eye height for standing adults).
- Above furniture: 6-10 inches above the top of a sofa, desk, or toilet tank.
- Kitchen shelves: 18-20 inches above the countertop for the first shelf. 12-14 inches between stacked shelves.
- Bathroom shelves: 48-54 inches from floor for accessible daily-use shelves. Higher for decorative/storage shelves.
Practical considerations:
- Don't mount above a heat source (radiator, heating vent). Heat rises and can warp wood over time.
- Avoid locations where the shelf blocks a doorswing, light switch, or electrical outlet.
- Check for in-wall obstacles: pipes, wires, ductwork. If your stud finder has a wire-detection mode, use it.
Step 2: Find the Studs
This is the most critical step. Studs are the vertical wood framing members inside your wall, typically spaced 16 inches apart (sometimes 24 inches in older homes). Screwing into a stud gives you the strongest possible mount - each stud screw point can support 50-100 pounds.
How to find studs:
- Use an electronic stud finder. Move it slowly across the wall at shelf height. It beeps or lights up when it detects a density change (the edge of a stud). Mark both edges, then mark the center point between them.
- Confirm with a small nail. Drive a thin finish nail at your marked center point. If it hits solid wood after penetrating the drywall (about 1/2 inch), you've found the stud. If it slides in easily with no resistance, you're in empty space , move your mark and try again.
- Knock test (backup method). Knock along the wall. Hollow drywall sounds, well, hollow. Over a stud, the sound becomes more solid and dull. Less reliable than electronic detection, but useful for confirmation.
Ideal scenario: Your shelf bracket hits at least one stud, preferably two. A single stud connection plus one or two drywall anchors on the other points is acceptable for moderate loads (up to 20 pounds).

Don't miss
These pieces qualify for 10% off orders over $2,000. Applied automatically at checkout.
Step 3: Mark and Level Your Bracket Position
- Hold the bracket against the wall at your desired height.
- Place the level on top of the bracket. Adjust until the bubble sits perfectly centered.
- Mark all screw hole positions through the bracket holes with your pencil.
- Remove the bracket and double-check that your marks are level using the level alone. A shelf that's even 1-2 degrees off-level is visually obvious, especially with items on it.
Pro tip: If you're installing multiple shelves at the same height (flanking a window, for example), measure from the ceiling rather than the floor. Floors can be uneven; ceilings are usually more consistent. Measuring the same distance down from the ceiling ensures the shelves align visually.
Step 4: Drill Pilot Holes
Pilot holes serve two purposes: they prevent the wood stud from splitting, and they guide the screw straight. Skipping pilot holes is the most common cause of crooked screws and stripped holes.
- Select a drill bit slightly smaller than your screw diameter. For a 1/4" screw, use a 3/16" bit. For a 3/16" screw, use a 1/8" bit.
- Drill at each marked point. Go straight into the wall , not at an angle. Depth should match your screw length minus 1/4 inch.
- If you're mounting into drywall only (no stud), drill the hole sized for your anchor. Each anchor type specifies its required hole diameter on the packaging.
Tip: Wrap a piece of painter's tape around the drill bit at the desired depth. When the tape touches the wall, stop drilling. Simple depth gauge, zero cost.
Step 5: Install Wall Anchors (If Needed)
Not every screw point hits a stud. Here's how to handle drywall-only mounting points:
Anchor types ranked by strength:
- Toggle bolts (strongest). A spring-loaded wing opens behind the drywall, distributing load over a large area. Holds 50-75 pounds per anchor in 1/2" drywall. Requires a larger hole (usually 1/2").
- Snap-toggle anchors. Similar concept to toggle bolts but easier to install and reusable. The metal channel stays in the wall, and the bolt can be removed and reinstalled. Holds 45-65 pounds.
- Self-drilling drywall anchors. Screw directly into drywall without a pilot hole. Holds 25-40 pounds. Adequate for light to moderate loads.
- Plastic expansion anchors (weakest). The cheapest option, often included with shelf hardware. Holds only 10-20 pounds. Not recommended for anything heavier than a decorative shelf with lightweight items.
Rule of thumb: If the shelf will hold more than 10 pounds and you can't hit a stud, use toggle bolts or snap-toggle anchors. The extra effort is worth the security.
Step 6: Mount the Bracket
- Hold the bracket against the wall, aligning screw holes with your pilot holes or anchors.
- Drive screws into stud points first. Tighten until the bracket is snug against the wall but don't over-torque , you can strip the hole.
- Drive screws into anchor points next.
- Check level again. If the bracket shifted during tightening, loosen the screws slightly, re-level, and re-tighten.
- Give the bracket a firm tug downward and outward. It should feel absolutely solid. Any movement means something isn't seated properly , diagnose before proceeding.
Step 7: Slide the Shelf Onto the Bracket
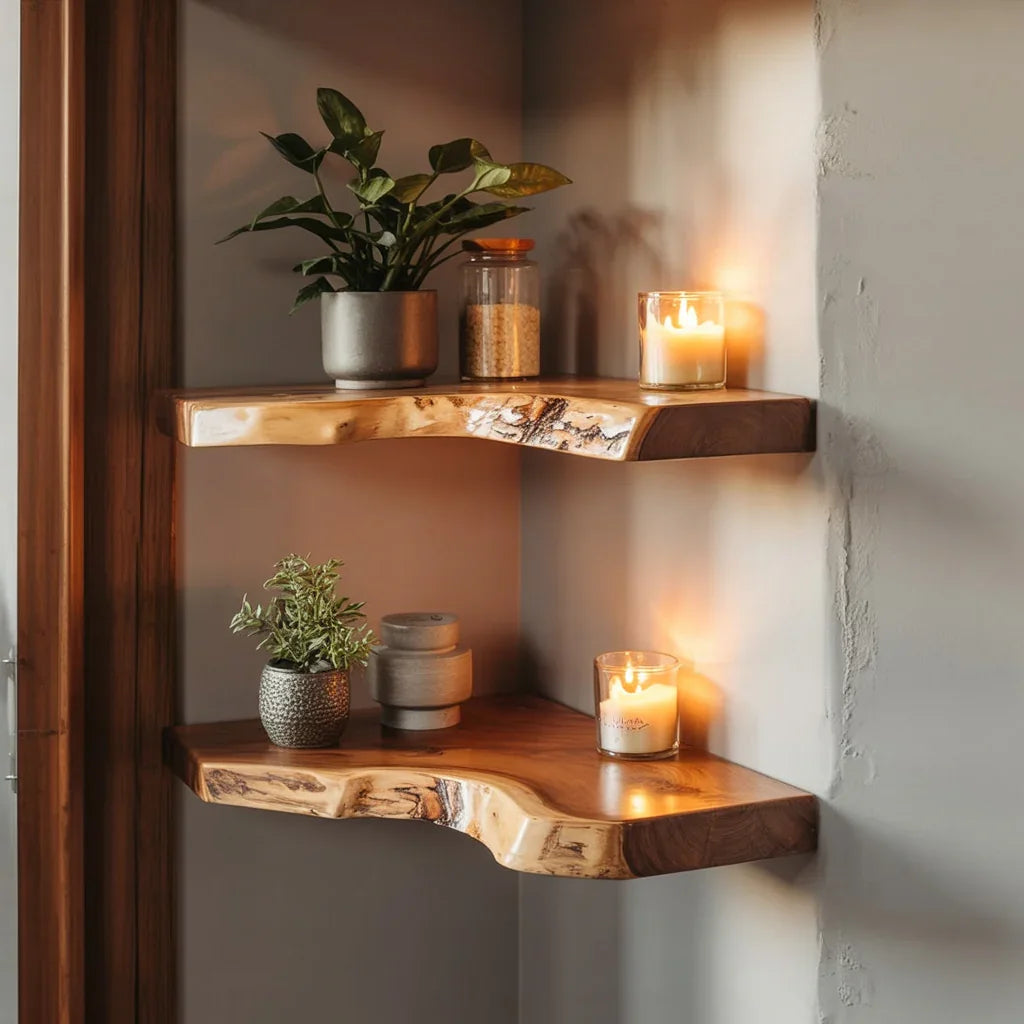
Most floating shelves have a hollow channel on the back that slides over the mounted bracket or rods. This is what creates the "floating" look , the bracket is completely hidden inside the shelf.
- Align the shelf opening with the bracket rods or plate.
- Slide the shelf onto the bracket, pushing it flush against the wall.
- Some shelves include a small set screw underneath that locks the shelf to the bracket. Tighten this with an Allen key to prevent the shelf from sliding off.
- Place the level on top of the shelf for a final check.
Installing on Different Wall Types
Not all walls are drywall over wood studs. Here's how to handle other materials:
Brick or concrete
Requires a hammer drill and masonry bits. Drill into the mortar joints (softer and easier to drill) rather than the brick face. Use masonry anchors or concrete screws (Tapcon brand is the standard). These walls are incredibly strong , once anchored properly, the shelf isn't going anywhere.
Plaster over lath
Common in homes built before 1950. Plaster is harder than drywall but more brittle , it cracks easily if you force screws. Drill slowly with a standard bit through the plaster, then switch to a stud-appropriate approach once you hit the lath or stud behind it. Toggle bolts work well in plaster; plastic anchors do not.
Tile
Use a carbide-tipped or diamond-tipped drill bit. Start at slow speed with no hammer function. Place painter's tape on the tile surface to prevent the bit from wandering. Once through the tile, switch to an appropriate bit for whatever's behind it (drywall, cement board, or block).
Metal studs
Found in commercial buildings and some newer residential construction. Use self-drilling sheet metal screws or toggle bolts designed for metal studs. Standard wood screws won't grip. Metal studs are weaker than wood studs, so toggle bolts behind the drywall often provide a stronger mount.

Weight Distribution: How Much Can Floating Shelves Hold?
The weight capacity of a floating shelf depends on three factors: the shelf material, the bracket system, and how it's mounted.
- Solid wood shelf + rod bracket + two studs: 30-50 pounds, depending on shelf length and wood species.
- Solid wood shelf + rod bracket + one stud + one toggle bolt: 20-35 pounds.
- MDF shelf + basic bracket + drywall anchors only: 10-15 pounds. Adequate for light decor, risky for books or heavy items.
Weight distribution tip: Spread weight evenly across the shelf. Concentrating all weight on one end creates a lever effect that multiplies stress on the mounting points. A 20-pound stack of books on the far end of a shelf exerts more pull than 20 pounds distributed across the entire surface.
Common Installation Mistakes and How to Avoid Them
- Not checking level twice. Check when marking, check again after mounting. Walls aren't perfectly flat, and brackets can shift during tightening.
- Using plastic anchors for heavy loads. Those small plastic anchors included with many shelves are rated for 10-15 pounds at most. For real loads, upgrade to toggle bolts.
- Drilling too close to a stud edge. If your pilot hole clips the edge of a stud, the screw won't grip properly. Mark the stud center, one edge.
- Ignoring the set screw. Many floating shelves have a small set screw underneath that locks the shelf to the bracket. Forgetting it means the shelf can slide off the bracket , usually when you least expect it.
- Over-tightening screws. In drywall, over-torquing strips the anchor or crumbles the drywall around the hole. Tighten until snug, then stop. If it spins freely, the hole is stripped , move to a new location or use a larger anchor.
Frequently Asked Questions
Can I install floating shelves without hitting a stud?
Yes, but you must use heavy-duty drywall anchors , toggle bolts or snap-toggle anchors. These distribute the load behind the drywall and can support 25-50 pounds per anchor point. For shelves that will hold heavy items (books, dishes), stud mounting is always preferred.
How far apart should I space multiple floating shelves?
12-16 inches between shelves is standard. This gives enough room for most decor items and books while keeping the group visually cohesive. For kitchen shelves with tall items (bottles, jars), go with 14-16 inches. For bathrooms with shorter items (toiletries, folded towels), 10-12 inches works.
Do I need special tools for a brick wall?
Yes. A hammer drill (or rotary hammer) and masonry drill bits are essential. Standard drill bits won't penetrate brick or concrete. You'll also need masonry anchors or concrete screws instead of standard wood screws or drywall anchors.
How do I fix a floating shelf that's sagging?
Sagging usually means the mounting hardware is failing , either the screws are pulling out of the wall or the bracket is bending. Remove the shelf, check the bracket for damage, and check the wall holes. If the drywall is crumbled around the holes, move the bracket to a new location (ideally into studs) or use larger toggle bolt anchors. If the bracket itself is bent, replace it.
Can floating shelves hold a TV?
Small floating shelves, no. Most aren't rated for the weight and size of a TV. However, some heavy-duty floating shelf systems designed specifically for media equipment can support 40-60 pounds. Check the weight rating explicitly. For a TV, a dedicated wall mount is usually the better and safer option.
How long does it take to install one floating shelf?
For someone with basic DIY experience: 20-45 minutes per shelf, including stud finding, marking, drilling, and mounting. First-timers should budget an hour. The most time-consuming part is finding studs and getting the bracket perfectly level.
Get Shelving
Installing floating shelves is one of the most satisfying home improvement projects you can tackle in an afternoon. The tools are basic, the skills are learnable, and the result transforms bare walls into functional display space.
For shelves worth installing, explore Ashdeco's floating shelf collection. Each shelf is handcrafted from solid wood by Vietnamese artisans , designed with concealed mounting hardware and built to hold up for years. The hardest part of the project should be choosing what to put on them.