Getting floating shelves onto your wall is the easy part. Figuring out where to place them - the spacing, the pattern, the relationship between each shelf - is where most people get stuck. Staggered floating shelves look effortlessly stylish when done right, but a few inches of bad spacing can make the whole arrangement feel off.
This guide covers the most popular staggered shelf layouts, exact spacing measurements, what to display on each shelf, and common mistakes that turn a clean design into a visual mess.
What Does "Staggered" Actually Mean?
Staggered floating shelves are arranged at different heights and horizontal positions rather than in a straight, uniform line. Instead of three shelves mounted one directly above the other (a stack), staggered shelves are offset - each one shifted to the left or right of the one above or below it.

The staggering creates visual movement on the wall. Your eye naturally follows the path from shelf to shelf, which makes the arrangement feel dynamic and intentional rather than rigid and predictable.
Staggering works with any number of shelves (though three to five is the sweet spot) and any shelf length. You can stagger shelves of the same size or mix different lengths for added visual interest.
Layout Pattern 1: The Ascending Staircase
This is the most popular staggered layout and the easiest to execute. Shelves step upward from left to right (or right to left), like a staircase.

How to Arrange It
- Start with the lowest shelf on the left side of your wall
- Each subsequent shelf is placed higher and to the right
- Maintain consistent vertical spacing (10-12 inches between shelves)
- Offset each shelf horizontally by 6-10 inches from the one below
Best Measurements
For a 3-shelf ascending layout using 24-inch shelves:
- Shelf 1 (bottom left): 42 inches from the floor, left edge 12 inches from the left reference point
- Shelf 2 (middle): 54 inches from the floor, left edge 20 inches from the left reference point
- Shelf 3 (top right): 66 inches from the floor, left edge 28 inches from the left reference point
This creates a clean diagonal line with 12-inch vertical gaps and 8-inch horizontal offsets.
Where It Works Best
- Above a sofa (the ascending line draws the eye upward from the seating area)
- Along a staircase wall (following the natural angle of the stairs)
- In a home office (stepping up from desk height toward the ceiling)
Layout Pattern 2: The Zigzag
The zigzag pattern alternates shelves left and right as they ascend, creating a Z-shaped path on the wall.
How to Arrange It
- Start with the first shelf on the left
- Place the second shelf higher and shifted to the right
- Place the third shelf higher and shifted back to the left
- Continue alternating
Best Measurements
For a 4-shelf zigzag using 24-inch shelves:
- Shelf 1 (lower left): 36 inches from floor, left edge 10 inches from left wall
- Shelf 2 (mid right): 48 inches from floor, left edge 30 inches from left wall
- Shelf 3 (upper left): 60 inches from floor, left edge 10 inches from left wall
- Shelf 4 (top right): 72 inches from floor, left edge 30 inches from left wall
Maintain 12-inch vertical spacing and 20-inch horizontal shifts for a pronounced zigzag effect.
Where It Works Best
- Large blank walls that need visual filling
- Living rooms where the shelves serve as the primary wall decor
- Spaces where symmetry would feel too formal
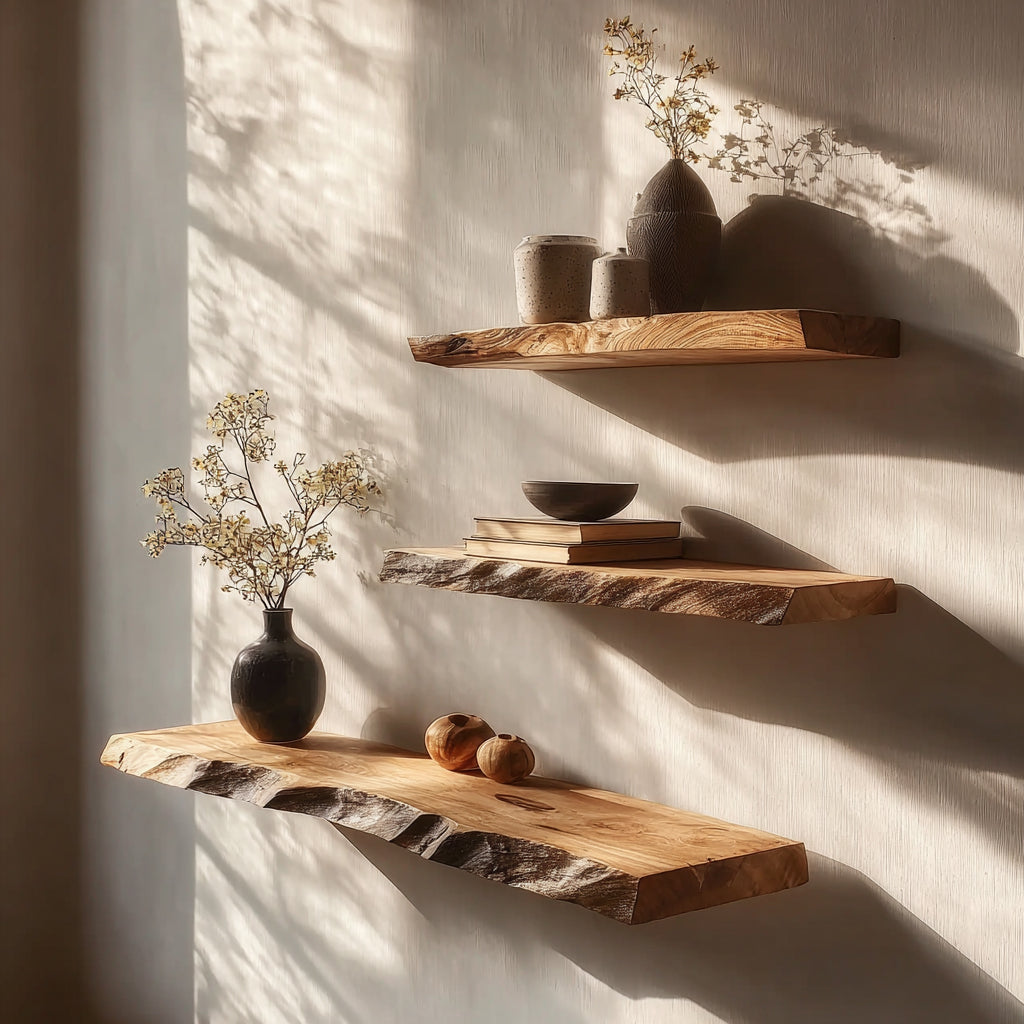
Layout Pattern 3: The Descending Cascade
The reverse of the ascending staircase. Shelves step downward from left to right, creating a cascading or waterfall effect.

How to Arrange It
- Start with the highest shelf on the left
- Each subsequent shelf drops lower and shifts to the right
- Use the same spacing rules as the ascending layout, just mirrored
Best Measurements
For a 3-shelf descending layout using 24-inch shelves:
- Shelf 1 (top left): 66 inches from floor, left edge 12 inches
- Shelf 2 (middle): 54 inches from floor, left edge 20 inches
- Shelf 3 (bottom right): 42 inches from floor, left edge 28 inches
Where It Works Best
- Above a console table or credenza (cascading down toward the furniture)
- Next to a tall piece of furniture (transitioning from tall to short)
- In reading nooks (stepping down toward the seating area)
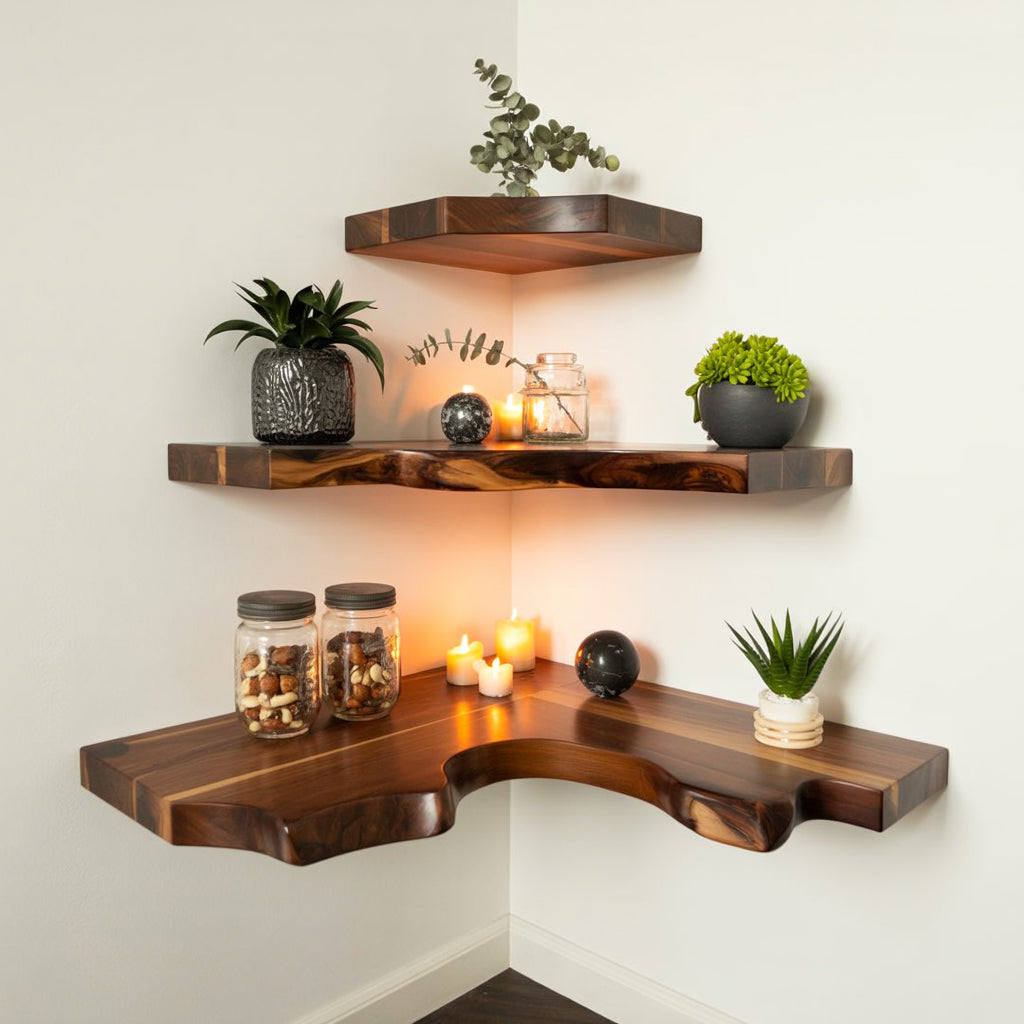
Layout Pattern 4: The Symmetric V
Two sets of shelves that ascend toward a central high point, creating a V or chevron shape on the wall.
How to Arrange It
- Place the highest shelf at the center of the wall
- Step shelves downward on both sides, mirroring each other
- The result looks like an inverted V or a mountain peak
Best Measurements
For a 5-shelf symmetric V using 24-inch shelves:
- Shelf 1 (center top): 66 inches from floor, centered on wall
- Shelf 2 (upper left): 56 inches from floor, left of center by 14 inches
- Shelf 3 (upper right): 56 inches from floor, right of center by 14 inches
- Shelf 4 (lower left): 46 inches from floor, left of center by 28 inches
- Shelf 5 (lower right): 46 inches from floor, right of center by 28 inches
Where It Works Best
- Centered above a bed (serving as a headboard focal point)
- Above a fireplace mantel
- On a feature wall in a dining room or entryway
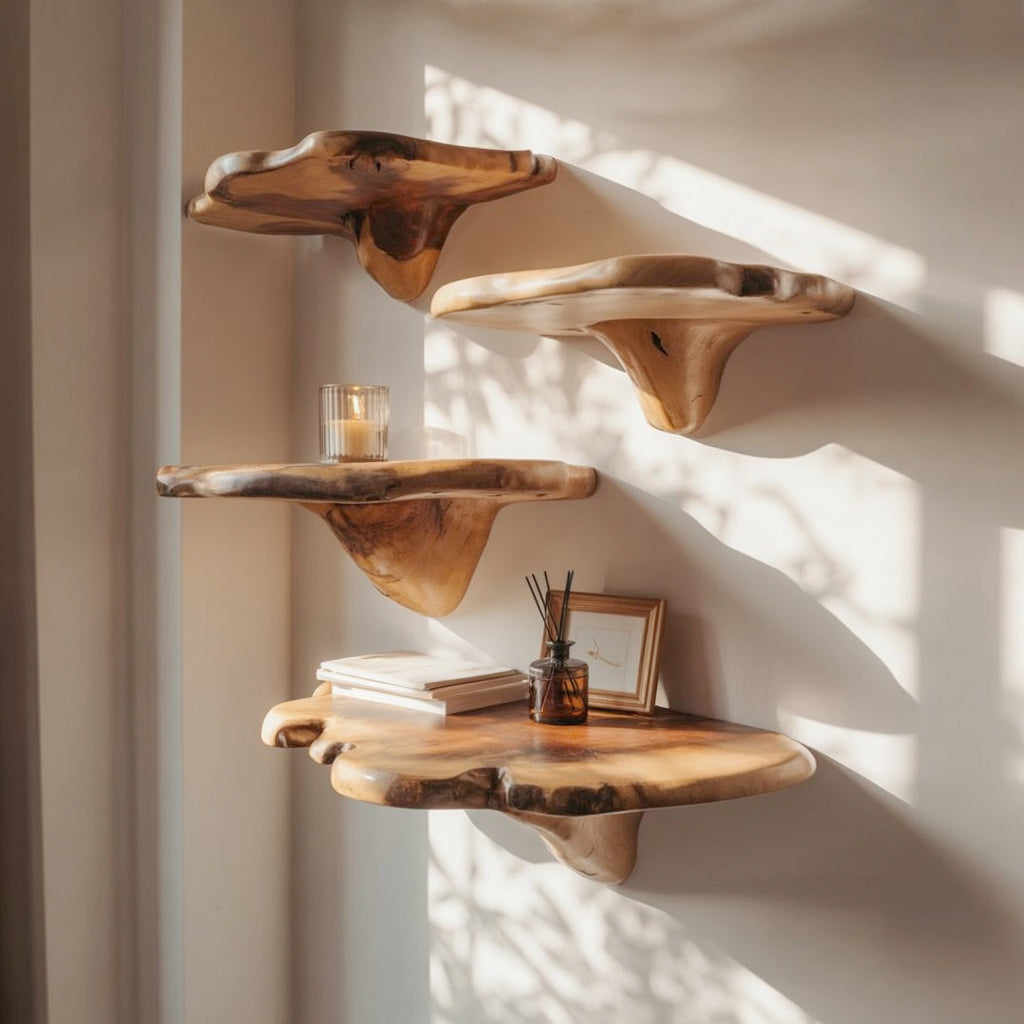
Layout Pattern 5: The Random Scatter
This layout looks unplanned but actually requires the most careful planning. Shelves are placed at seemingly random heights and positions that create a balanced, gallery-wall effect.

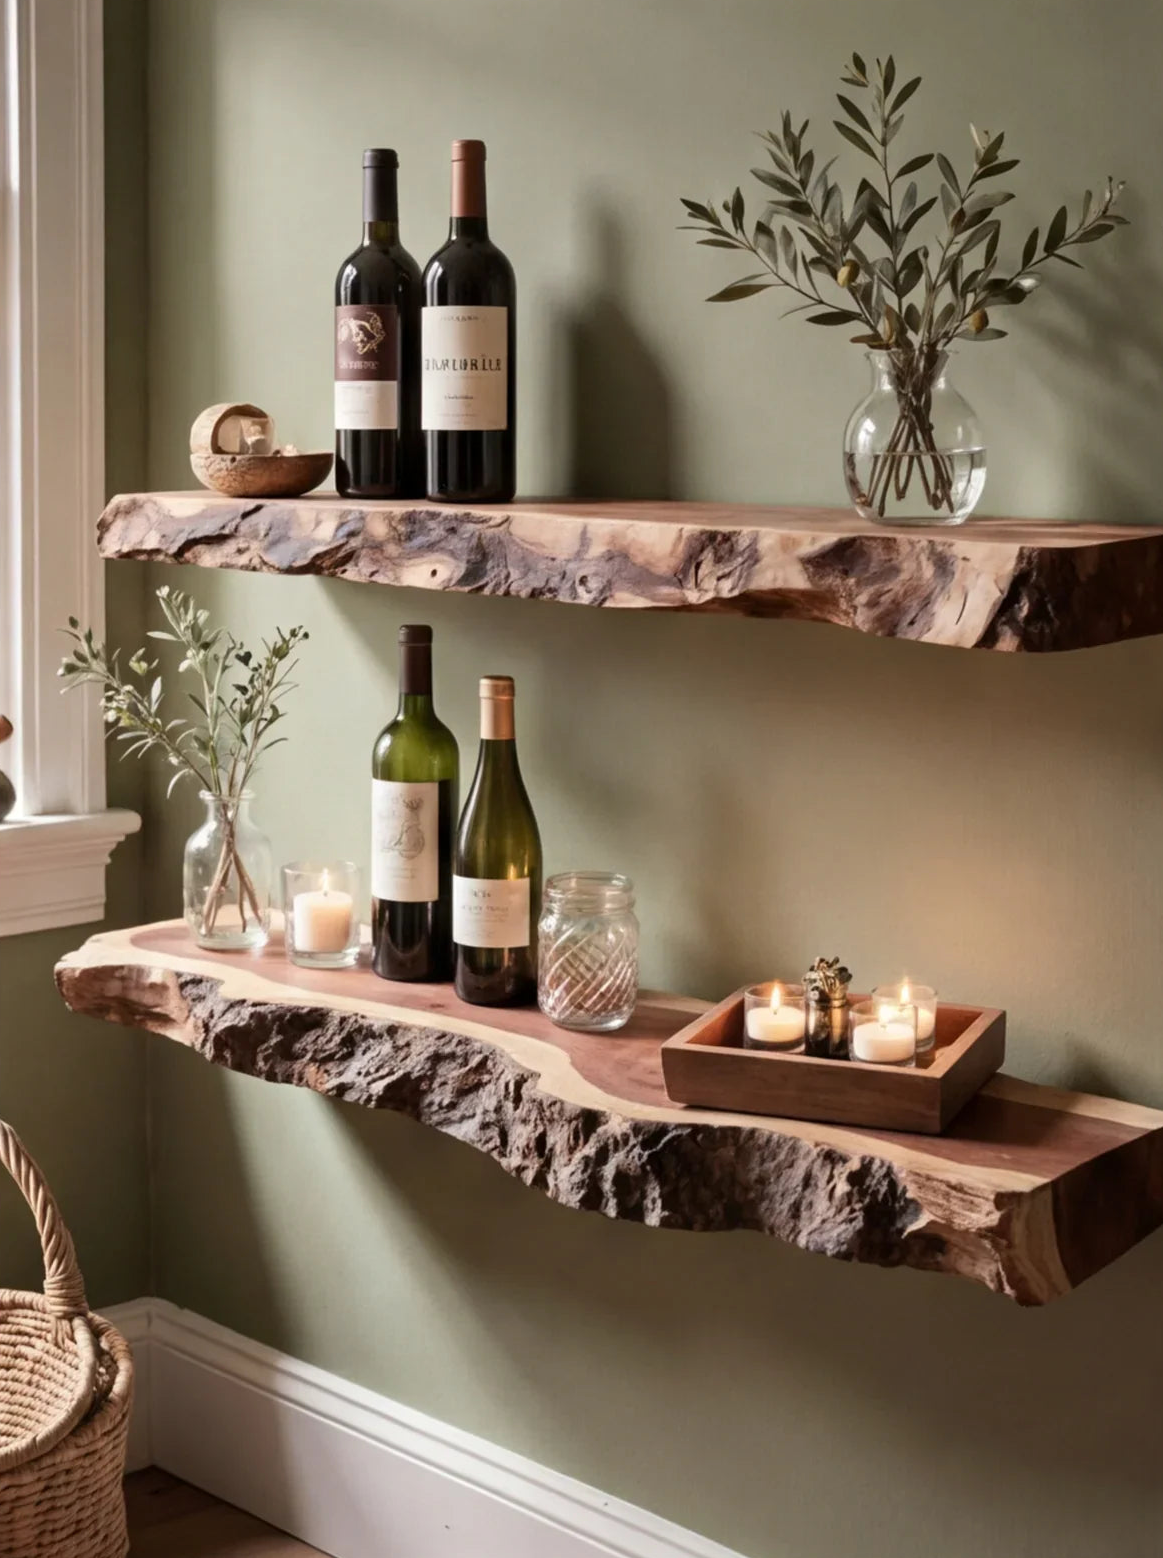
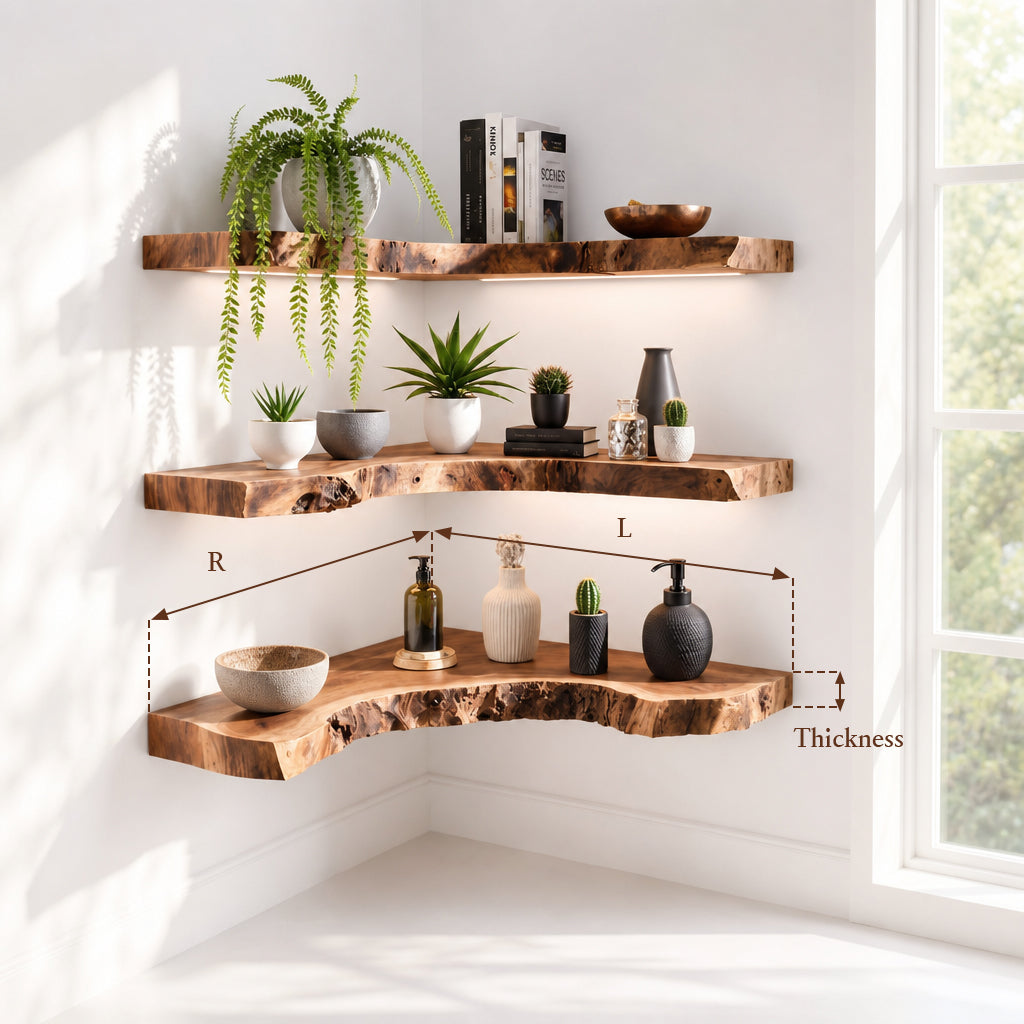
Natural Live Edge Floating Shelves – Rustic Solid Wood Wall Shelves
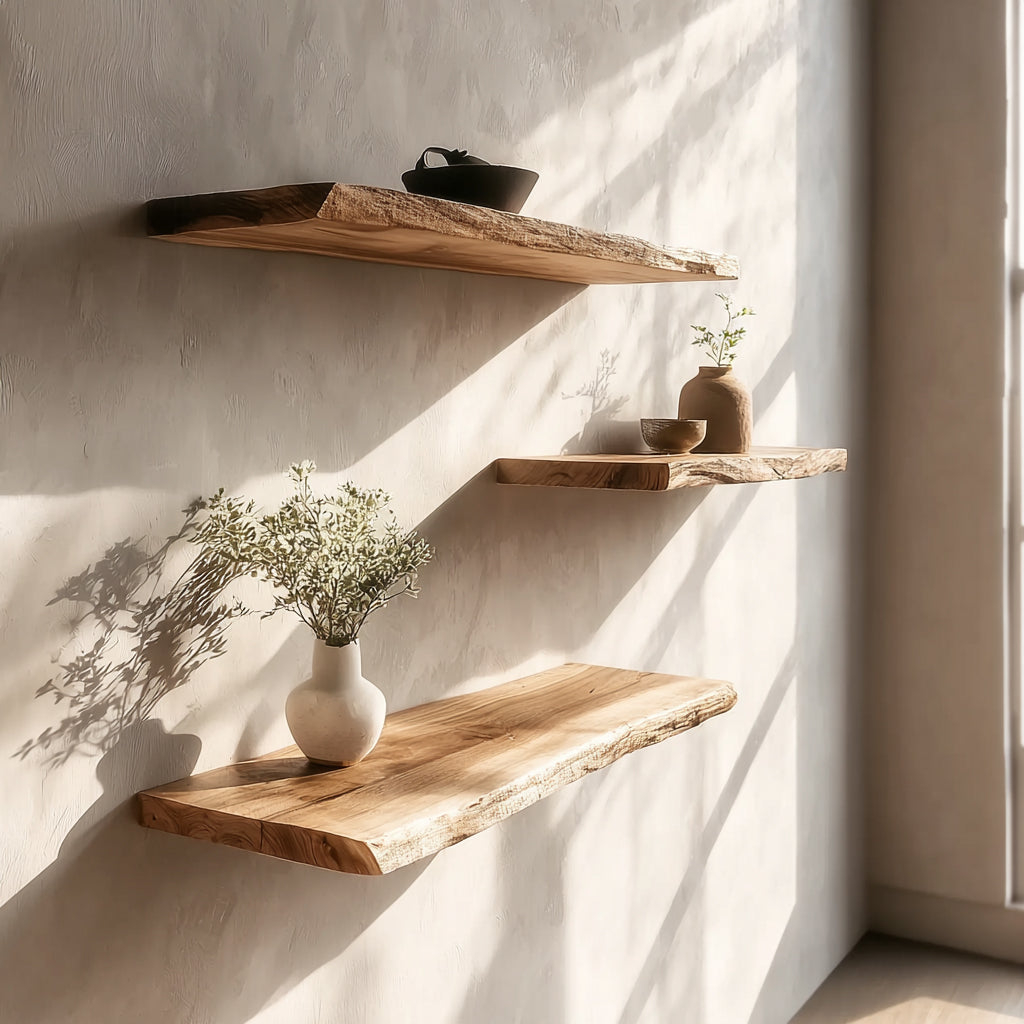
Handcrafted Floating Shelf – Natural Edge Wood Wall Storage
How to Arrange It
- Place shelves at varying heights with no clear pattern
- Mix shelf lengths (pair a 36-inch shelf with two 18-inch shelves)
- Maintain minimum spacing of 8 inches vertically and 4 inches horizontally
- Step back frequently to evaluate the overall balance
The Secret to Making It Work
The key is maintaining visual weight balance. If you have a large shelf on the left, balance it with two smaller shelves on the right. If the top of the arrangement is heavy, add a small shelf at the bottom. Think of it like a mobile , each piece counterbalances the others.
Where It Works Best
- Gallery walls where shelves are mixed with framed art
- Creative spaces (studios, playrooms, music rooms)
- Eclectic or bohemian interiors where uniformity would feel out of place
Universal Spacing Rules
Regardless of which pattern you choose, these spacing guidelines ensure a clean, proportional result:
Vertical Spacing Between Shelves
- Minimum: 8 inches (for small shelves with short items)
- Standard: 10-12 inches (most versatile , works with books, small plants, and frames)
- Maximum: 16 inches (for tall items like vases or stacked books)
Going below 8 inches makes items hard to access and creates a cramped look. Going above 16 inches makes the shelves feel disconnected from each other.
Horizontal Offset Between Shelves
- Subtle stagger: 4-6 inches (for a gentle, barely-there offset)
- Standard stagger: 8-12 inches (clearly staggered but still cohesive)
- Dramatic stagger: 16-24 inches (bold, graphic effect)
The horizontal offset should be proportional to the shelf length. Longer shelves can handle larger offsets without looking disconnected.
Distance from the Floor
- Lowest shelf: 36-48 inches from the floor (reachable without stretching)
- Average eye-level center: 57-60 inches from the floor
- Highest shelf: No more than 72-78 inches (accessible without a step stool)
Distance from Furniture Below
If your staggered shelves are above a sofa, desk, or console:
- Maintain at least 12-18 inches between the top of the furniture and the bottom of the lowest shelf
- This prevents items from being knocked off when someone sits down or moves the furniture
What to Display on Staggered Floating Shelves
Staggered layouts look best when each shelf has a curated mix of items. Here is a framework:
The 3-Category Rule
Each shelf should contain items from 2-3 of these categories:
- Books (stacked horizontally, 3-5 per stack)
- Greenery (small potted plants, trailing vines, dried flowers)
- Frames (photos, art prints, postcards)
- Objects (ceramics, candles, small sculptures, boxes)
- Functional items (clocks, bookends, small trays)
Mixing categories prevents shelves from looking like a bookstore, a garden center, or a gift shop. The variety creates visual richness.
Height Variation on Each Shelf
Place the tallest item toward the back or one end, with shorter items stepping down. This creates depth and prevents items from hiding behind each other.
Negative Space
Leave 20-30% of each shelf empty. This breathing room is what separates "styled" from "cluttered." In a staggered layout, the negative space on each shelf connects visually with the wall space between shelves, creating a sense of airiness.
Color Continuity
Pick 2-3 colors and repeat them across all shelves. A white vase on the top shelf, a white candle on the middle shelf, and white book spines on the bottom shelf create visual threads that tie the arrangement together.
Choosing the Right Floating Shelves
The shelves themselves matter as much as the layout. For a staggered arrangement that looks professional:
Material
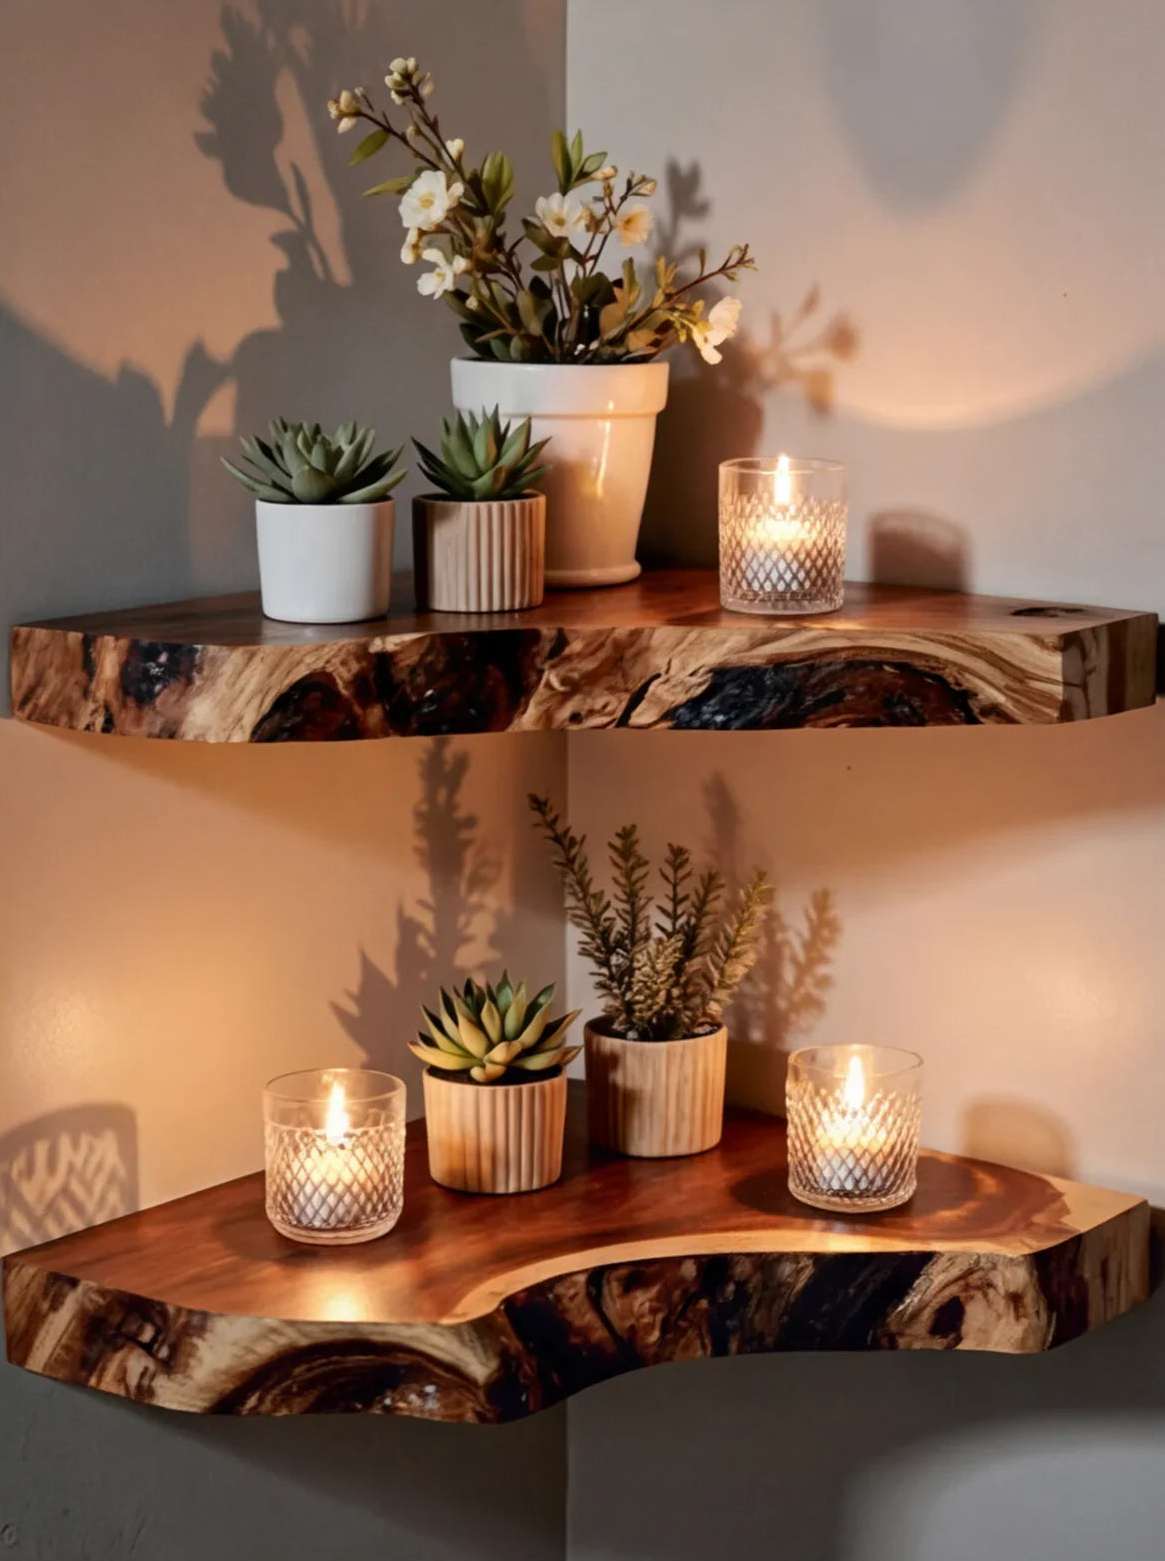
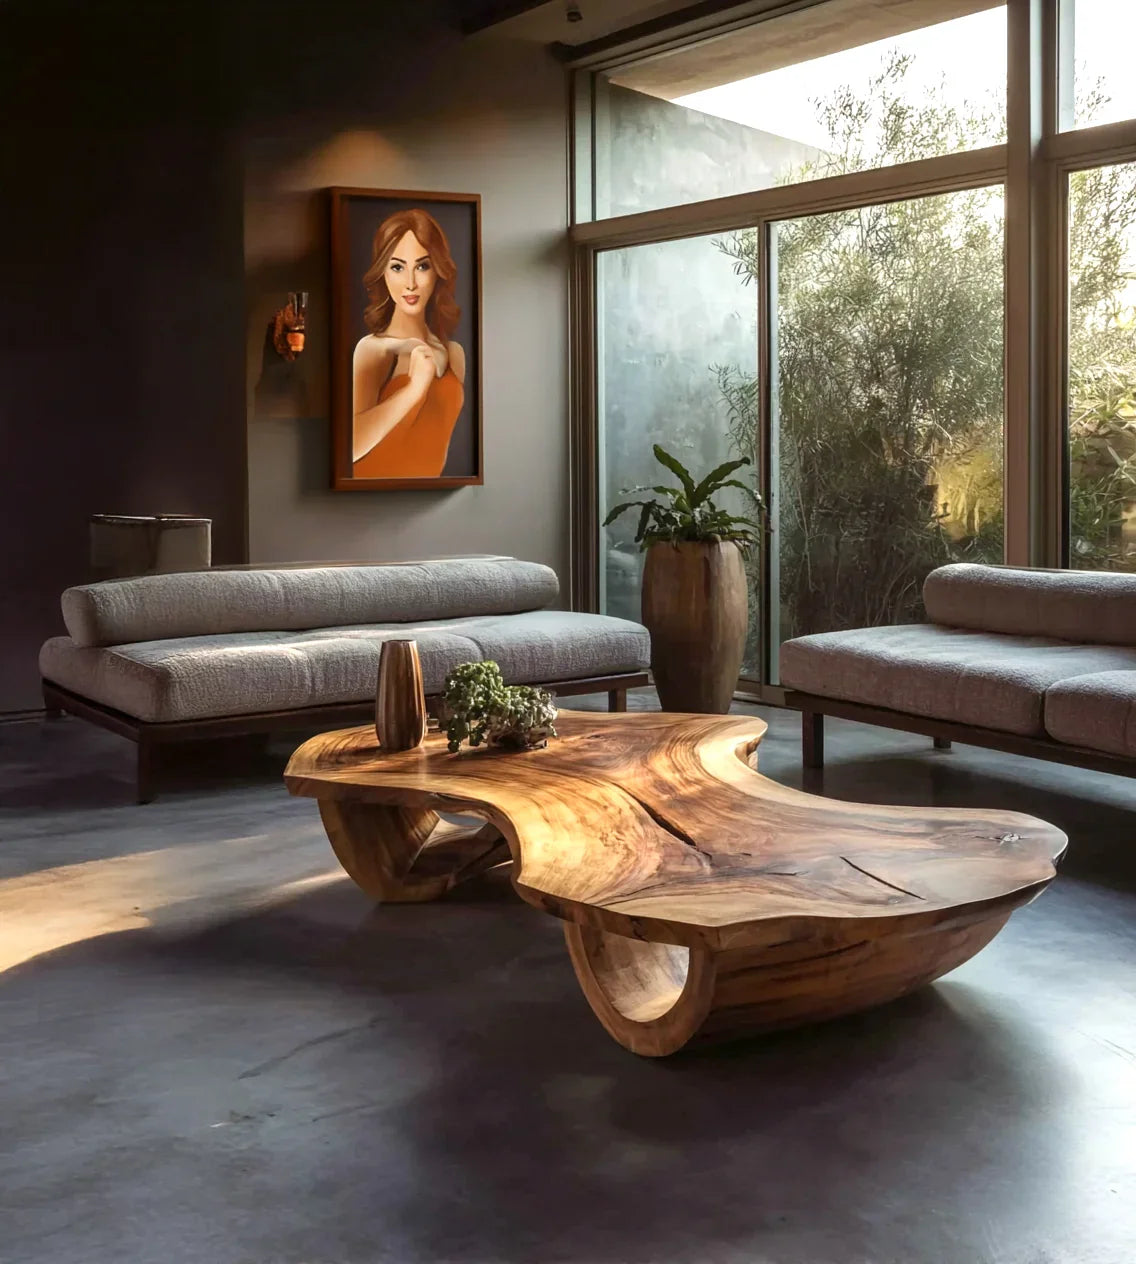
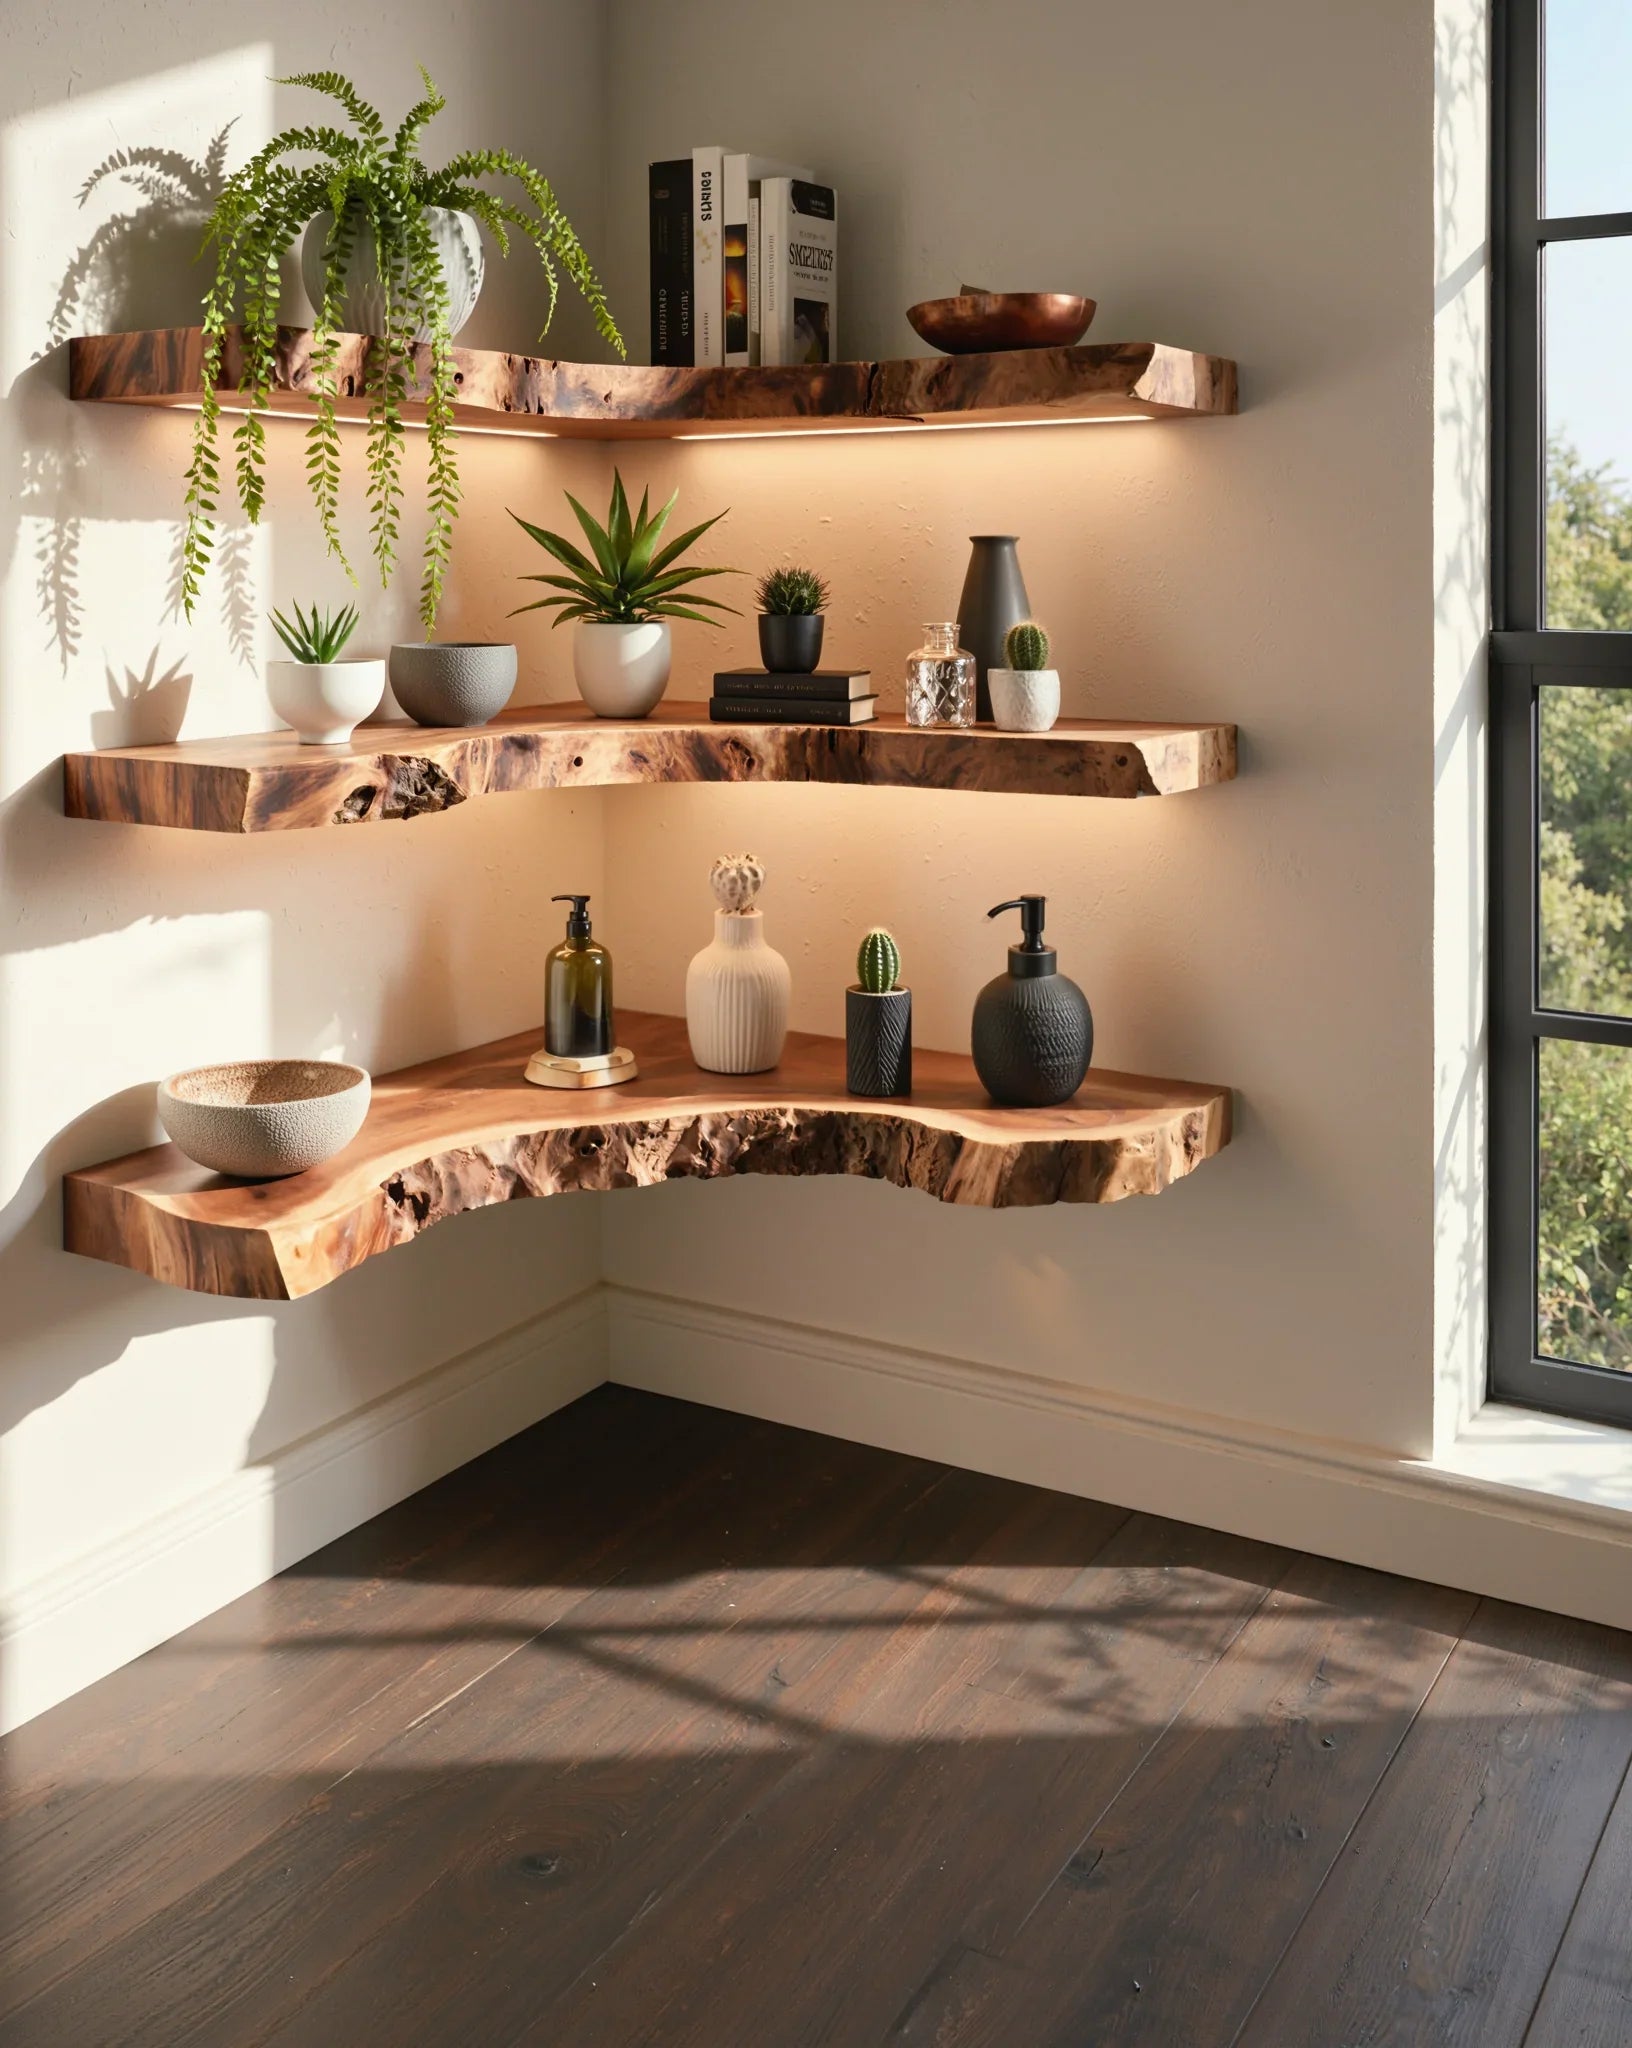
Solid wood floating shelves provide the warmth, texture, and weight that a staggered display deserves. Live edge shelves (which preserve the natural contour of the wood) add organic character that complements the dynamic staggered layout.
Ashdeco's floating shelf collection features handcrafted solid wood shelves in multiple sizes and finishes , each piece showcases unique natural grain patterns that add visual interest even when the shelf is empty.
Bracket Style
For a true floating look, choose shelves with concealed brackets that hide inside the shelf. Visible L-brackets or pipe brackets work for industrial styles but compete visually with the staggered layout.
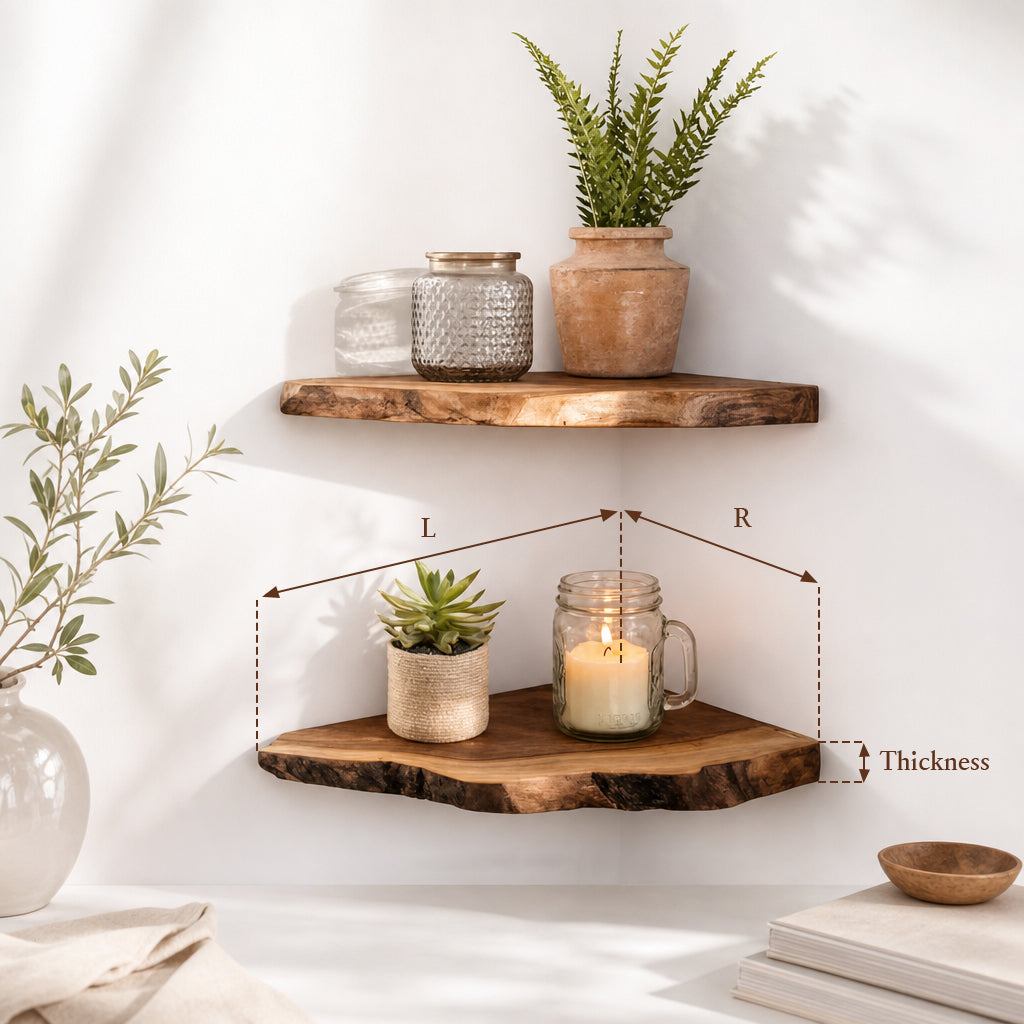
Size Mixing
Consider using different lengths within your staggered arrangement:
- Anchor shelves (36-48 inches): Create the foundation of the layout
- Medium shelves (24-32 inches): Fill the middle positions
- Accent shelves (12-18 inches): Add variety at the edges
Mixing sizes makes the stagger feel more organic and less formulaic.
Common Staggering Mistakes
Mistake 1: Inconsistent Spacing
Varying the vertical gap randomly . 8 inches here, 14 inches there, 6 inches elsewhere , creates an uneasy feeling. Pick a consistent vertical spacing and stick with it throughout the arrangement.
Mistake 2: Too Many Shelves
More is not better. Three to five shelves create a clean, impactful stagger. Six or more shelves start to look busy and overwhelm the wall. If you have a very large wall, use larger individual shelves rather than adding more small ones.
Mistake 3: Ignoring the Wall as Part of the Design
The wall surface between and around the shelves is not empty space , it is negative space that frames each shelf. If you stagger the shelves too close together, this framing disappears and the arrangement looks crowded.
Mistake 4: Identical Shelf Loading
If every shelf has the same items in the same arrangement (three books, a plant, a frame), the repetition becomes monotonous. Vary the composition on each shelf while maintaining the color and style continuity.
Mistake 5: Not Using a Template
Do not drill holes based on guesswork. Use painter's tape or kraft paper cutouts to map out shelf positions on the wall before picking up the drill. Live with the tape for a day or two to make sure you are happy with the layout before committing.
Step-by-Step Installation Guide
What You Need
- Drill with appropriate bits
- Level (a long one, 24+ inches)
- Stud finder
- Measuring tape
- Pencil
- Painter's tape
- Your floating shelves with concealed brackets
The Process
Step 1: Plan on paper. Sketch your wall to scale and draw the shelf positions. Mark the measurements.
Step 2: Find your studs. Use a stud finder to locate and mark all studs in the mounting area. Plan bracket placement to hit studs whenever possible.
Step 3: Tape it out. Use painter's tape to mark shelf positions on the wall. Cut tape to the exact shelf length. Step back and evaluate from across the room.
Step 4: Level and mark. Use a long level to ensure each shelf position is perfectly horizontal. Mark bracket locations with a pencil.
Step 5: Install brackets. Drill pilot holes and mount the concealed brackets. Double-check level after each bracket.
Step 6: Hang shelves. Slide shelves onto brackets. Test stability by pressing down firmly. Adjust if needed.
Step 7: Style and adjust. Add your display items. Step back to evaluate the full effect. Make minor position adjustments if needed.
Total time: 45-90 minutes for a 3-5 shelf staggered arrangement.
Frequently Asked Questions
How far apart should staggered floating shelves be?
The standard vertical spacing is 10-12 inches between shelves. The horizontal offset should be 8-12 inches for a clear stagger effect. These measurements work for most shelf sizes (24-36 inches long) and display items. Adjust slightly based on what you plan to display , taller items need more vertical clearance.
Can I stagger shelves of different sizes?
Yes, and it often looks better than using identical shelves. Mixing a 36-inch shelf with a 24-inch shelf and an 18-inch shelf creates a more organic, visually interesting arrangement. Keep the longer shelves toward the center or bottom for visual stability.
How many floating shelves should I stagger?
Three shelves is the minimum for a recognizable staggered pattern. Five is usually the maximum before the arrangement starts to feel cluttered. Three to four shelves is the sweet spot for most walls. Choose based on wall size , a 6-foot wide wall handles three 24-inch shelves comfortably.
What is the best height to start mounting staggered shelves?
The center of your arrangement should be at approximately eye level (57-60 inches from the floor). For a 3-shelf ascending layout, this means the middle shelf is at 57-60 inches, with the others 10-12 inches above and below. If mounting above furniture, keep at least 12-18 inches of clearance from the top of the furniture.
Do staggered floating shelves work in small rooms?
Absolutely. Staggered shelves are one of the best decorating strategies for small rooms because they use vertical wall space without consuming floor area. In small rooms, use two to three shelves instead of five, and choose slim profiles (5-6 inch depth) to avoid the shelves protruding too far into the room.
How do I make staggered shelves look balanced?
Balance comes from visual weight distribution. If you have heavier-looking items (dark objects, dense book stacks) on one side, balance them with similar visual weight on the other. Use the painter's tape method to preview your layout before drilling. Step back to the opposite side of the room to evaluate the overall balance.
Create Your Perfect Layout
Staggered floating shelves transform blank walls into functional displays that feel curated and intentional. The key is choosing a layout pattern that fits your space, maintaining consistent spacing, and styling each shelf with purpose.
For solid wood floating shelves that bring natural warmth and character to any staggered arrangement, explore Ashdeco's handcrafted floating shelf collection. Each shelf features unique live edge details and natural grain patterns, handcrafted by Vietnamese artisans from sustainably sourced hardwood. No two shelves are alike , which makes them perfect for a layout that celebrates individuality.


