How to Build a Vinyl Listening Station at Home: A Complete Setup Guide
There's a reason vinyl came back and stayed. Streaming is convenient, but it turned music into background noise. A dedicated vinyl listening station does the opposite - it turns playing a record into an intentional act. You choose the album, clean it, drop the needle, and sit down. No algorithms, no autoplay, no skipping.
Building a proper listening station isn't complicated, but it's more than just buying a turntable and setting it on a random table. The surface matters. Speaker placement matters. Record storage matters. Even the room's acoustics play a role in what you hear.
This guide walks you through every component - from turntable selection to acoustic treatment - so your setup sounds as good as it looks.
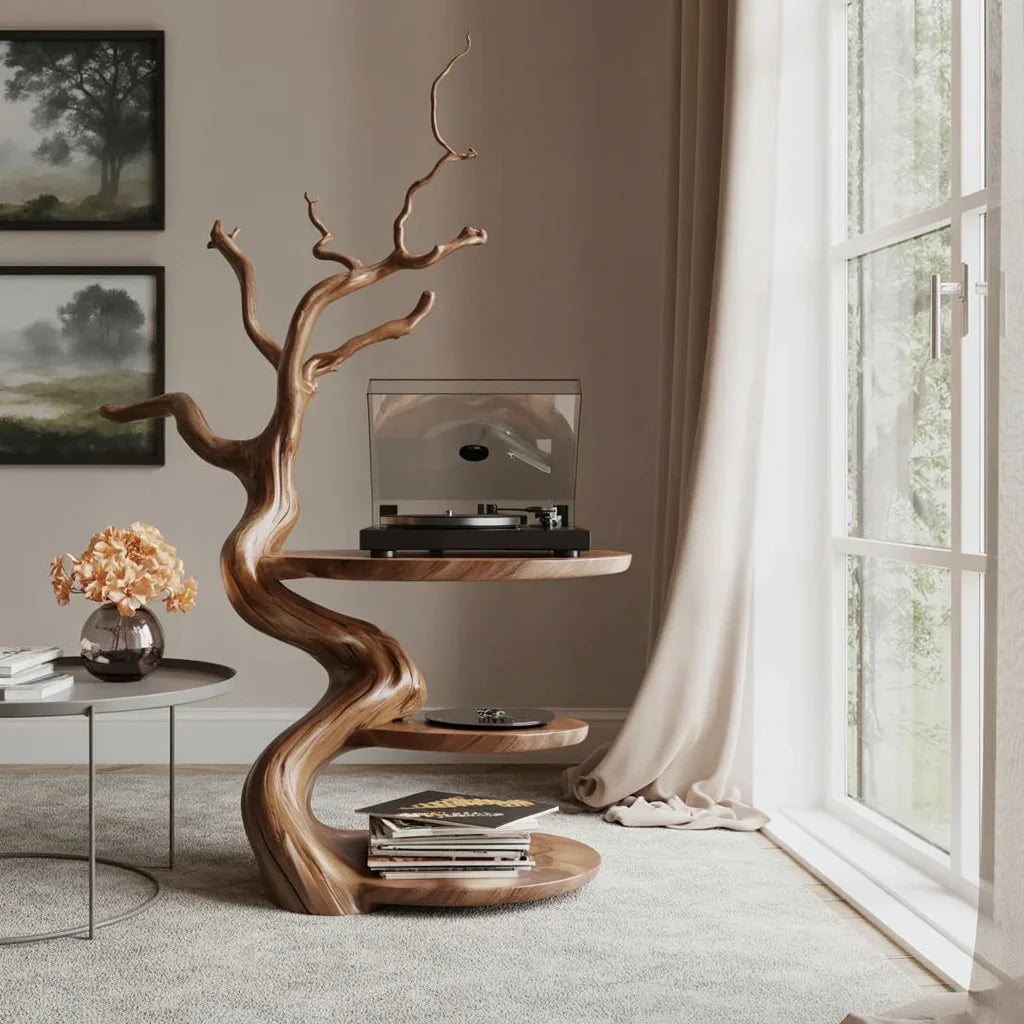
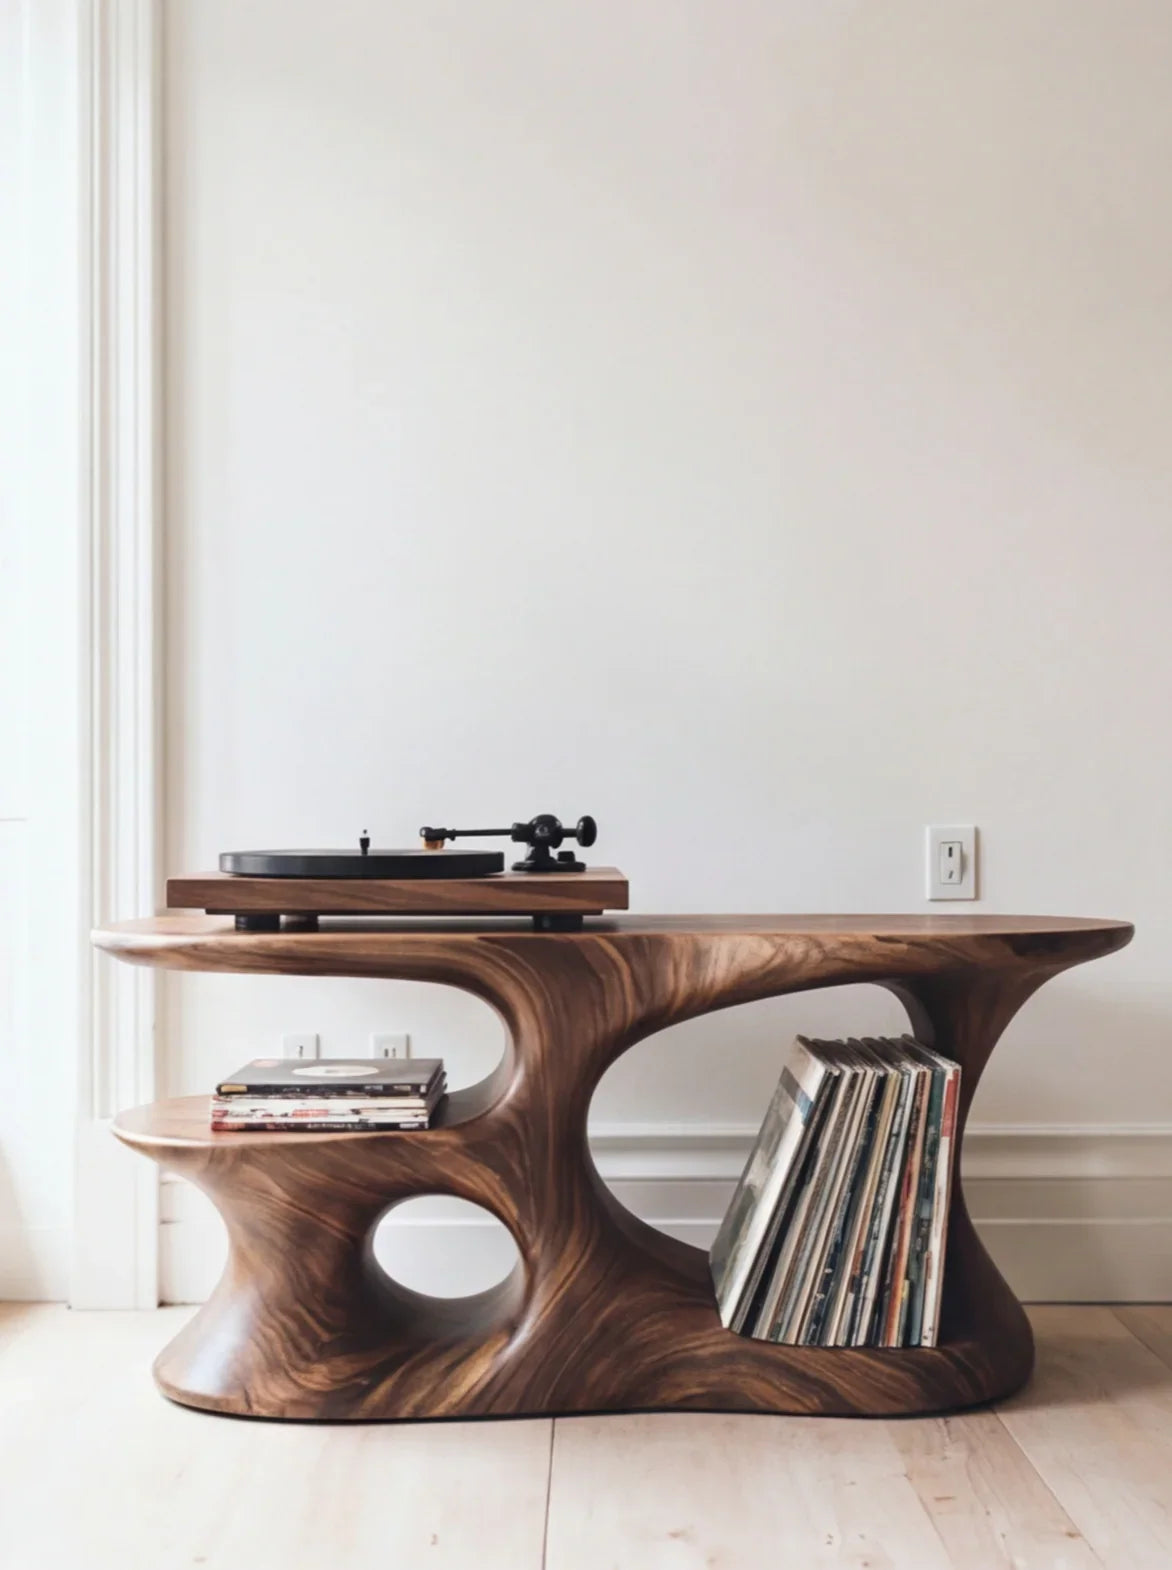
Handmade Wooden Record Player Stand with Vinyl Storage
What You Need: The Core Components
A vinyl listening station has five essential elements. Skip any one and the experience suffers.
1. Turntable
This is the centerpiece. For beginners, a belt-drive turntable with an adjustable counterweight and anti-skate offers the best balance of sound quality and usability. Avoid all-in-one units with built-in speakers - they vibrate the needle and distort playback.
Key features to look for:
- Adjustable tonearm. Lets you set tracking force for your specific cartridge, reducing record wear.
- Built-in preamp (phono stage). If your amplifier or powered speakers don't have a phono input, you need a preamp somewhere in the chain. A built-in option simplifies setup.
- Removable headshell. Makes cartridge upgrades easier down the road.
- Stable platter. Heavier platters reduce speed fluctuations (wow and flutter). Look for die-cast aluminum or MDF rather than thin plastic.
Budget guidance: $150-$300 gets you a solid entry-level turntable that won't damage your records. Below $100, quality drops fast. Above $500, you're paying for audiophile refinements that most listeners won't notice initially.
2. Amplifier or Receiver
If you're using passive speakers (no built-in amplification), you need an amp or receiver. A stereo integrated amplifier with a phono input is the simplest route. Vintage receivers from the 1970s-80s are popular in vinyl setups - they sound warm, look great, and can be found at thrift stores for $50-$150.
If you're using powered (active) speakers, you can skip the separate amplifier. Many modern powered speakers accept RCA input directly from a turntable with a built-in preamp.
3. Speakers
Bookshelf speakers are the standard for home listening stations. They're compact enough to sit on a shelf or stand, yet large enough to produce full sound in a typical room (up to about 300 square feet).
Placement rules:
- Speakers should be at ear height when you're in your primary listening position.
- Angle them inward (toe-in) about 10-15 degrees, pointing toward your listening spot.
- Keep them at least 6-12 inches from the wall to reduce bass buildup (boominess).
- Equal distance from each side wall, if possible. Symmetry matters for stereo imaging.
4. Turntable Stand or Console
This is where many setups go wrong. A turntable needs a stable, level, vibration-resistant surface. Wobbly tables, hollow IKEA units, and glass shelves are poor choices - they transmit footstep vibrations and speaker bass directly to the needle, causing skipping and distortion.
What works:
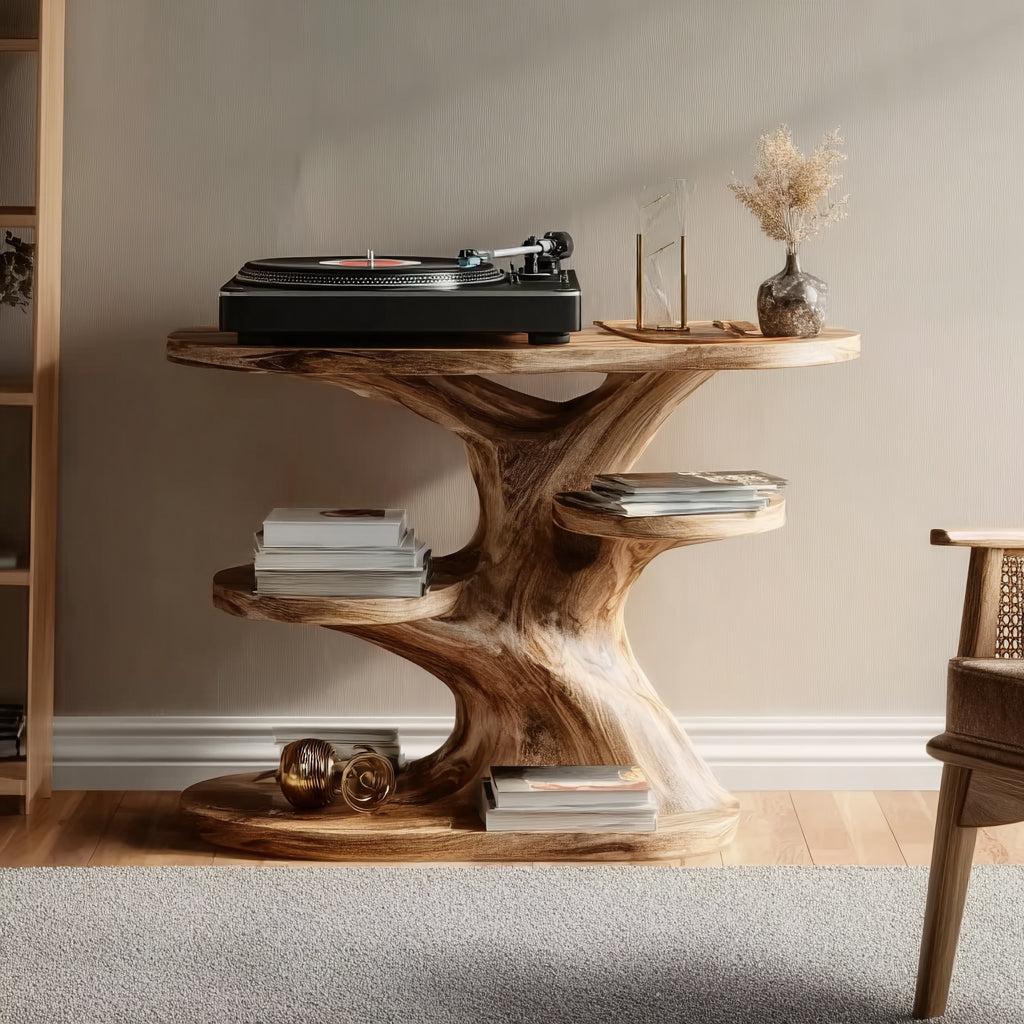
- Solid wood stands. Dense hardwood absorbs vibration rather than transmitting it. A dedicated record player stand with built-in record storage is the most practical option.
- Heavy, low furniture. A solid wood sideboard or console with mass resists vibration naturally.
- Isolation feet or pads. If your surface isn't ideal, rubber or sorbothane isolation pads under the turntable dampen vibrations. They cost $10-$20 and make a real difference.
5. Record Storage
Records should be stored vertically - always. Stacking records flat puts weight on the lower discs, causing warping over time. Leaning records at angles also leads to warping and ring wear on jackets.
Storage options:
- Built-in shelving below the turntable. Record player stands with cubby storage keep your collection within arm's reach during listening sessions.
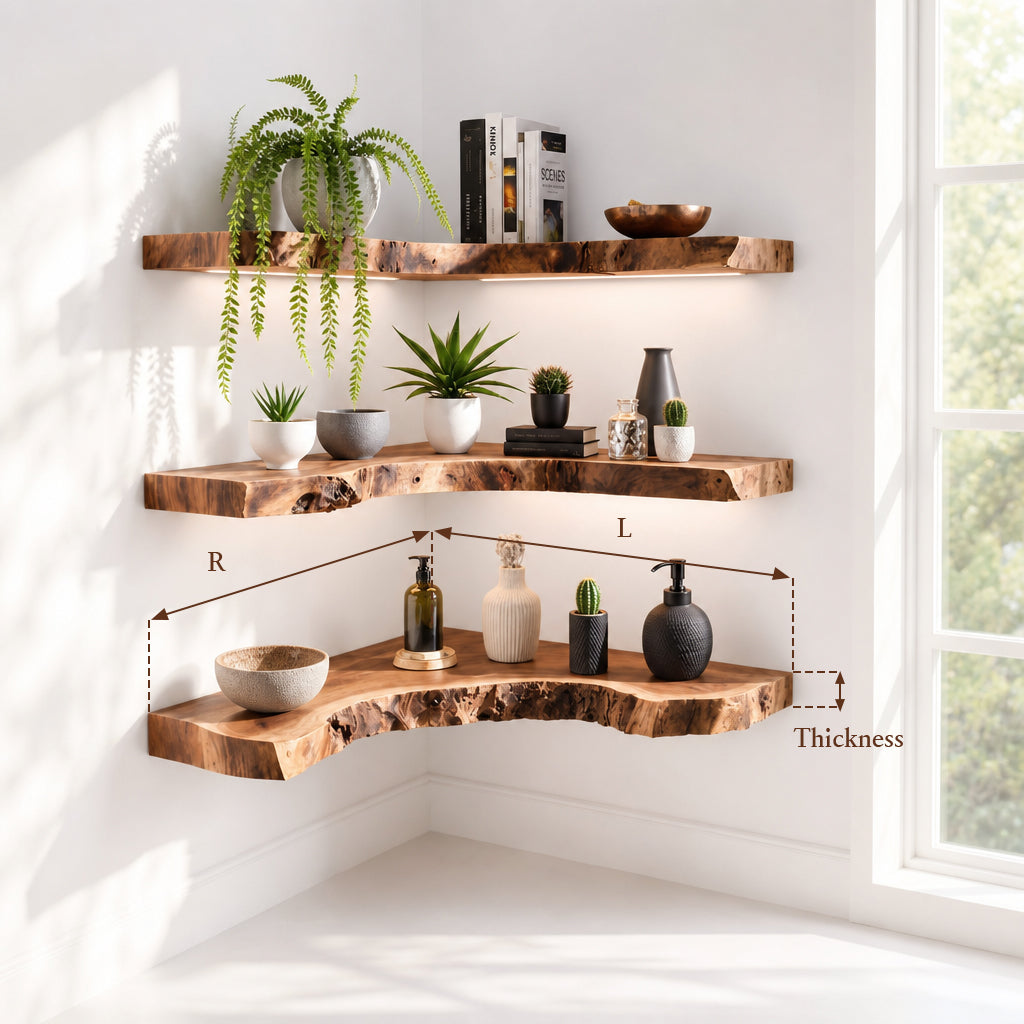
- Wall-mounted shelves. Display-facing shelves showcase album art while keeping records accessible.
- Dedicated record crates or bins. Freestanding bins work for large collections. Use dividers to prevent leaning.

Handcrafted Natural Wood Record Player Stand – Custom Turntable Storage Cabinet
Choosing the Right Spot in Your Home
Not every room - or every corner - works equally well for a listening station. Consider these factors:
- Foot traffic. Turntables are sensitive to vibration. Avoid placing your setup near a hallway, staircase, or doorway where people walk frequently. The needle picks up footstep vibrations through the floor and surface.
- Room size. Small rooms (under 100 sq ft) can sound boomy with bass-heavy speakers. Large rooms (over 400 sq ft) may require more powerful speakers or a subwoofer to fill the space. Most bedrooms and living rooms fall in the ideal range.
- Hard surfaces vs. soft. Rooms with hardwood floors, bare walls, and minimal furniture reflect sound, creating echo and harshness. Rooms with rugs, curtains, upholstered furniture, and bookshelves absorb sound, producing a warmer listening experience.
- Electrical interference. Keep the turntable and amp away from routers, microwaves, and fluorescent lights. These can introduce hum or buzz into the audio chain.
The ideal spot: a corner of a carpeted living room or bedroom, away from doors and windows, with the turntable on a solid wood stand against an interior wall.
Speaker Placement: The Biggest Sound Upgrade That Costs Nothing
You can spend $2,000 on speakers and still get mediocre sound if they're placed poorly. Proper placement costs zero dollars and often makes a bigger difference than upgrading equipment.
The stereo triangle
Your two speakers and your listening position should form an equilateral triangle. If the speakers are 5 feet apart, your chair or couch should be 5 feet from each speaker. This creates a centered "sweet spot" where stereo imaging (the sense of instruments being placed left, center, and right) is strongest.
Height
Tweeters (the small drivers that produce high frequencies) should be at ear level when you're seated. If your speakers are on a shelf that's too high or too low, tilt them to aim the tweeters at your ears. Many speaker stands have adjustable angles for this reason.
Wall distance
Pulling speakers 12-18 inches from the back wall reduces bass muddiness. If you can't move them that far, 6 inches is better than flush against the wall. Corner placement amplifies bass dramatically - useful if your speakers are bass-light, problematic if they're not.
Toe-in
Angle each speaker inward so the front face points toward your listening position. Start at 10 degrees and adjust by ear. More toe-in narrows the soundstage but sharpens imaging. Less toe-in widens the soundstage but can make it diffuse.

Solid Wood Vinyl Record Storage Cabinet – Modern Sculptural LP Shelf
Room Acoustic Basics: Simple Tweaks That Improve Sound
You don't need professional acoustic treatment. A few practical changes make a noticeable difference:
- Add a rug. If you have hard floors, a thick area rug between your speakers and listening position absorbs reflections that cause harshness in the treble range.
- Hang curtains. Even if you have blinds, adding fabric curtains absorbs mid and high-frequency reflections from windows.
- Bookshelves as diffusers. A bookshelf filled with irregularly sized books scatters sound waves, reducing flutter echo (that ringy, hollow sound in bare rooms). Place one on the wall behind your listening position.
- Upholstered furniture. A couch, armchair, or even throw pillows absorb sound. Hard chairs and bare benches reflect it.
- Avoid bare parallel walls. Two flat, hard walls facing each other create standing waves (specific frequencies that boom or cancel out). Breaking up one surface with shelves, art, or textiles helps.
The goal isn't to deaden the room - that sounds lifeless. It's to balance absorption and reflection so music sounds clear, detailed, and natural.
Setting Up Your Turntable: Step by Step
- Level the surface. Place a bubble level on the platter (remove the mat first). Adjust the stand or use shims under the turntable feet until it's perfectly level. An unlevel turntable causes uneven tracking force and accelerates record wear.
- Set tracking force. Check your cartridge manufacturer's recommended tracking force (usually 1.5-2.5 grams). Zero the tonearm counterweight, then dial in the recommended force. Too light causes skipping; too heavy wears grooves prematurely.
- Set anti-skate. Match the anti-skate dial to your tracking force number. Anti-skate counteracts the inward pull of the groove, keeping the stylus centered.
- Connect the signal chain. Turntable → preamp (if external) → amplifier/receiver → speakers. Use shielded RCA cables to minimize interference. Don't forget the ground wire - connect it from the turntable to the amp's ground terminal to eliminate hum.
- Test with a familiar record. Play something you know well. Listen for distortion, channel imbalance (louder on one side), and excessive surface noise. Adjust tracking force in 0.1-gram increments if needed.

Solid Wood Turntable Stand – Rustic Record Player Cabinet with Farmhouse Storage
Record Care and Maintenance
Your records are the source material. Keeping them clean and properly stored directly affects sound quality.
- Brush before every play. A carbon fiber brush removes surface dust and static. Run it lightly across the record in the direction of the grooves while the platter spins. Takes 5 seconds and prevents dust from embedding in grooves.
- Deep clean periodically. Every 20-30 plays, use a record cleaning solution and microfiber cloth. For serious collectors, a spin-clean or ultrasonic record cleaner is worth the investment.
- Replace inner sleeves. Cheap paper sleeves shed fibers onto records. Replace them with anti-static polyethylene or rice paper sleeves. A pack of 50 costs about $10 and protects your entire collection.
- Store in a cool, dry place. Heat warps vinyl. Humidity grows mold on jackets. Direct sunlight fades artwork and can warp records through a window in summer. A shelf on an interior wall away from windows is ideal.
Designing the Space Around Your Listening Station
A listening station isn't just equipment - it's an environment. The space around it should encourage you to actually sit down and listen.
- Comfortable seating. A good armchair or couch positioned in the stereo sweet spot. You should want to stay there for a full album side (20-25 minutes).
- Good lighting. A floor lamp or table lamp with a warm bulb. Overhead fluorescent lighting kills the mood. Dimmable is ideal.
- Album art display. Frame a few favorite covers or use a now-playing shelf that displays the current record's jacket. It makes the visual experience match the auditory one.
- Minimal distractions. If possible, keep screens out of the immediate listening area. The point is to listen, not multitask.
Ashdeco's record player stands are designed with this listening ritual in mind. Handcrafted from solid wood by Vietnamese artisans, each stand provides a stable, vibration-dampening surface for your turntable with integrated record storage below - everything within arm's reach, built to last decades.
Frequently Asked Questions
How much does a basic vinyl listening station cost to build?
A functional setup runs $400-$800: turntable ($150-$300), powered speakers ($100-$250), and a solid wood stand ($100-$250). You can go lower with used equipment or higher with audiophile gear, but this range delivers genuinely good sound for most listeners.
Do I need a separate room for a listening station?
Not at all. Most listening stations share space with a living room, bedroom, or home office. A dedicated corner is enough. The key is having a stable surface, proper speaker placement, and a comfortable seat positioned in the stereo sweet spot.
Can I use Bluetooth speakers with a turntable?
Technically yes - some turntables have Bluetooth output. But Bluetooth compresses the audio signal, which defeats much of the purpose of vinyl. The warmth and detail that make vinyl special get lost in wireless transmission. Wired connections always sound better for vinyl playback.
How do I stop my turntable from skipping when people walk by?
Three solutions: (1) Place the turntable on a heavy, solid surface - mass resists vibration. (2) Add isolation feet or sorbothane pads under the turntable. (3) Move the setup away from high-traffic areas. If you have suspended wood floors, wall-mounted shelves can isolate the turntable from floor vibrations entirely.
What size record collection fits in a typical stand?
Most record player stands hold 75-200 records depending on the design. A standard 12-inch LP is about 1/8 inch thick in its jacket. A 12-inch-wide shelf compartment holds roughly 50-60 records stored vertically. Two compartments give you space for 100-120 albums - enough for most casual to moderate collectors.
Is vinyl actually better than digital?
"Better" is subjective. Vinyl has a warmer tonal character due to the analog signal chain, and many listeners prefer it for genres like jazz, classic rock, and soul. Digital formats (particularly lossless) technically have better specifications - lower noise floor, wider dynamic range. The real advantage of vinyl isn't technical - it's experiential. The ritual of selecting, handling, and listening to a record changes how you engage with music.
Start Spinning
A vinyl listening station is one of those rare projects where the process is as rewarding as the result. Each component you choose, each adjustment you make, and each record you play adds to an experience that streaming simply can't replicate. Start with the essentials, build gradually, and let your ears guide the upgrades.
For the foundation of your setup, explore Ashdeco's handcrafted record player stands - solid wood, built by skilled Vietnamese artisans, and designed to keep your turntable stable and your records organized for years to come.