
The Real Fear: Can I Actually Assemble This Myself?
These are the questions we hear most from customers looking up tree bookshelf assembly instructions before buying. You found the perfect tree bookshelf. It looks impressive in the photos. Your room needs it. But then one question creeps in:
"Can I put this together without special tools or getting frustrated?"
From 24 customers discussing tree bookshelf assembly on Reddit, TikTok, and YouTube, here's what we heard most:
- "Will I need a power drill or just a screwdriver?"
- "How long will this actually take?"
- "What if it wobbles after assembly?"
- "Am I going to mess this up?"
Good news: You don't need special tools. Most tree bookshelves assemble in 30 minutes or less. And this guide walks you through every step so you know exactly what to expect.
Part 1: Pre-Assembly (What You Actually Need)
Tools Required - Less Than You Think
Here's what you'll actually use:
Essential (you probably have these):
- Screwdriver (Phillips, standard size)
- Drill (optional but helpful, if you don't have: hand-screw works fine)
- Level (4-6 inches, $5-10 at hardware store)
- Tape measure
- Painter's tape (for marking positions)
Safety gear:
- Work gloves (keep hands clean)
- Safety glasses (optional, helpful for screws)
That's it. You don't need a miter saw, impact driver, or special brackets. Just basics.
Step 0: Unbox & Check Everything
Before you do anything:
- Lay out all parts in your assembly space
- Count everything against the parts list
- Check for damage (cracks, bent brackets, loose hardware)
- Read the manual completely once (takes 2 minutes, saves 20 minutes of confusion)
Pro tip: Take a photo of the manual's assembly diagram with your phone. Reference it while assembling.
Part 2: Assembly by Type (Choose Your Shelf)
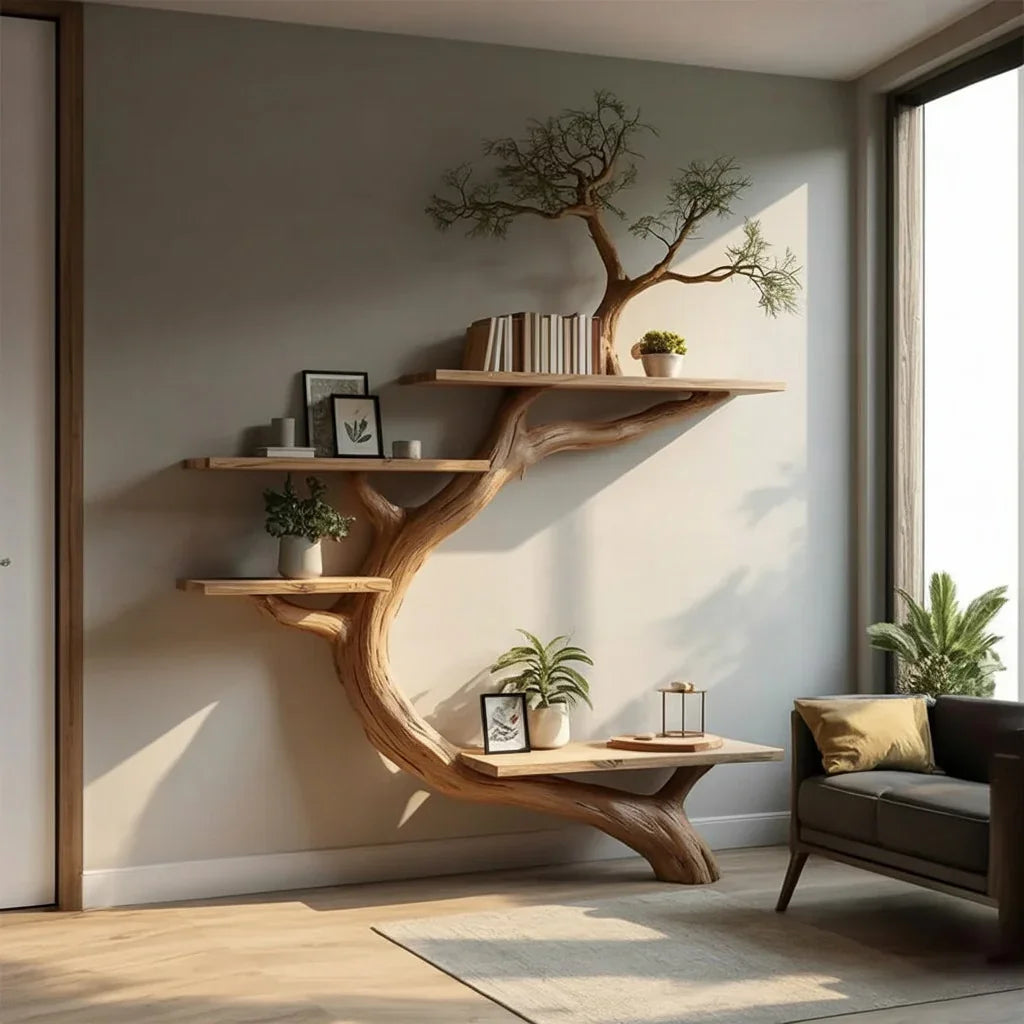
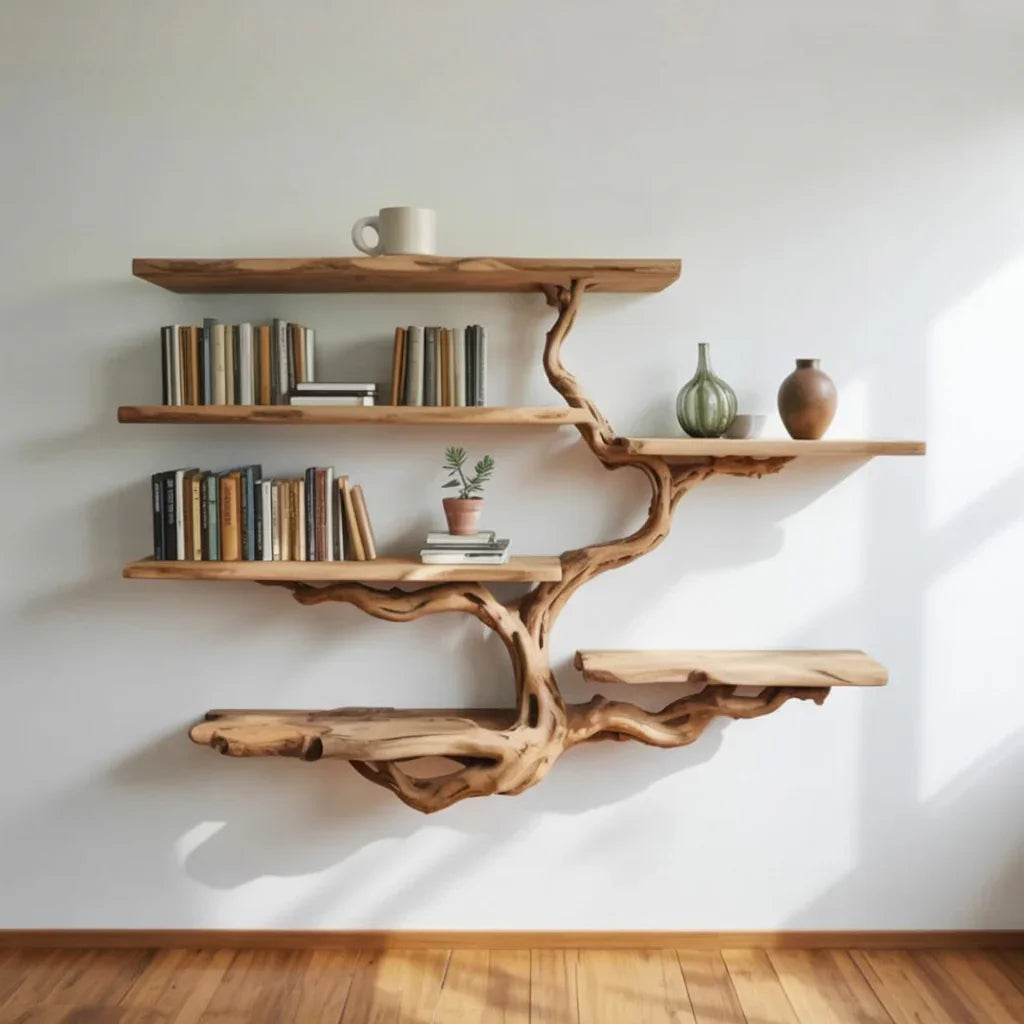
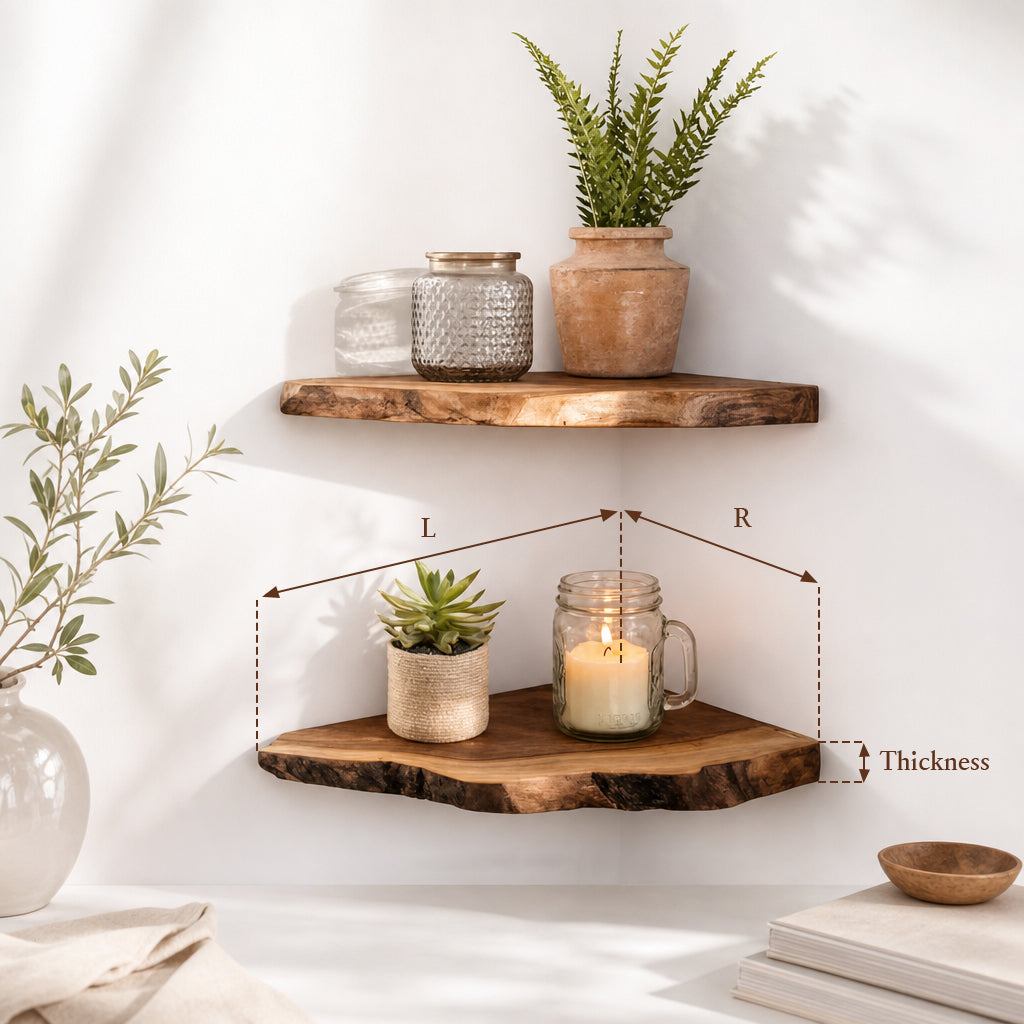
Type 1: Corner Tree Bookshelf (Easiest - 15 minutes)
Why it's easy: No wall mounting. Just place and level.
Step 1: Choose your corner
- Pick an inside corner (not by a door swing or AC vent)
- Measure: Ensure you have enough wall clearance for the widest branch
Step 2: Unbox and assemble the base
- Place the base platform in the corner
- Attach the main trunk (usually 2-4 bolts)
- Hand-tighten bolts first, don't over-torque yet
Step 3: Attach branch shelves
- Start from the bottom shelf, work upward
- For each shelf: insert bolt through the support ring, screw into the trunk
- Tighten each bolt firmly (snug, but don't strip the wood)
Step 4: Level and adjust
- Place the level on the top shelf
- Adjust the leveling feet underneath until it's perfectly level
- Check again from side-to-side and front-to-back
Step 5: Wobble test (critical)
- Push down gently on the front of the top shelf
- It should NOT move or creak. Zero wobble = success.
- If it wobbles: Check that all bolts are tight and feet are adjusted fully
Time: 15 minutes | Difficulty: ⭐ Easy
Popular corner shelf examples:
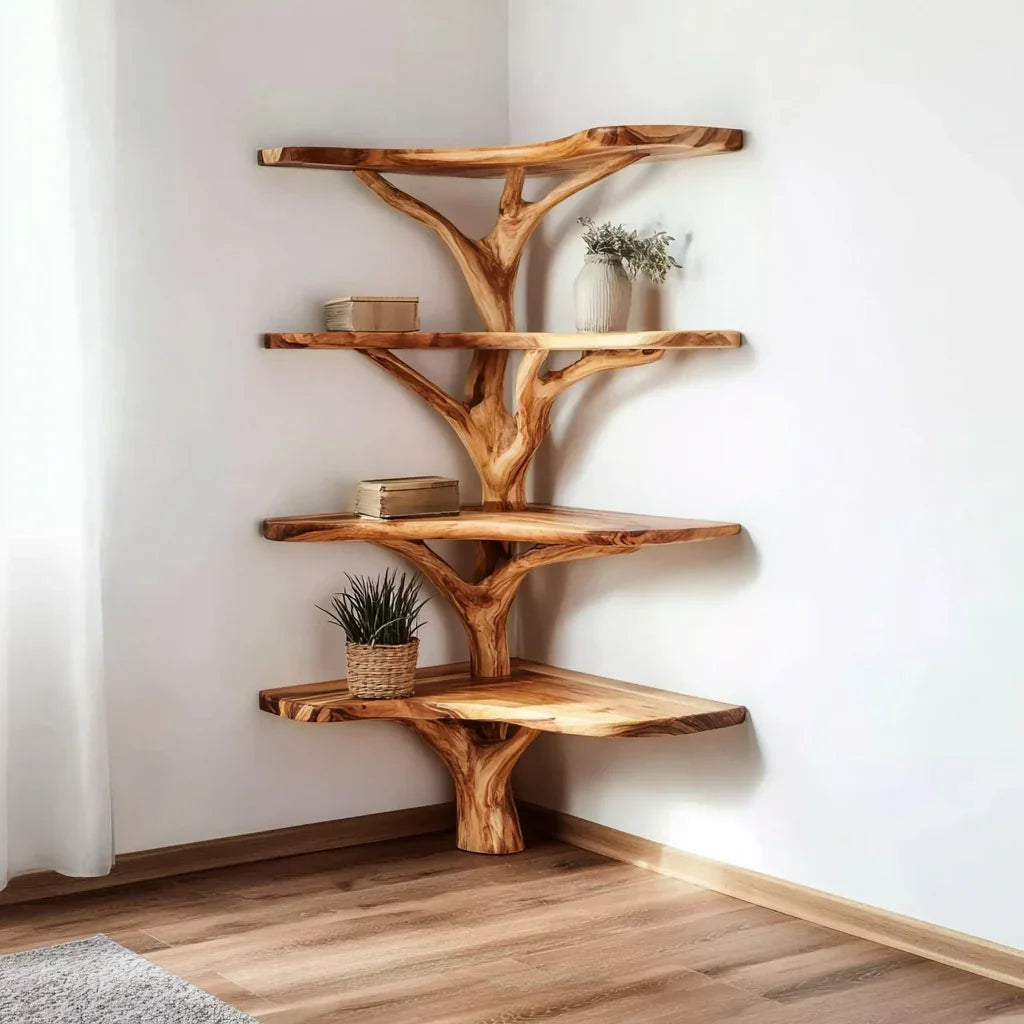
Rustic Tree-Inspired Corner Shelf - Handcrafted branch wood | $1,896
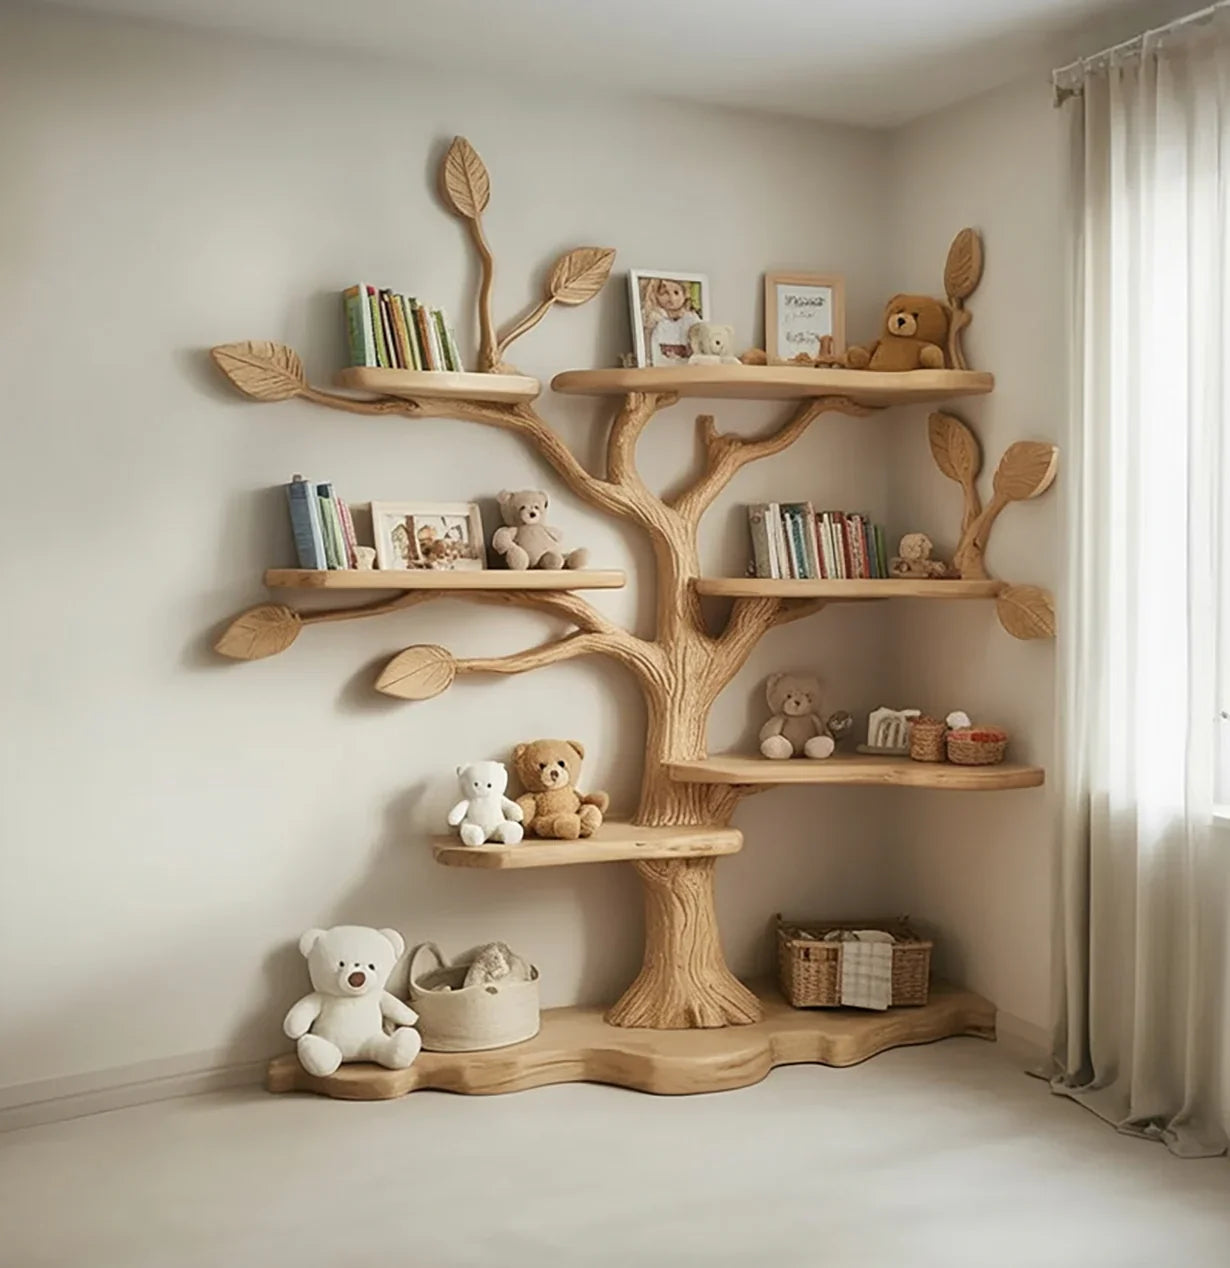
Kids Tree Bookshelf - Natural wood, 3 shelves | $1,680–$2,150
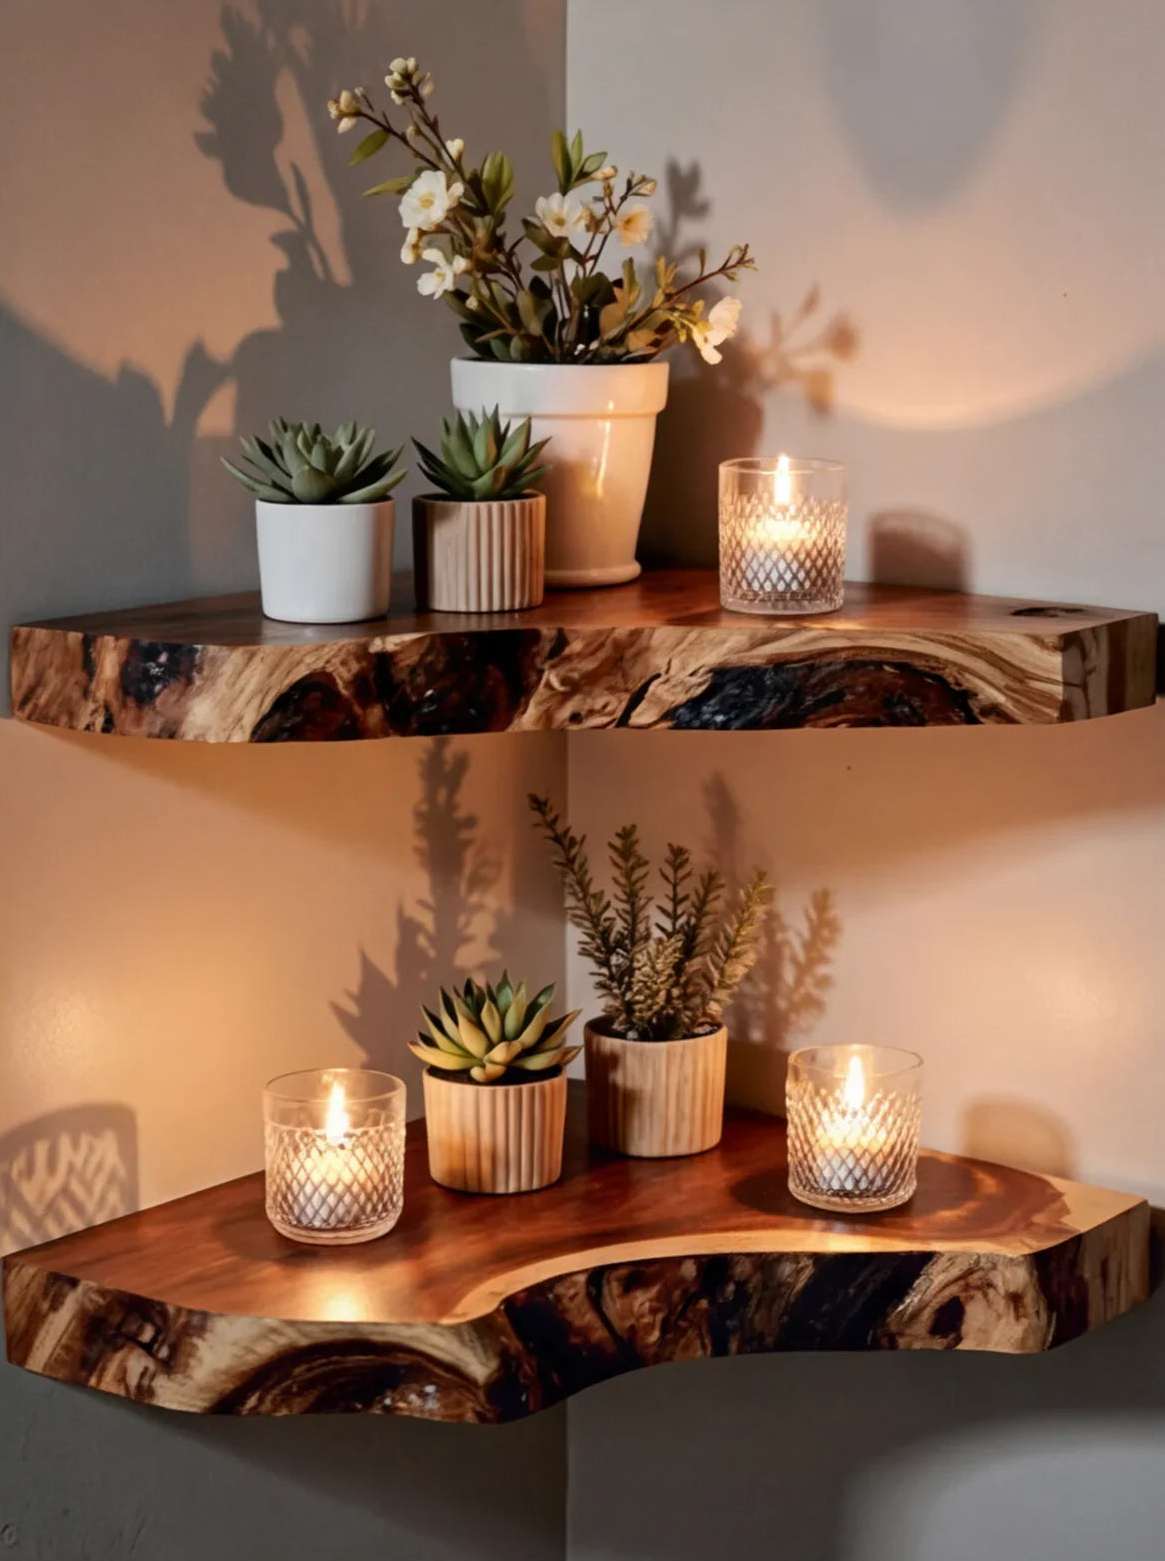
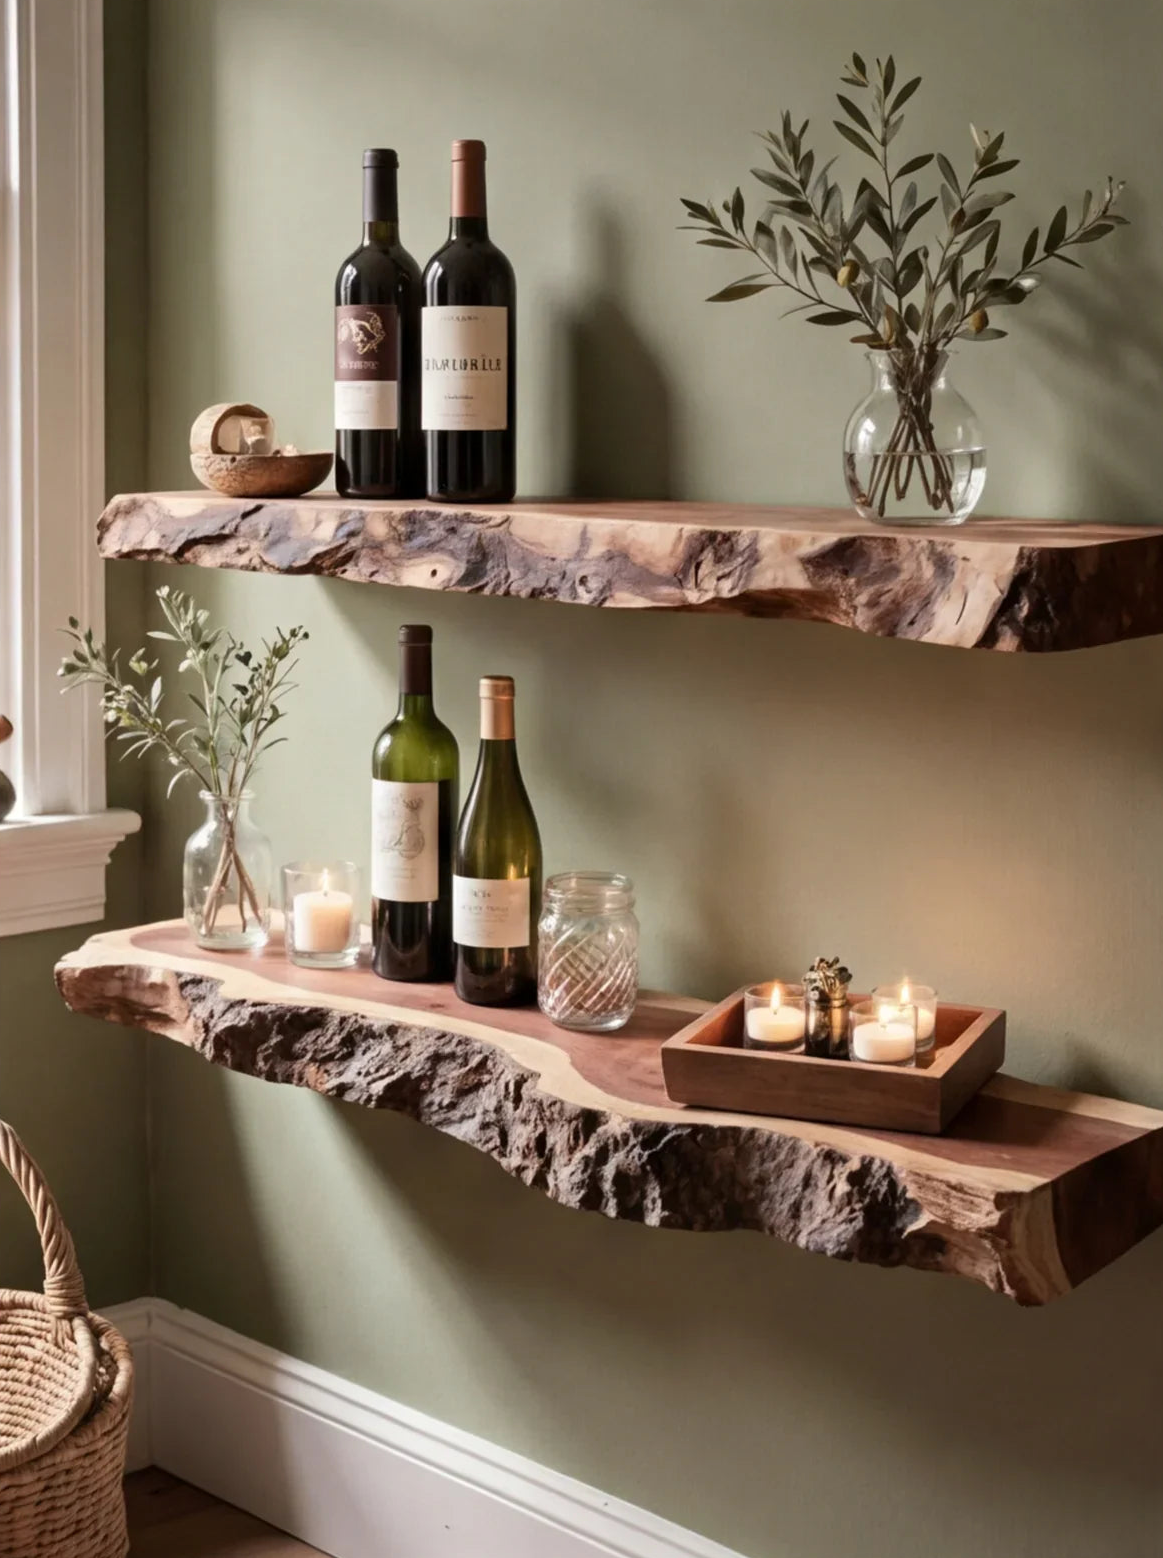
Type 2: Floating Tree Bookshelf (Medium - 25 minutes)
Why it takes longer: Wall mounting requires finding studs.
Step 1: Gather your wall data
- Find studs: Use a stud finder. Tap lightly on the wall - studs sound solid, empty space sounds hollow
- Mark stud locations on painter's tape at your desired shelf height
- Measure twice: Where will the brackets attach? Make sure they hit studs (non-negotiable)
Step 2: Prepare brackets
- Lay out all mounting hardware
- Install any backing plates or mounting cleats according to the manual (these are important)
- Double-check that brackets are not damaged
Step 3: Mark and drill
- Use painter's tape to outline where the shelf will sit
- Mark pilot hole locations (usually 2-3 points per bracket)
- Drill pilot holes (smaller diameter than your screws - prevents wood cracking)
Step 4: Install brackets
- Install one bracket at a time
- Use wood screws rated for 50+ lbs (specified in manual)
- Tighten firmly but don't over-screw (you'll strip the wood)
- Check that each bracket is level before moving to the next
Step 5: Mount the shelf
- Carefully lift the shelf (get a helper if it's heavy)
- Slide it onto the brackets
- Secure according to the manual (usually top-mounted clips or brackets)
Step 6: The wobble test (non-negotiable)
- Push down hard on the front edge of the shelf
- Zero movement = correct installation
- If it moves: Stop. Remount. Likely your bracket isn't into a stud, or brackets aren't tight
Step 7: Weight test
- Wait 24 hours before loading
- Load gradually: Start with 25 lbs (light books), wait a day
- If no sag after 24 hours, add more weight
- Don't exceed manufacturer specs
Time: 25 minutes | Difficulty: ⭐⭐ Medium
Popular floating shelf examples:
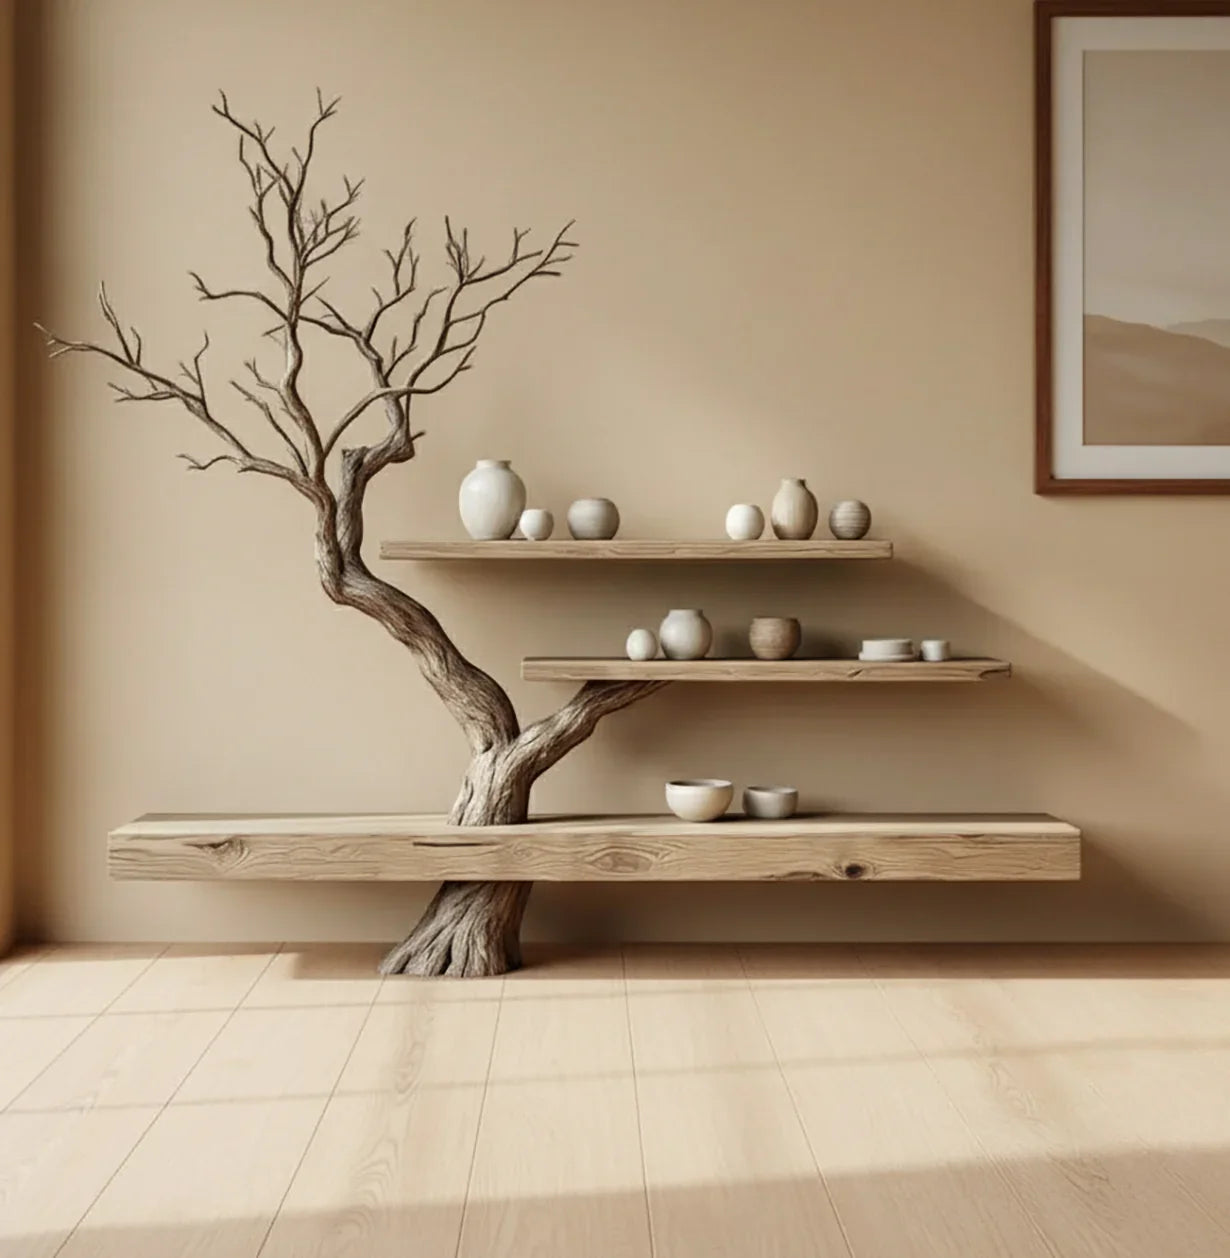
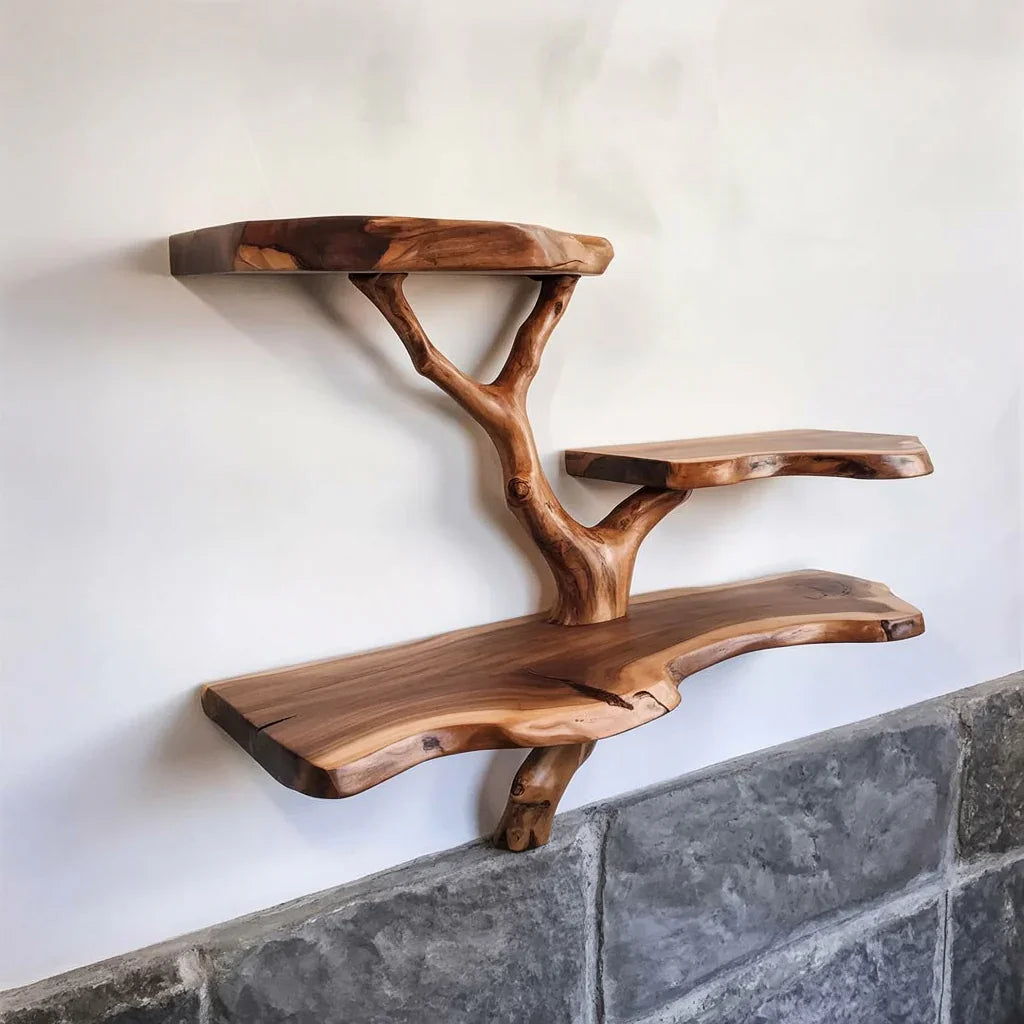
Tree Branch Floating Shelf - Live edge, handcrafted | $1,897

Rustic Tree Branch Floating Shelf - Driftwood design | $2,635
Tree Branch Floating Shelf - Natural driftwood | $798–$956
Type 3: Floor-Standing Tree Bookshelf (Easiest - 20 minutes)
Why it's easiest: No wall mounting. Just assemble and set.
Step 1: Lay out all pieces
- Base platform
- Main trunk
- Branch shelves (usually numbered)
- Leveling feet/casters
- All bolts and hardware
Step 2: Attach base to trunk
- Position the trunk on the base
- Use bolts to secure (usually 3-4 connection points)
- Hand-tighten first
Step 3: Add shelves bottom-to-top
- Start with the bottom branch shelf
- Insert the bolt through the support ring
- Screw into the threaded hole on the trunk
- Tighten firmly (snug, no stripping)
- Repeat for each shelf moving upward
Step 4: Tighten all bolts
- Go around the entire assembly
- Re-tighten each bolt a quarter-turn (materials settle slightly)
- You want everything solid, zero rattle
Step 5: Level the unit
- Place the level on multiple shelves (top, middle, bottom)
- Adjust the leveling feet until perfectly level
- Some units have adjustable feet - turn as needed
Step 6: Stability check
- Push on different parts of the unit
- No wobble, no swaying, no creaking = success
- In homes with kids/pets: Consider anchoring to the wall with a bracket for extra safety
Pro tip: For extra stability, add an L-bracket from the back of the unit to the wall (optional but recommended if you have kids).
Time: 20 minutes | Difficulty: ⭐ Easy
Type 4: Wall-Mounted Tree Bookshelf (Hardest - 35 minutes)
This is the trickiest. Wall-mounted designs look amazing but require precision.
Step 1: Plan carefully
- Measure your wall space exactly
- Sketch where the entire unit will go
- Use painter's tape to outline the mounting footprint on the wall
- Stand back and look at it - make sure the placement looks right
Step 2: Find studs (critical)
- Use your stud finder
- Mark at least 2-3 studs where you'll install the mounting plate
- If studs don't align with bracket positions: Stop. Consider an alternative installation or moving to a different wall section
Step 3: Install the mounting plate
- The mounting plate distributes weight across studs
- Level it carefully before screwing in
- Use wood screws rated for 75+ lbs (wall-mounted takes more force)
- Install all screws, tighten, re-check level
Step 4: Attach the shelf frame to the mounting plate
- Follow the manual for bracket-to-mounting-plate connections
- Use the provided hardware (don't substitute)
- Ensure everything is aligned
Step 5: Attach the tree shelves
- Secure each branch to the main frame
- Tighten all connections firmly
- No rattle, no movement
Step 6: Weight test (important)
- Before loading: Push down on various parts of the shelf
- Zero movement when pushing
- Wait 24 hours before loading any weight
Step 7: Gradual loading
- Start with 25 lbs (test weight)
- Wait 24 hours - check for sag or creaking
- If stable, add more weight gradually
- Heavy books go lower, light décor goes higher
Time: 35 minutes + waiting | Difficulty: ⭐⭐⭐ Hard
⚠️ Safety note: Wall-mounted shelves fail when brackets aren't in studs. If unsure, hire a professional ($50-150 for installation).
Popular wall-mounted options:
Rustic Tree Bookcase - Wall-mounted statement piece | $2,835
Part 3: The Wobble Test (Most Important Check)
You've assembled your shelf. Now verify it's actually stable.
Why wobbling happens:
- Bolts aren't tight enough
- Brackets aren't mounted into studs (floating/wall-mounted)
- Leveling feet aren't adjusted properly
- Base isn't on a level floor
How to test:
- Hand on top shelf: Press down firmly with your palm on the front edge
- Check for movement: Any sag, shift, or creak = problem
- Listen: No creaking, no popping sounds
- Visual check: No gaps between shelf and bracket
If it wobbles:
- Check bolts first: Go around and re-tighten every bolt a quarter-turn
- Check leveling feet: Adjust until perfectly level
- For wall-mounted: Check that brackets are fully into studs (use stud finder to confirm)
- Re-test: Push hard on the shelf again
You want zero movement. If after tightening it still wobbles, something is wrong. Don't load it with weight until you've fixed it.
Part 4: Common Assembly Mistakes (And How to Avoid)
From 24 customers discussing assembly online, these are the failures we saw most:
❌ Mistake #1: Skipping the manual
What happens: You miss critical steps, end up with leftover bolts, or assemble wrong.
How to avoid: Read the entire manual once before touching any parts. Takes 2 minutes, saves 30 minutes of rework.
❌ Mistake #2: Not finding studs (floating/wall-mounted only)
What happens: You mount into drywall alone. Shelf fails and falls (dangerous).
How to avoid: Use a stud finder. Mark stud locations. Verify brackets are positioned over studs BEFORE drilling.
❌ Mistake #3: Over-tightening bolts
What happens: You strip the wood threads. Bolts spin loose. Shelf is unstable.
How to avoid: "Snug tight" = firm, but you shouldn't need to grunt. If it feels super tight, you're doing it wrong.
❌ Mistake #4: Installing upside-down or backwards
What happens: Assembly doesn't match the manual. Shelf hangs wrong. Looks bad (or doesn't fit).
How to avoid: Lay out the diagram. Double-check bracket orientation. Use manufacturer photos.
❌ Mistake #5: Not leveling
What happens: Books slide off. Shelf looks crooked. Water from plants flows to one side.
How to avoid: After assembly, place a level on every shelf. Adjust feet until perfectly level. Re-check after loading weight.
❌ Mistake #6: Overloading
What happens: Shelf sags in the middle. Wobbles. Becomes unsafe.
How to avoid: Check the manual's weight capacity. Heavy books go on lower shelves. Upper shelves stay light (plants, décor). Test with 25 lbs for 24 hours before full load.
❌ Mistake #7: Forgetting the wobble test
What happens: You load it, then discover it's unstable. Now it's scary.
How to avoid: After assembly, before adding weight, push on the shelf firmly. Zero movement = good to go. Any movement = tighten, re-level, re-test.
Part 5: After Assembly - What Could Go Wrong
If your shelf wobbles after assembly:
Check #1: Are bolts tight?
- Go through each bolt
- Tighten a quarter-turn with your screwdriver
- Re-test
Check #2: Is it level?
- Place the level on different shelves
- If not level: Adjust the leveling feet
- Re-check level again
- Re-test wobble
Check #3: Wall studs (if wall-mounted)?
- Use stud finder to confirm brackets are over studs
- If not: You need to remount the bracket
- This is critical - don't skip
Check #4: Bracket damage?
- Inspect brackets for bends or cracks
- Look underneath for rust or corrosion
- If damaged: Contact customer support for replacement
If the shelf sags:
Early sag (happens immediately or after a few days):
- You've overloaded it
- Remove some weight, especially from upper shelves
- Heavy items go down, light items go up
Slow sag (weeks or months later):
- Wood has absorbed humidity and expanded slightly
- This is normal for real wood
- Solution: Remove weight, let it dry for a few days, reload slowly
Part 6: Weight Distribution Tips
Once your shelf is stable, here's how to load it without problems:
The 60-30-10 Rule:
- 60% Books (weight-bearing items on bottom shelves)
- 30% Décor (plants, frames, lighter items on middle)
- 10% Empty space (top shelf stays mostly bare for visual breathing room)
By shelf level:
- Bottom shelf: Heavy hardcover books, storage boxes
- Middle shelves: Mix of books + lightweight décor
- Top shelves: Plants, small items, mostly empty space
Why this matters:
- Top-heavy shelves sag and wobble
- Even weight distribution = stable shelf
- Empty space makes the room feel less cluttered
>>> Not sure which size fits your space? [Compare tree bookshelf sizes here]
Part 7: FAQs - Answers to What Customers Actually Ask
Q: How long does assembly REALLY take?
A: 15-35 minutes depending on type. Corner shelf (15 min), floor-standing (20 min), floating (25 min), wall-mounted (35 min). Add 10 minutes if you're doing it for the first time or extra careful.
Q: What if I don't have a power drill?
A: You don't need one. Screwdrivers work fine. Drilling pilot holes helps prevent cracking, but if no drill: Use a nail to create a small hole, then screw in.
Q: Is the wobble test really necessary?
A: Yes. It's your safety check. A wobbling shelf will get worse over time. Push hard on it before loading weight.
Q: My shelf wobbles after assembly. Should I return it?
A: Not yet. 90% of wobbles are from loose bolts or unlevel feet. Tighten everything and re-level. If wobble persists: Contact customer support.
Q: Can I install this into drywall (without studs)?
A: For floating shelves: No. You need studs. Heavy-duty drywall anchors (toggle bolts) might work temporarily, but studs are the safe way. For floor-standing: Yes, drywall isn't involved.
Q: How much weight can my shelf hold?
A: Check your manual. Typical: 30-100 lbs per shelf depending on type and bracket quality. Don't guess - follow manufacturer specs. A hardcover book weighs 1-2 lbs; do the math before loading.
Q: My shelf is slightly crooked even after leveling. Is it okay?
A: No. Make it level. If the floor is uneven: Use shims (plastic or wood wedges) under the leveling feet. If wall is crooked: Floating shelves must still be level to the floor, not to the wall.
Q: What if bolts keep loosening?
A: Normal for the first month as materials settle. Check and tighten bolts weekly for the first 4 weeks. After that: monthly checks. Consider threadlocker (blue Loctite) if persistent.
Q: Is my shelf safe for kids and pets?
A: For floor-standing: Yes, if properly assembled and level. For wall-mounted or floating: Only if anchored to studs and not overloaded. For homes with kids/pets: Consider an additional wall anchor (L-bracket) for extra safety.
You're Ready
Assembling a tree bookshelf is not hard. The biggest mistakes are rushing or skipping the manual.
Your checklist:
- Read manual completely
- Gather tools (basic tools only)
- Follow assembly steps for your shelf type
- Level everything carefully
- Wobble test before loading weight
- Load gradually
- Check bolts monthly for the first 4 weeks
30 minutes from now: You'll have a beautiful, stable tree bookshelf and the satisfaction of having built it yourself.
Need help? Our team is here:
- Email: support@ashdeco.com
- Assembly support chat: Available during business hours
- Video walk-through: Included with your purchase
Browse Our Tree Bookshelf Collection
Ready to assemble? Shop now:
Corner Tree Bookshelves - Perfect for small spaces, 15-min assembly
- Rustic Tree-Inspired Corner Shelf - $1,896
- Kids Tree Bookshelf - $1,680–$2,150
Floating Tree Shelves - Modern, wall-mounted design, 25-min assembly
- Tree Branch Floating Shelf - $1,897
- Rustic Tree Branch Floating Shelf - $2,635
- Tree Branch Floating Shelf (Natural) - $798–$956
Wall-Mounted Tree Shelves - Statement pieces, 35-min assembly
- Rustic Tree Bookcase - $2,835
All include detailed assembly instructions + 30-day satisfaction guarantee + lifetime customer support.
Related Articles
- Why Your Shelf Wobbles + 5 Ways to Fix It - Post-assembly troubleshooting
- Tree Bookshelf Styling: Room-by-Room Ideas - Design inspiration
- Maintain Your Wood Shelf: Care Tips - Long-term care
- Best Wood for Shelves: Durability & Beauty - Material guide


