Floating shelves look deceptively simple. A clean slab of wood hovering on your wall, no visible hardware - it reads as effortless. But if you've ever tried to figure out how to make a floating shelf yourself, you know there's more going on behind that wall than meets the eye. We cover this in more detail in our best wood for closet shelves — complete comparison guide.
This guide walks you through the entire process: choosing your wood, cutting and finishing it, and - most importantly - installing the hidden support system that makes the "floating" part actually work. We'll cover three different mounting methods, give you a realistic materials cost breakdown, and be straight with you about where this project gets tricky.
Skill level: Intermediate. You'll need basic comfort with a drill, a saw, and a router or chisel.
Time estimate: 4-6 hours (not including finish drying time)
Cost estimate: $30-$90 per shelf, depending on wood choice and mounting method
What You'll Need
Before you start, gather everything. Nothing kills momentum like a trip to the hardware store mid-project.
Tools
- Circular saw or table saw (a miter saw works for shorter shelves)
- Drill/driver with assorted bits
- Router with a straight bit or a chisel and mallet
- Orbital sander (80, 120, and 220 grit sandpaper)
- Level (a 2-foot level minimum - longer is better)
- Stud finder
- Tape measure and pencil
- Clamps
- Safety glasses and dust mask
Materials
- Hardwood board (see wood selection below)
- Mounting hardware (varies by method - see Step 5)
- Wood glue
- Wood stain or finish of your choice (polyurethane, Danish oil, or wax)
- Painter's tape
- Rags or foam brushes for finishing
Step 1: Choose Your Wood
This is the decision that shapes everything else - the look, the weight capacity, and frankly, how much you'll enjoy working with the material.
Best Woods for Floating Shelves
Poplar - The budget-friendly workhorse. Easy to cut and sand, takes stain well (though it can blotch - use a pre-stain conditioner). Around $4-$6 per board foot.
Red oak - Strong, widely available, and has that classic grain pattern. A bit harder to work with hand tools, but it sands beautifully. Around $5-$8 per board foot.
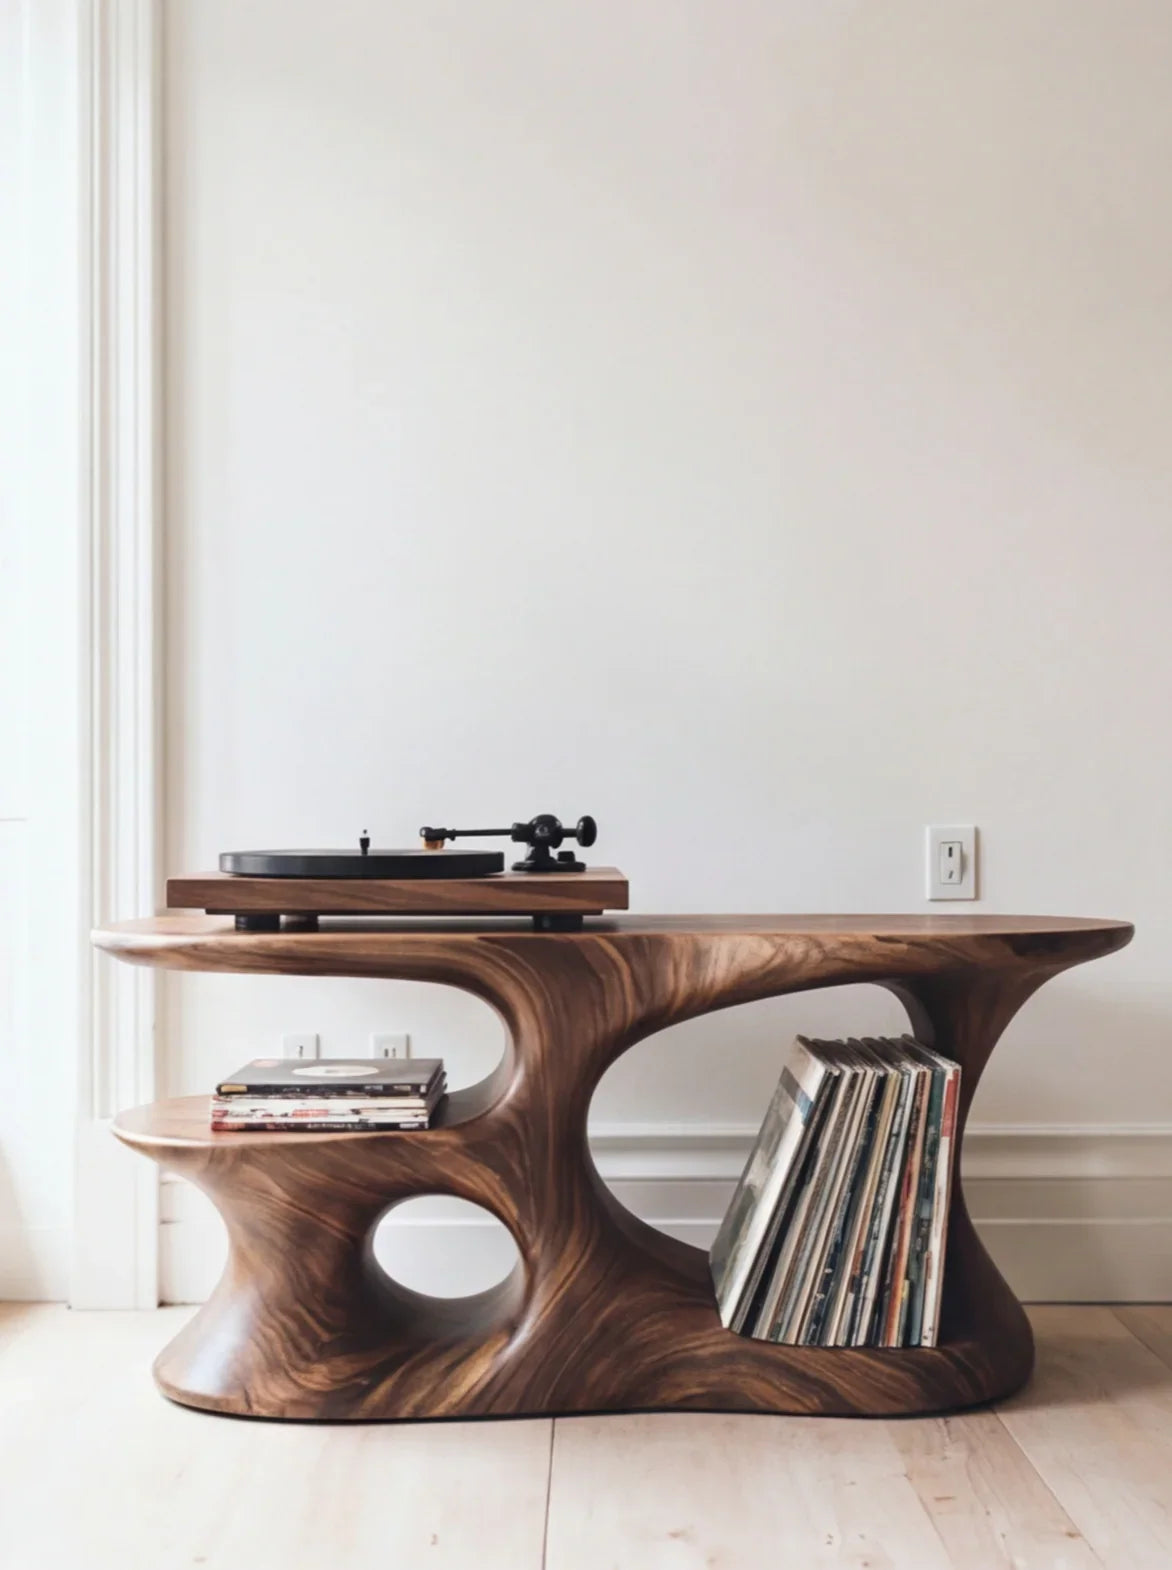
Walnut - The premium choice. Rich, dark tones without needing much stain. Harder to find at big-box stores - check local lumber yards. Around $10-$15 per board foot.
Pine - The cheapest option, and fine for a painted shelf. But it dents easily, and the soft grain can look uneven under clear finishes. Around $2-$4 per board foot.
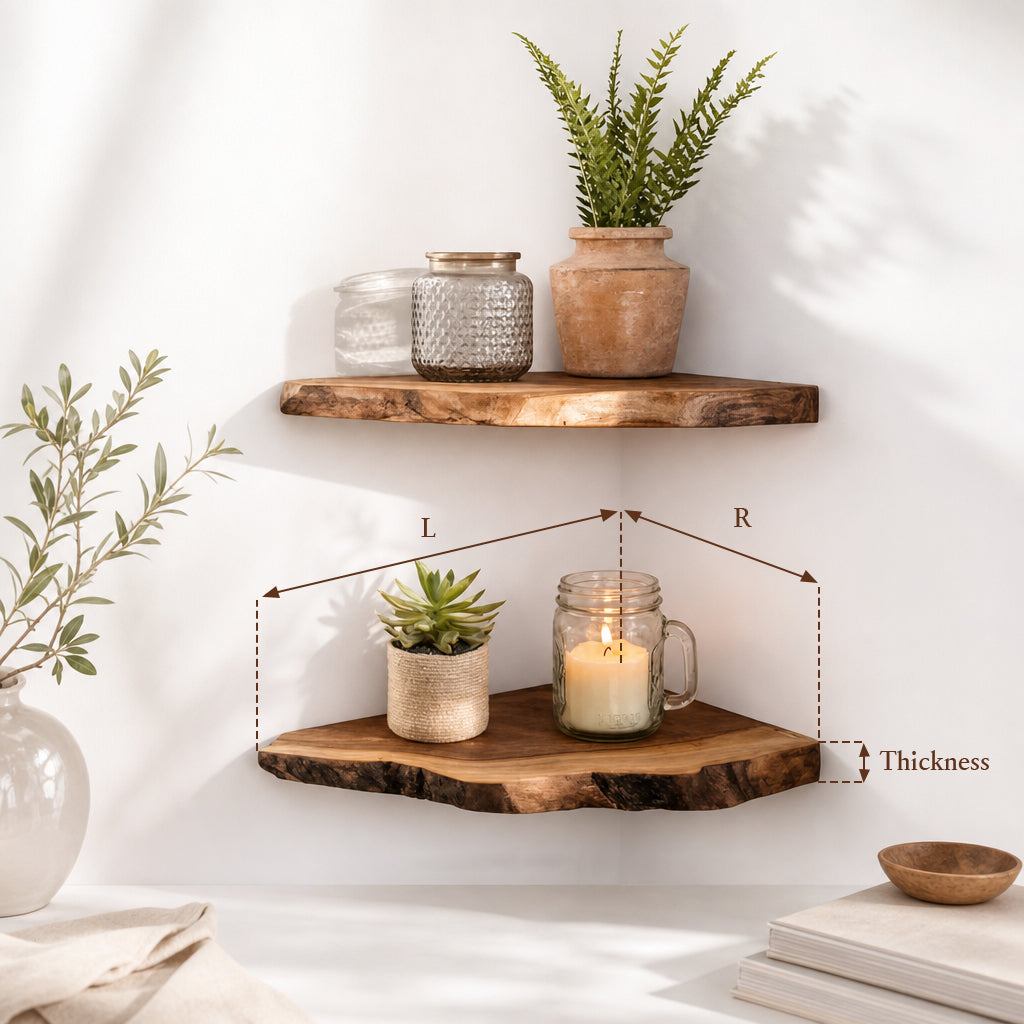
A note on thickness: For a standard floating shelf (24-36 inches long), you want at least 1.5 inches of thickness. This gives you enough meat to hollow out or drill for the mounting hardware. Thinner than that and you're asking for trouble.
What About Plywood?
You can build a floating shelf from plywood - it's cheaper, more dimensionally stable, and you can edge-band it to hide the layers. But let's be honest: it never quite looks like solid wood up close. If you're painting the shelf, plywood is a great option. If you want natural wood grain, go solid. For a deeper dive, see our article on corner floating shelf ideas that actually look good.
Step 2: Cut Your Shelf to Size
Decide on your dimensions. A standard floating shelf is usually:
- Length: 24-48 inches
- Depth: 8-12 inches
- Thickness: 1.5-2 inches
If you're starting with a rough-sawn board, you'll need to joint one edge and plane it to thickness. If you bought an already-surfaced board (S4S), you can skip straight to cutting.
Cutting tips:
- Measure twice. Mark your cut line with a sharp pencil and a straight edge.
- Use a circular saw with a guide rail for long, straight cuts. A table saw is ideal if you have one.
- For the depth cut, rip the board to your desired width. Keep the factory edge (or your jointed edge) as the front face.
- If your board isn't wide enough for the depth you want, you can glue two boards edge-to-edge. Use wood glue, clamp firmly, and let it cure for at least 24 hours.
Step 3: Sand and Prep
Sanding is tedious but non-negotiable. The finish will only look as good as the surface underneath it.
- Start with 80 grit to remove any saw marks, mill marks, or rough spots.
- Move to 120 grit to smooth the surface.
- Finish with 220 grit for a silky feel.
Sand with the grain, never against it. Use an orbital sander for the flat surfaces, and hand-sand the edges and any routed profiles.
After sanding, wipe the shelf down with a tack cloth or a slightly damp rag to remove all dust. Let it dry completely before finishing.
Optional: Round or chamfer the edges. A slight roundover (1/8 inch) with a router or sandpaper gives the shelf a softer, more finished look. Some people prefer a sharp, modern edge - it's your call.
Step 4: Apply Your Finish
This is where your shelf goes from "piece of wood" to "furniture." You have a few options:
Oil-based stain + polyurethane - The classic approach. Apply stain with a rag, wipe off the excess, let it dry 24 hours, then apply 2-3 coats of polyurethane (sanding lightly with 220 grit between coats). Gives a durable, glossy-to-satin finish.
Danish oil - A one-step option that penetrates the wood and provides a natural, matte look. Two coats, 8 hours apart. Less protection than polyurethane, but gorgeous on walnut or oak.
Paint - If you're going for a clean, modern look, use a quality primer and 2 coats of semi-gloss paint. Light sanding between coats.
Wax - Beautiful and buttery, but offers minimal protection. Best for decorative shelves that won't see heavy use.
Let your finish cure fully before mounting. Most polyurethanes need 48-72 hours to fully harden. Rushing this step leads to dents and marks from the mounting hardware. If you're weighing your options, our guide on how to mount floating shelves — step-by-step guide breaks it down further.
Step 5: Choose Your Mounting Method
This is the most critical part of the project. The mounting system is what makes your shelf "float" - and what keeps it from falling off the wall at 3 AM. There are three common approaches:
Method A: Steel Rod System
Best for: Heavy-duty, thick shelves (1.5+ inches)
This is the most traditional hidden-mount method. You install a steel bracket or individual steel rods into the wall studs, then drill corresponding holes in the back of the shelf that slide over the rods.
How it works:
- Locate your wall studs with a stud finder. Mark them.
- Drill holes into the studs and epoxy in 3/8-inch or 1/2-inch steel rods, leaving 4-6 inches protruding.
- Drill matching holes in the back edge of your shelf, slightly deeper than the protruding rod length.
- Slide the shelf onto the rods. Some builders add a dab of construction adhesive for extra security.
Pros: Extremely strong. Can hold 50+ lbs when properly installed into studs. Truly invisible.
Cons: Alignment has to be perfect. If your holes don't match, you're starting over.
Method B: French Cleat
Best for: Lighter shelves, easy removal and repositioning
A French cleat is a mounting strip ripped at a 45-degree angle. One half mounts to the wall, the other attaches to the shelf. They interlock, and gravity holds everything in place.
How it works:
- Rip a strip of hardwood or plywood at a 45-degree bevel.
- Screw the wall piece into studs (bevel pointing up and out).
- Attach the shelf piece to the back of your shelf (bevel pointing down and toward the wall).
- Hook the shelf onto the wall cleat.
Pros: Easy to install. Easy to remove and adjust. Distributes weight evenly.
Cons: Not truly invisible - there's a slight gap at the top where the cleat sits. Works best with thicker shelves that hide the gap. Lower weight capacity than rods.
Method C: Commercial Hidden Bracket
Best for: Beginners, thinner shelves, quick installation
You can buy pre-made floating shelf brackets at any hardware store. These are typically L-shaped steel plates that screw into the wall and slide into a routed channel on the back of the shelf.
How it works:
- Screw the bracket into wall studs.
- Rout a channel in the back of the shelf to accept the bracket arm.
- Slide the shelf onto the bracket.
Pros: Fastest method. Engineered for specific weight ratings. No alignment guesswork.
Cons: You're limited to the bracket's dimensions. Some cheaper brackets flex under load.
Step 6: Install the Shelf
For detailed mounting instructions including stud-finding and weight limits, see our complete floating shelf mounting guide. Regardless of which method you chose, the installation follows the same basic sequence:
- Find your studs. This is non-negotiable. Drywall anchors alone will not hold a loaded floating shelf long-term. Find at least two studs.
- Mark your level line. Hold your level against the wall and draw a light pencil line where the top of your mounting hardware will sit. Double-check it. Then check it again.
- Install the wall-side hardware. Drill pilot holes, then drive your screws or epoxy your rods. Use a level on the hardware itself - don't trust your pencil line alone.
- Attach or slide on the shelf. This is the moment of truth. The shelf should seat firmly against the wall with no wobble. If it wobbles, something is misaligned - fix it now.
- Test it. Before loading the shelf with your grandmother's pottery collection, press down firmly on the outer edge. Add weight gradually. If it holds 30-40 lbs without deflection, you're good.
Materials Cost Breakdown
Here's a realistic estimate for building one floating shelf (36 inches long, 10 inches deep, 1.5 inches thick):
| Item | Budget (Pine) | Mid-Range (Oak) | Premium (Walnut) |
|---|---|---|---|
| Wood (approx. 3 board feet) | $8-$12 | $18-$24 | $30-$45 |
| Mounting hardware | $8-$15 | $8-$15 | $8-$15 |
| Sandpaper (multi-pack) | $5-$8 | $5-$8 | $5-$8 |
| Wood finish (stain + poly or oil) | $12-$18 | $12-$18 | $12-$18 |
| Wood glue, screws, misc. | $5-$8 | $5-$8 | $5-$8 |
| Total per shelf | $38-$61 | $48-$73 | $60-$94 |
Prices based on typical US lumber yard and hardware store pricing. You'll get more mileage from supplies like sandpaper and finish across multiple shelves.
Common Mistakes to Avoid
Skipping the stud finder. Drywall anchors are not a substitute for studs on floating shelves. Period. The leverage forces on a floating shelf are enormous compared to, say, hanging a picture frame.
Drilling misaligned holes for the rod method. Measure obsessively. Use a drill press or a doweling jig if you have one. Freehand drilling into end grain is a recipe for frustration.
Rushing the finish. A shelf that looks amazing on the workbench can look terrible on the wall if the finish isn't fully cured. Fingerprints and mounting marks on a tacky finish are permanent.
Going too thin. A 3/4-inch shelf might look sleek, but it severely limits your mounting options and weight capacity. Stick to 1.5 inches minimum for anything longer than 18 inches.
Ignoring the wall. Plaster walls, tile backsplashes, and concrete all require different fasteners and techniques. Know your wall material before you drill.
Is DIY the Right Call?
Let's be real: building a floating shelf is a satisfying project, but it's not trivial. You need a few hundred dollars in tools (if you don't already own them), a workspace for cutting and finishing, and the patience to get the mounting alignment right. If you're building multiple shelves, the per-unit cost drops and the learning curve pays off.
But if you want the look of real, solid wood floating shelves without the sawdust - or if you want something with more character than you can achieve with standard lumber - it's worth considering handcrafted options.
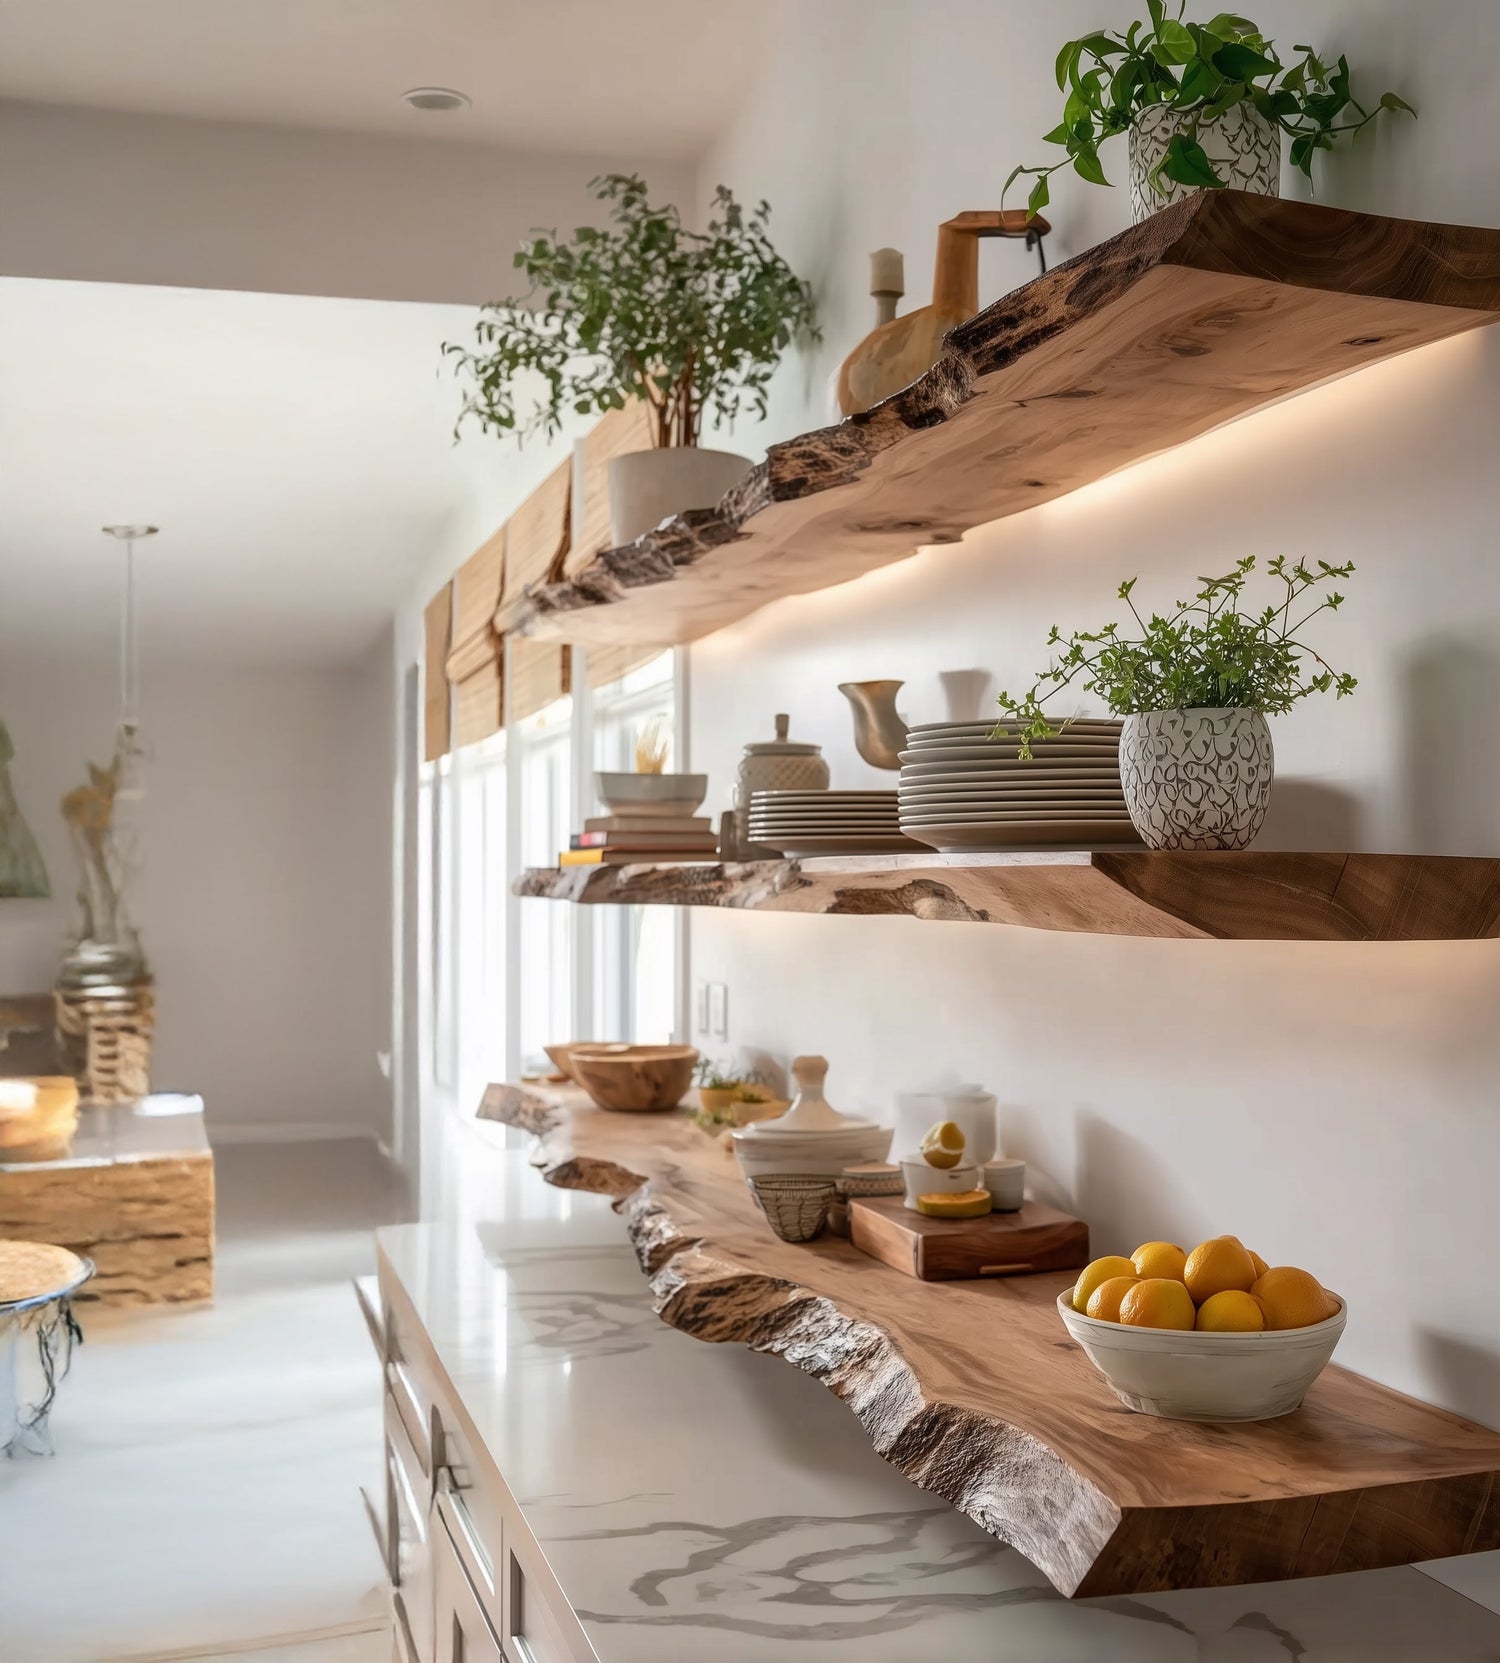
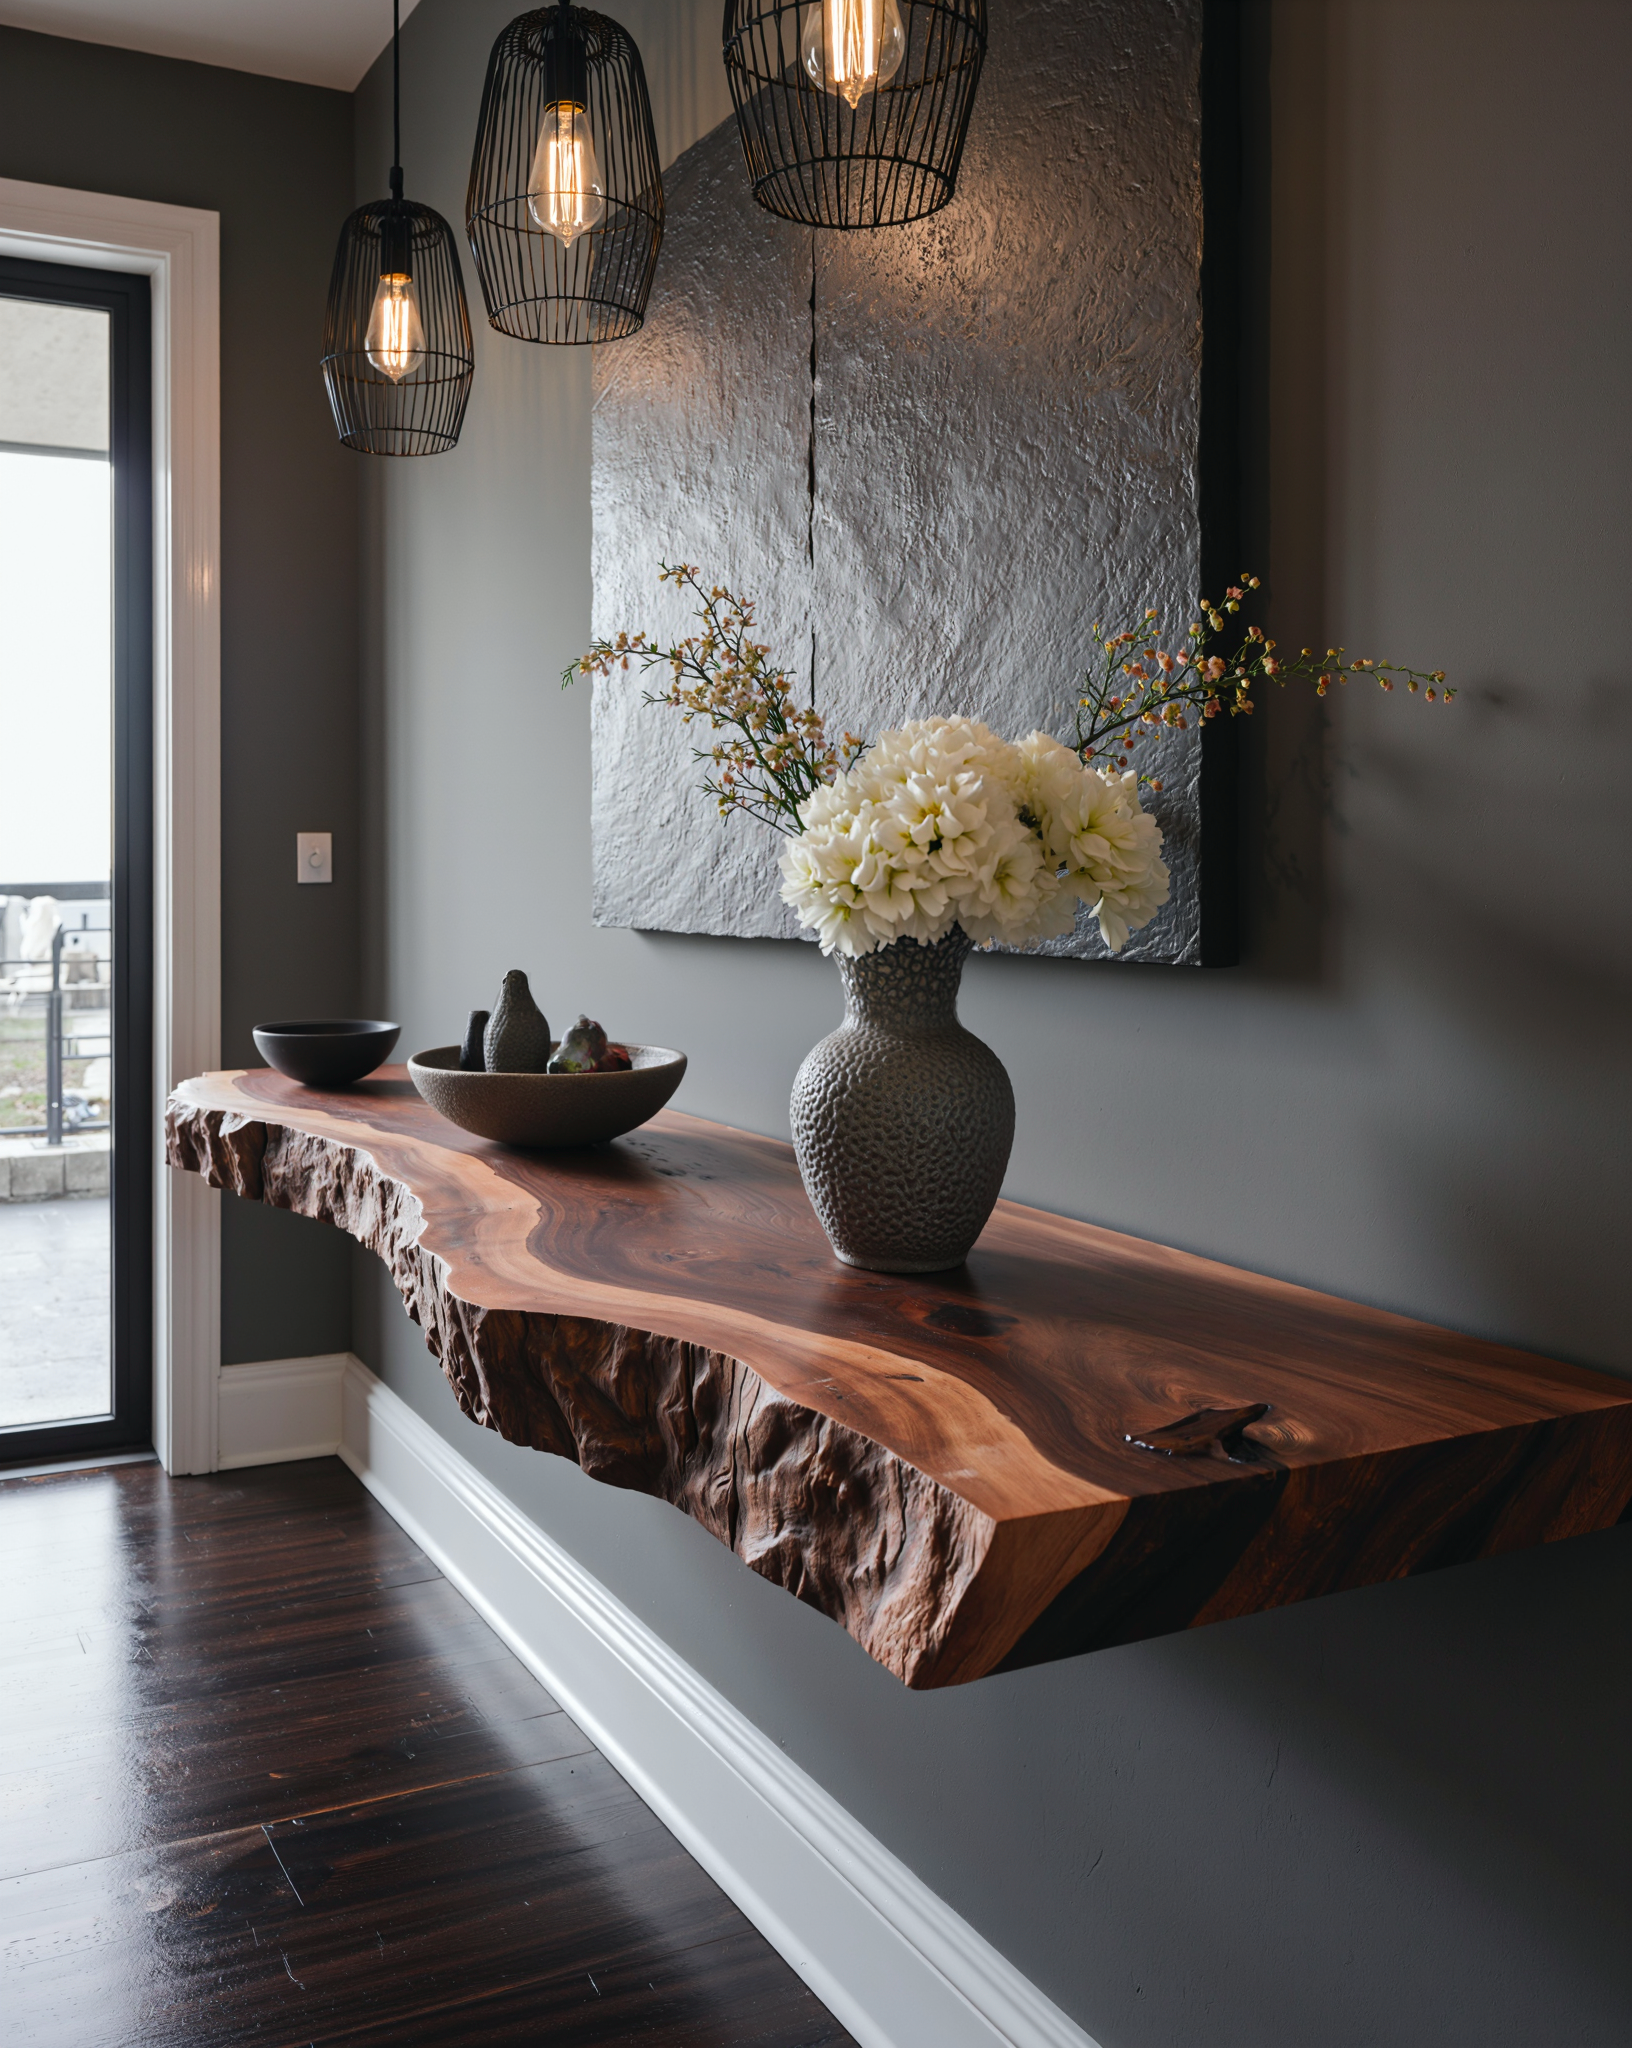
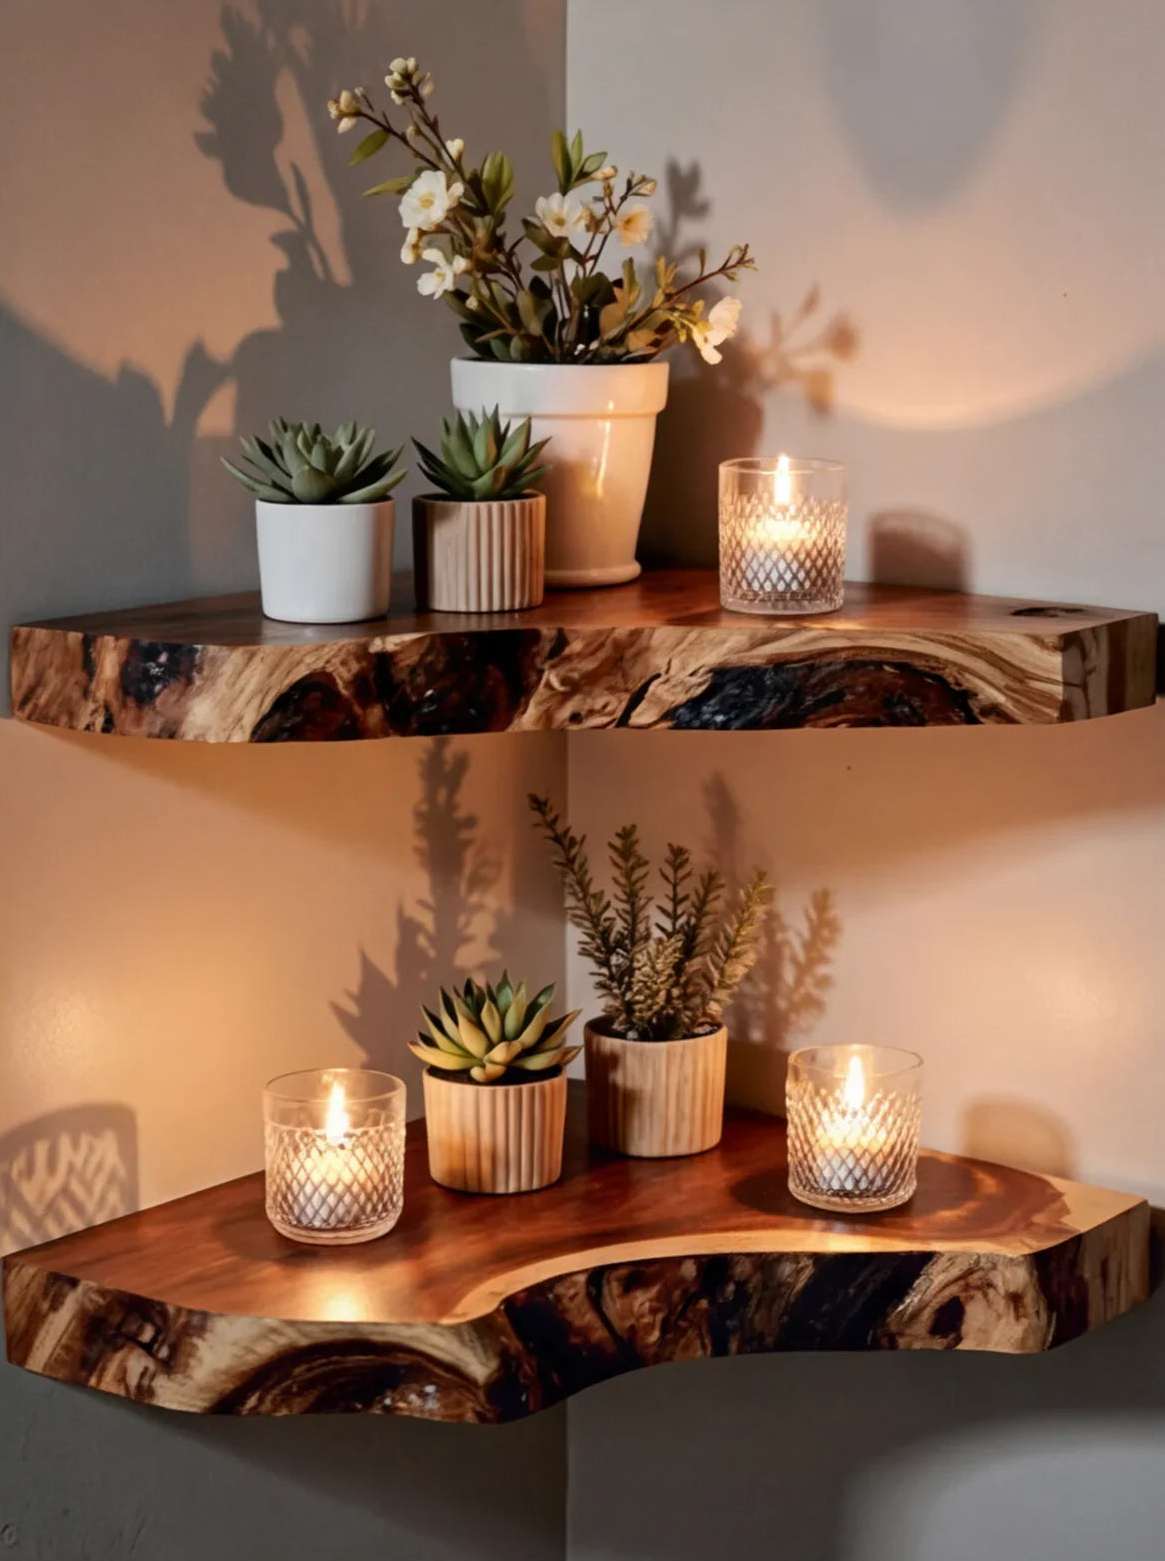
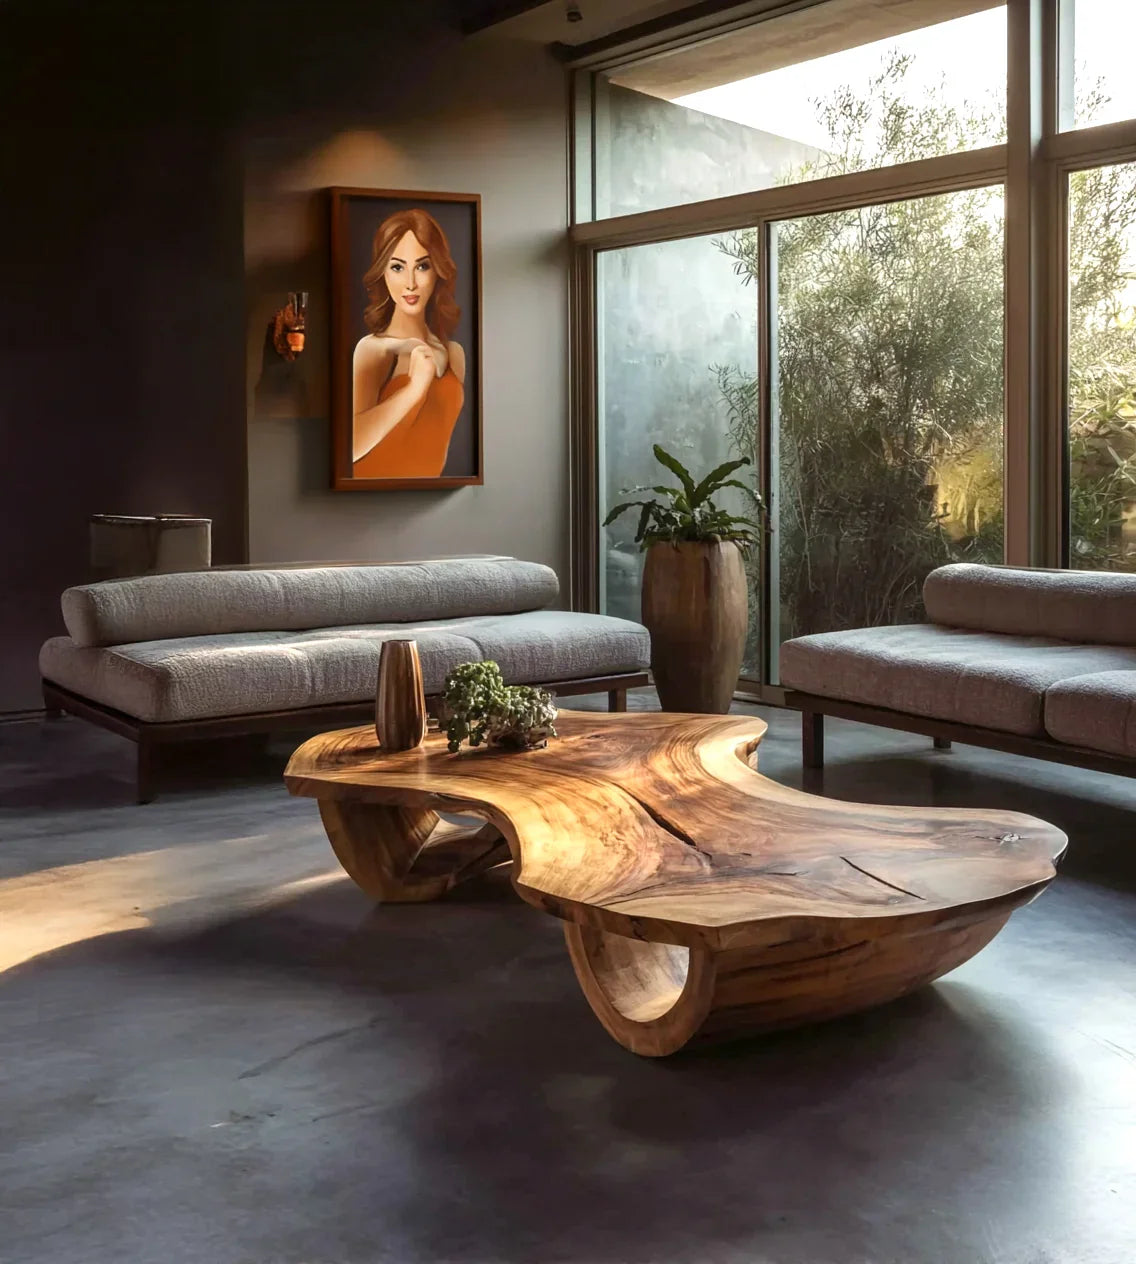
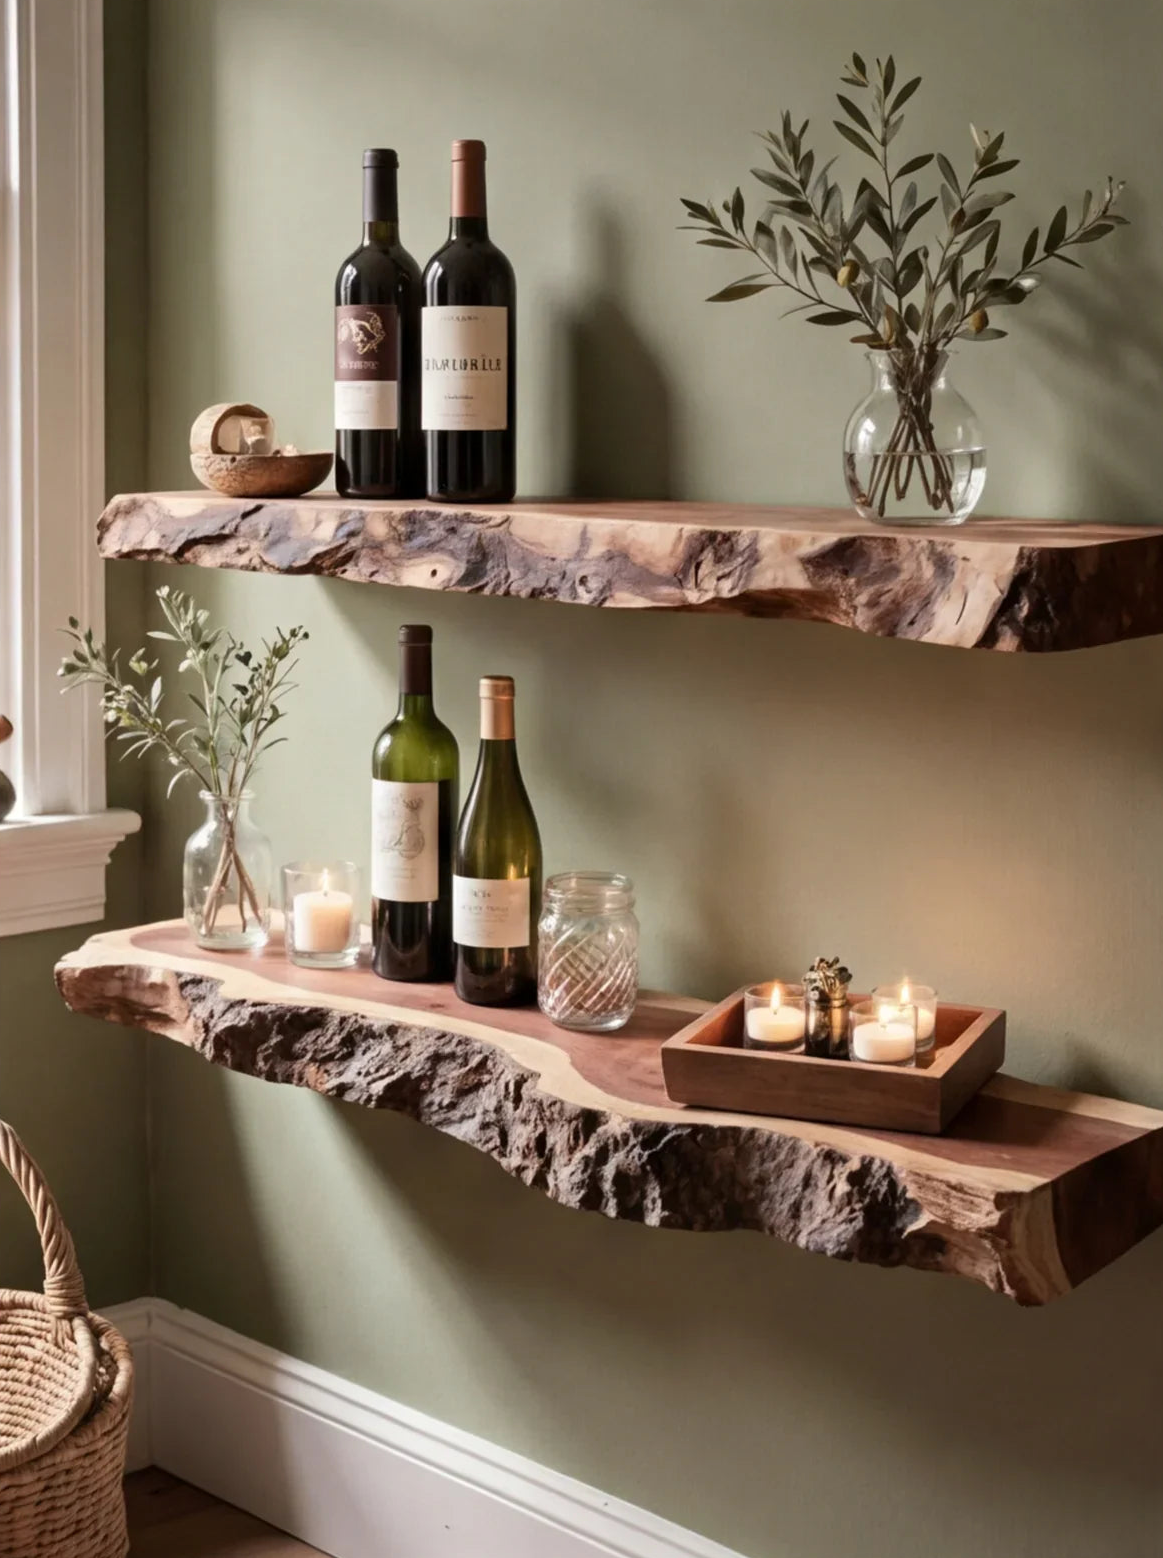
Ashdeco makes solid wood floating shelves that are handcrafted by Vietnamese artisans from premium hardwoods. Each piece has unique natural grain and live edges that you simply can't replicate with a trip to the lumber yard. A few worth looking at:
- Custom Live Edge Long Floating Display Shelf - Available in sizes from 22" to 62" wide. A statement piece with natural live edge detail. From $650.

- Rustic Live Edge Floating Shelf for Kitchen & Living Room - Handmade solid wood with a warm, organic feel. From $400.
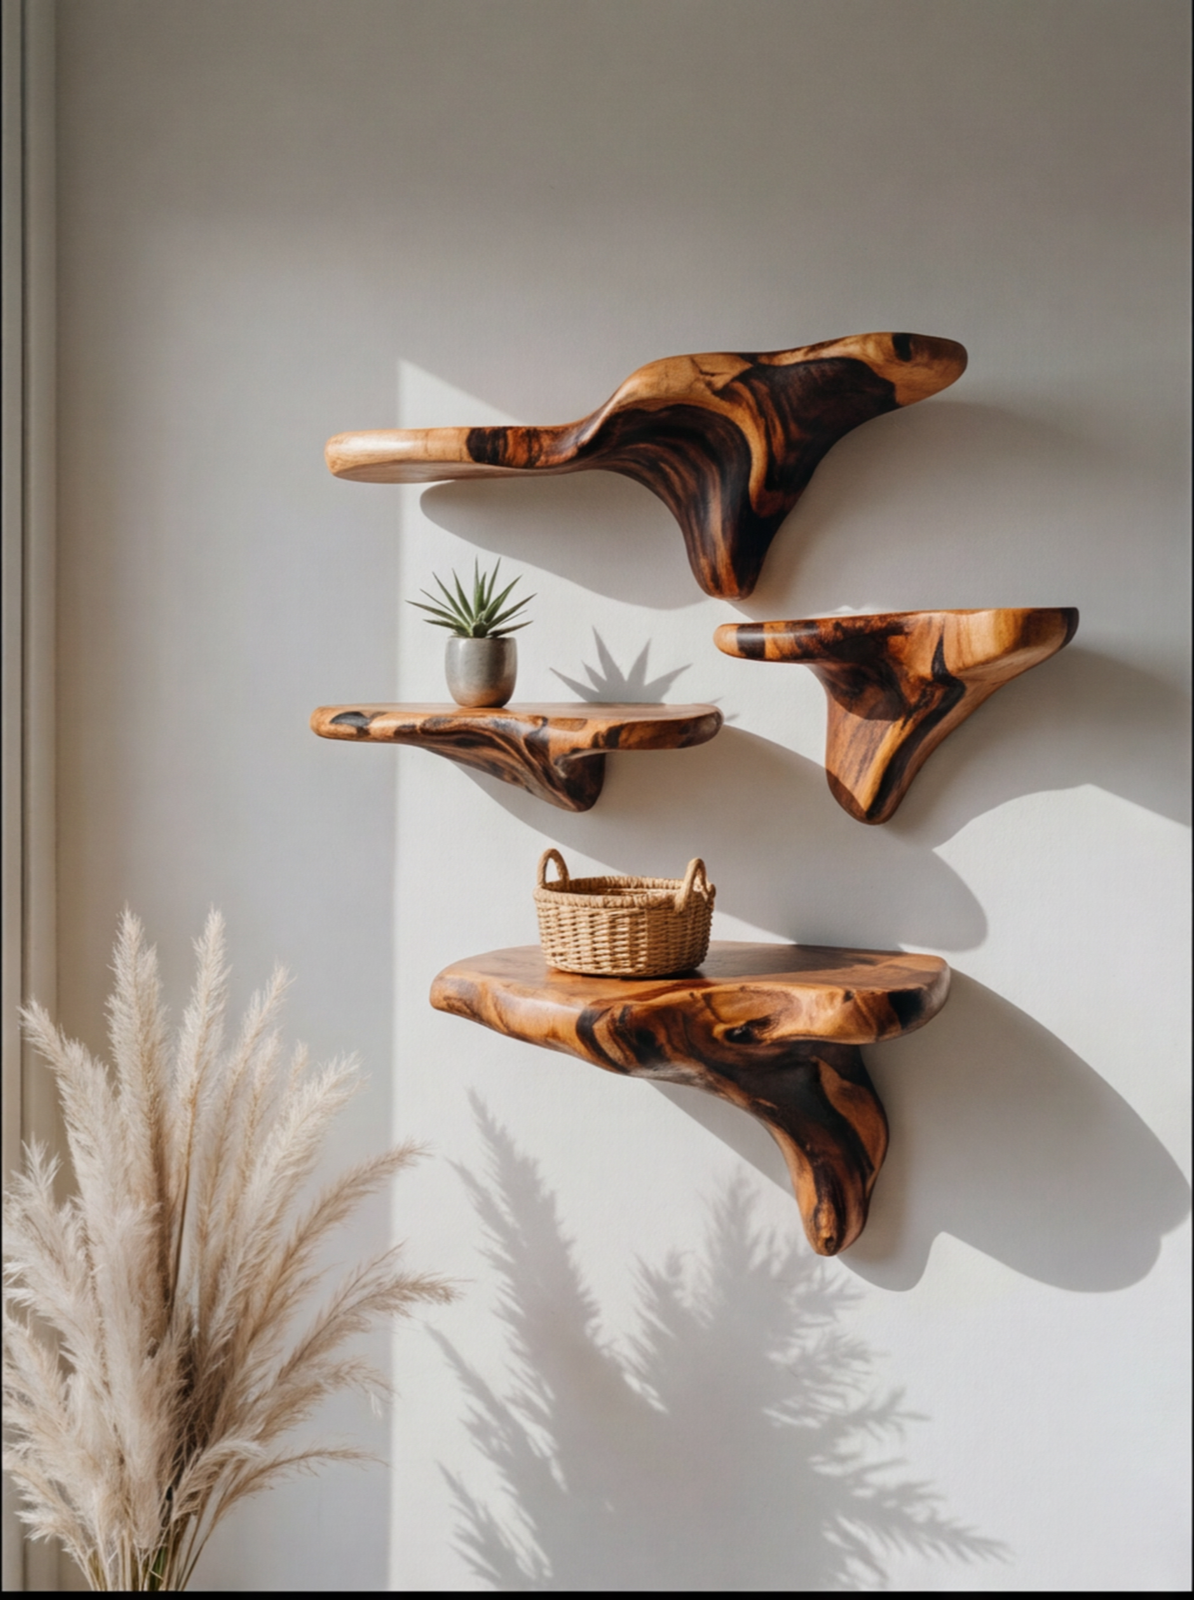
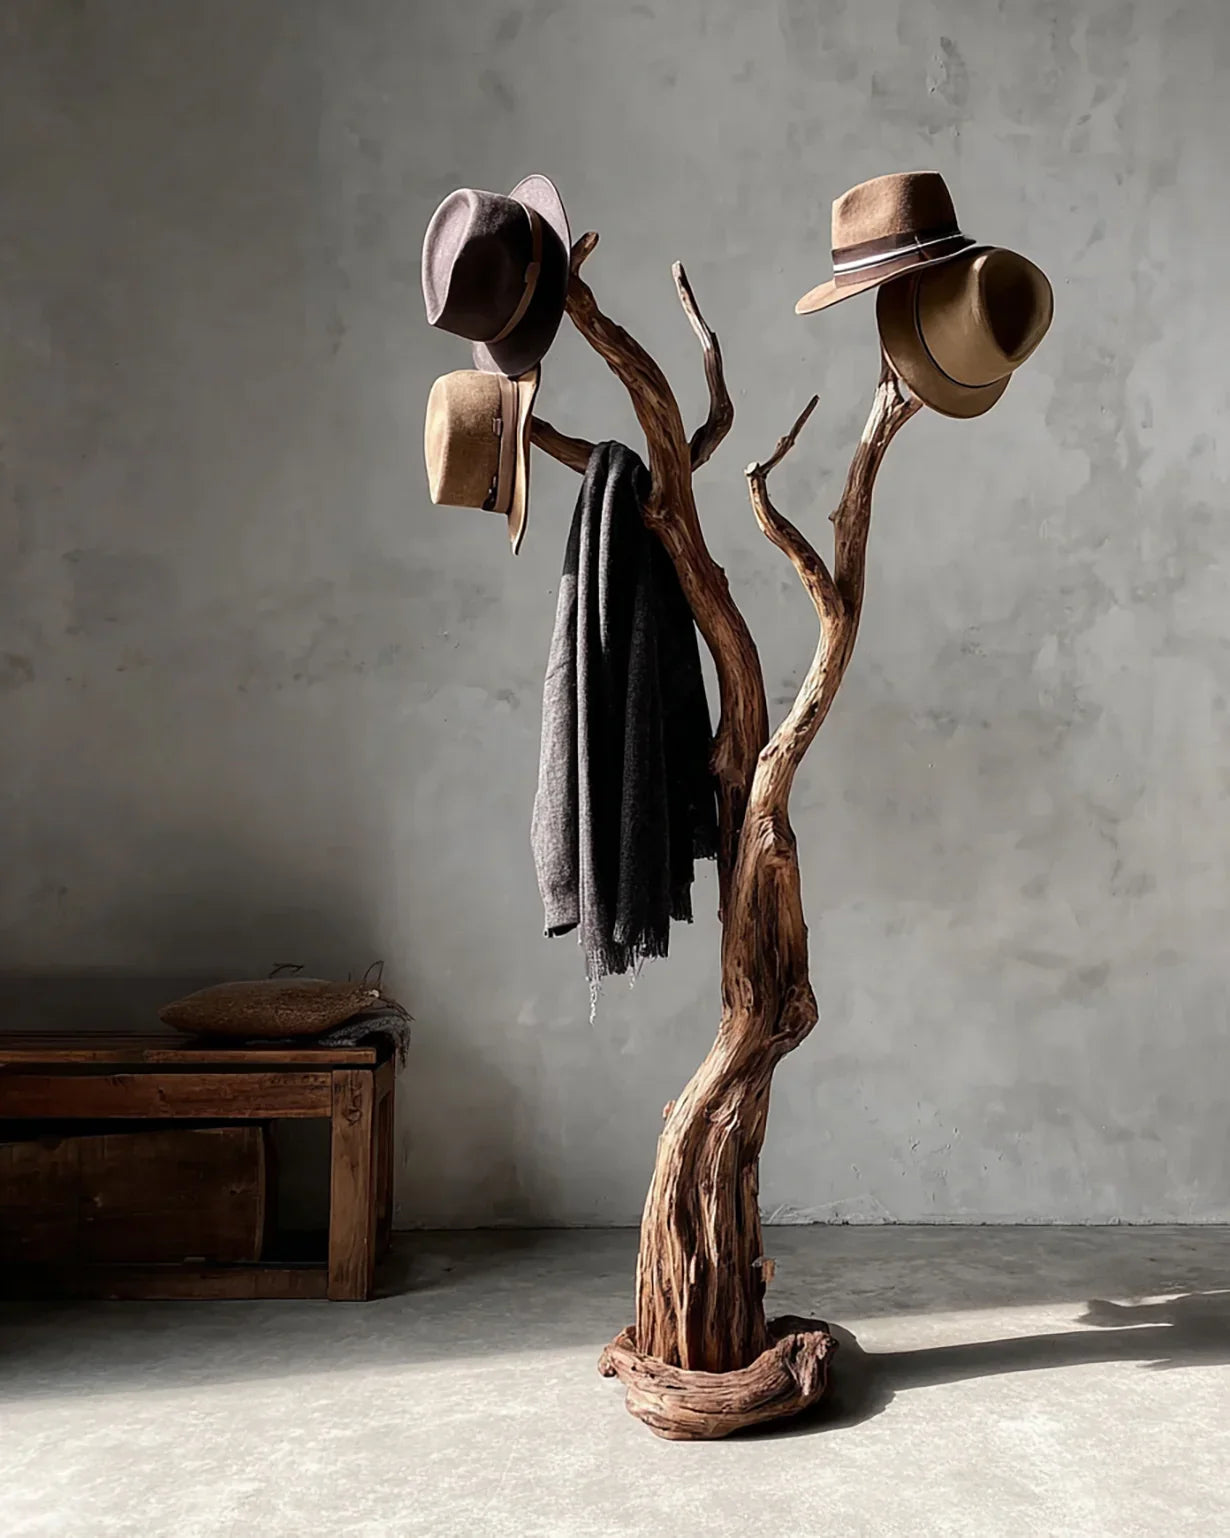
- Rustic Mushroom Floating Shelf - Something completely different. A sculptural, nature-inspired design that works as functional wall art. Perfect for nurseries and living rooms.

- Solid Wood Corner Floating Shelf - Designed to turn dead corner space into a display area. Handcrafted live edge with hidden mounting.
Every Ashdeco shelf ships free, comes with a 30-day guarantee, and includes all mounting hardware. Use code ASHDECO5 for 5% off your first order.
Whether you build it yourself or let a craftsman do the work, a floating shelf is one of the best upgrades you can make to any room. Good luck with the build.


