Floating shelves look effortless on the wall, but getting them there takes a little know-how. Whether you're hanging a single shelf above a bathroom sink or building out an entire gallery wall in your living room, this guide walks you through every step of how to mount floating shelves - from gathering tools to driving the last screw. For a deeper dive, see our article on floating shelf above bed: ideas & height guide.
By the end, you'll understand how to find studs, choose the right anchors, handle different wall types, and avoid the mistakes that leave shelves sagging (or worse, crashing down at 3 a.m.).
What You'll Need: Tools and Materials Checklist
Before you drill a single hole, gather everything on this list. Having the right tools on hand makes the job faster and the results more precise.
| Tool / Material | Purpose |
|---|---|
| Stud finder (electronic preferred) | Locate wood studs behind drywall |
| Level (24-inch or laser level) | Ensure the shelf sits perfectly horizontal |
| Tape measure | Mark accurate placement and spacing |
| Pencil | Mark drill points on the wall |
| Power drill / driver | Drill pilot holes and drive screws |
| Drill bits (⅛" and 5/16" for most jobs) | Create pilot holes and anchor holes |
| Screwdriver (Phillips or flat-head) | Fine-tune screw tightness |
| Painter's tape | Mark positions without damaging walls |
| Drywall anchors (toggle bolts or snap toggles) | Secure mounting bracket where no stud exists |
| Lag screws or wood screws (included with most shelves) | Fasten bracket directly into studs |
| Hammer (for tap-in anchors) | Set certain anchor types |
| Safety glasses | Protect eyes from dust and debris |
Tip: Most Ashdeco floating shelves ship with all necessary mounting hardware - brackets, screws, and drywall anchors - so you can start right out of the box.
Step 1: Choose the Right Location
Building your own shelf first? Our DIY floating shelf guide walks you through construction before mounting. Start by deciding where the shelf will go and what it will hold. This determines your mounting strategy.
Height guidelines:
- Eye level (about 60 inches from the floor) works well for decorative displays.
- 48-54 inches is comfortable for items you grab daily, like kitchen spices or bathroom toiletries.
- Above furniture - keep at least 6-10 inches of clearance above a desk, couch, or countertop.
Think about what's inside the wall, too. If there's plumbing or electrical wiring behind your target spot, move the shelf a few inches. A stud finder with wire-detection mode helps here.
Step 2: Find the Wall Studs
This is the single most important step for a secure mount. Wall studs are the vertical wood framing members behind your drywall, typically spaced 16 inches apart (sometimes 24 inches in older homes).
How to find them:
- Turn on your electronic stud finder and calibrate it flat against the wall.
- Slide it slowly left to right across your target area.
- When it beeps or lights up, mark the edge of the stud with a pencil.
- Continue sliding to find the other edge, then mark the center.
- Verify by checking 16 inches in either direction - you should find the next stud.
No stud finder? Try these backup methods:
- Knock test: Tap the wall with your knuckle. A hollow sound means no stud; a solid, dull thud means you've hit one.
- Magnet trick: Run a strong magnet across the wall to detect drywall screws (which are driven into studs).
- Electrical outlets: Most outlets are mounted to the side of a stud, so measuring 16 inches from one can help locate others.
Step 3: Decide - Studs vs. Drywall Anchors
Now that you know where the studs are, you need to decide how to mount. This depends on whether your bracket holes line up with the studs and how much weight the shelf will carry.
Weight Capacity by Mounting Method
| Mounting Method | Typical Weight Capacity (per fastener) | Best For |
|---|---|---|
| Wood screws into studs | 80-100 lbs | Heavy items - books, dishes, solid wood shelves |
| Toggle bolts (drywall) | 25-50 lbs | Medium loads where studs aren't available |
| Snap toggle anchors (drywall) | 40-65 lbs | Heavier loads in drywall without studs |
| Plastic expansion anchors (drywall) | 10-25 lbs | Lightweight decorative shelves only |
| Concrete/masonry anchors | 50-100+ lbs | Brick, stone, or concrete walls |
The rule of thumb: Always mount into studs when possible. A single #10 wood screw driven 1.5 inches into a stud can hold far more weight than even the best drywall anchor. If you can hit at least one stud and use an anchor for the other side, that's a solid compromise.
For solid wood floating shelves - which are heavier than hollow or particle-board alternatives - stud mounting is especially important. The shelf itself may weigh 10-20 lbs before you even add items. We've written a full breakdown in our how to make a floating shelf — DIY guide post.
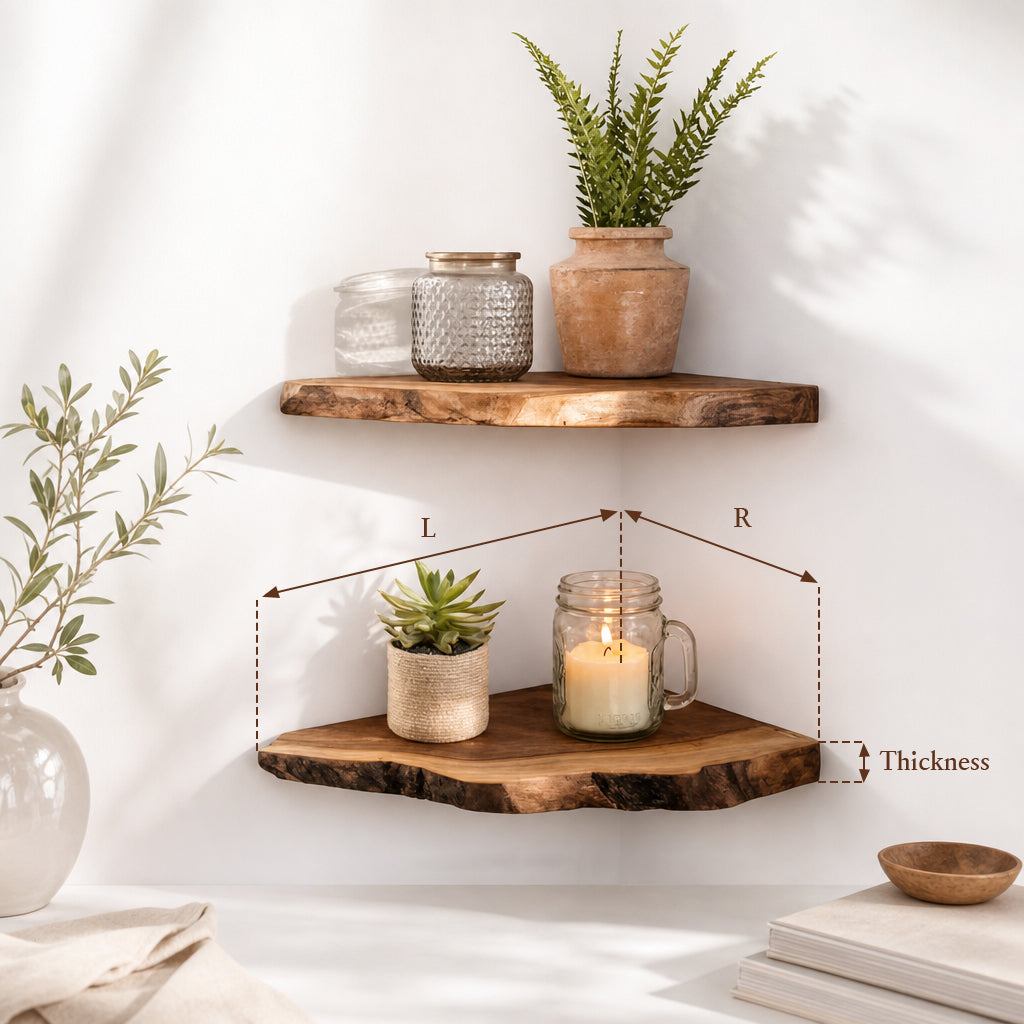
Step 4: Mark and Level Your Mounting Points
Precision here prevents the frustration of a shelf that looks slightly "off" every time you walk into the room.
- Hold the mounting bracket against the wall at your desired height. If you're working alone, use a strip of painter's tape to temporarily hold one end.
- Place your level on top of the bracket. Adjust until the bubble sits dead-center.
- Mark through the bracket's screw holes with a pencil.
- Double-check with a tape measure. Measure from the floor (or from a fixed reference point like a countertop) to each mark. Both sides should be identical.
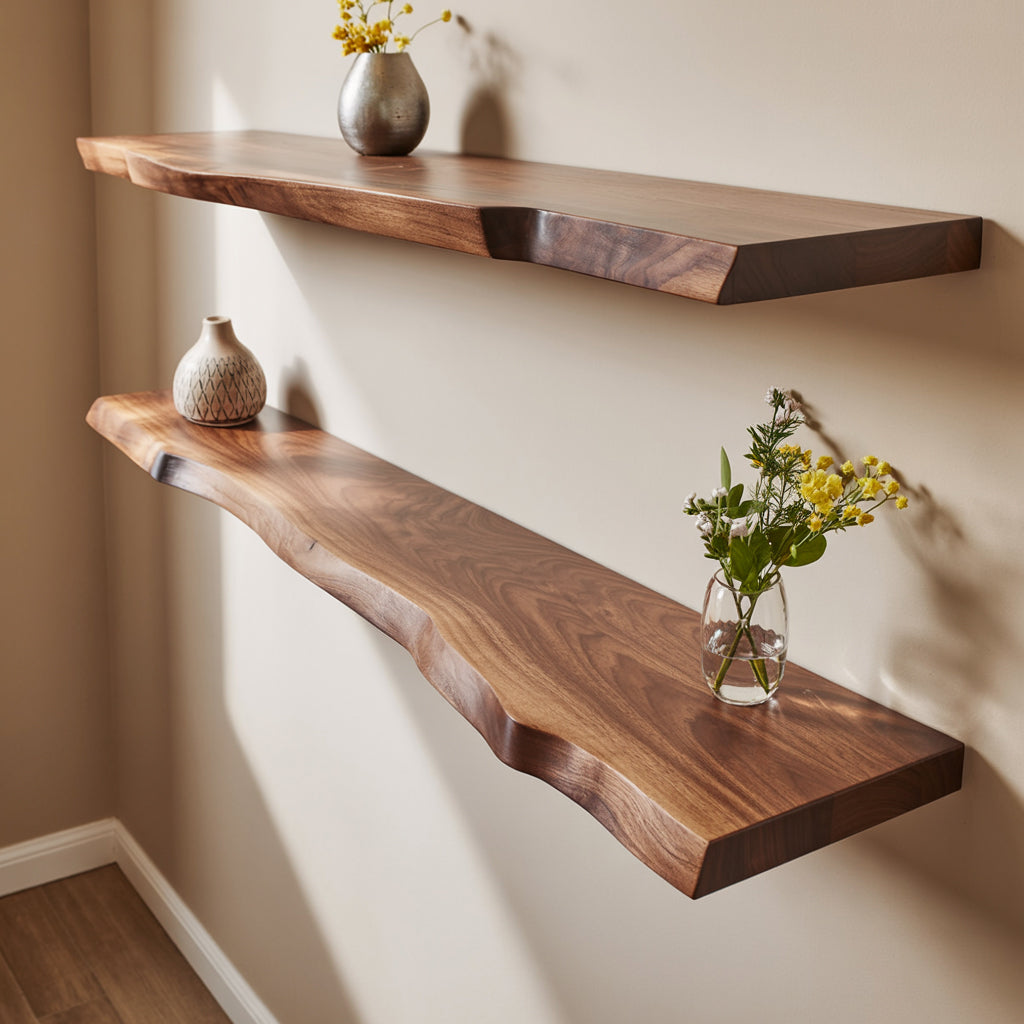
Pro tip: For multiple shelves stacked vertically, maintain 12-16 inches of spacing between each shelf. This gives you enough room for books, plants, or decorative objects without the arrangement feeling cramped.
Step 5: Drill Pilot Holes
Never skip the pilot hole. Driving screws directly into drywall or wood without a pilot hole can split the material, weaken the hold, and make the screw wander off-center.
For stud mounting:
- Select a drill bit slightly narrower than your screw shaft (typically ⅛" for a #10 screw).
- Drill into each pencil mark to a depth of about 2 inches.
- You should feel resistance as you hit the wood stud - that's a good sign.
For drywall anchors:
- Choose the drill bit size specified on your anchor packaging (usually 5/16" to ½").
- Drill straight through the drywall until you break through to the hollow space behind it.
- Clear away any drywall dust.
Step 6: Install the Mounting Hardware
This step varies depending on whether you're going into studs or using anchors.
Mounting into Studs
- Align the bracket with your pilot holes.
- Drive the wood screws through the bracket and into the studs using your drill or screwdriver.
- Tighten until the bracket is snug against the wall. Don't overtighten - you can strip the hole.
- Tug the bracket firmly. It shouldn't budge.
Mounting with Drywall Anchors
- Insert the anchor into the drilled hole. For toggle bolts, fold the wings and push them through; for snap toggles, follow the manufacturer's instructions to thread and lock them.
- Tighten the bolt or screw until the anchor's wings expand behind the drywall and grip firmly.
- Attach the bracket over the anchors and secure with the provided screws.
- Test with a firm pull.
Step 7: Slide the Shelf onto the Bracket
Most floating shelves use a hidden bracket system - a metal rod or plate that mounts to the wall, and the shelf slides over it to conceal the hardware. We cover this in more detail in our staggered floating shelves: layouts & styling guide guide.
- Carefully line up the shelf with the bracket.
- Slide it on horizontally. Some shelves require a gentle push; others lock into place with a set screw.
- Check with your level one final time. Minor adjustments can sometimes be made by loosening the bracket screws slightly.
- If your shelf has a set screw (usually on the bottom), tighten it to lock the shelf in place.
This hidden bracket system is what gives floating shelves their signature "how is that even attached?" look. Quality shelves - like the Custom Live Edge Floating Display Shelf from Ashdeco - use heavy-duty steel brackets that remain completely invisible once installed. If you're weighing your options, our guide on corner floating shelf ideas that actually look good breaks it down further.
Mounting on Different Wall Types
Not every wall is standard half-inch drywall. Here's how to handle the most common variations.
Drywall (Most Common)
Standard ½-inch drywall is what you'll find in most American homes built after the 1950s. Follow the steps above - studs when possible, toggle bolts or snap toggles when not.
Plaster Walls
Older homes (pre-1950s) often have plaster over wood lath. Plaster is harder and more brittle than drywall.
- Use a masonry bit to drill through the plaster layer, then switch to a standard bit for the lath and stud behind it.
- Go slowly. High speed and pressure will crack the plaster.
- Avoid toggle bolts in plaster - they need a clean hole to deploy properly. Use wood screws into studs or plaster-specific anchors instead.
- Tape an "X" with painter's tape over your drill point to prevent the plaster from chipping outward.
Brick or Concrete Walls
Exposed brick, concrete basement walls, or exterior masonry require different tools entirely.
- Use a hammer drill (not a standard drill) with a masonry bit.
- Drill to the depth specified by your masonry anchors (usually 1.5-2.5 inches).
- Insert the masonry sleeve or expansion anchor.
- Drive the screw through the bracket and into the anchor.
Masonry mounting is actually one of the strongest options - a single masonry anchor can hold 50-100+ lbs when properly installed.
Tile Walls (Kitchens and Bathrooms)
If you're mounting floating shelves for your kitchen or bathroom over tile:
- Mark your drill point with painter's tape (prevents the bit from skating across the tile).
- Use a glass/tile drill bit first to penetrate the tile.
- Switch to a standard or masonry bit once through the tile.
- Continue into the drywall/stud or use appropriate anchors.
How Much Weight Can Your Floating Shelf Hold?
Weight capacity depends on three factors: the shelf material, the mounting method, and the wall type. Here's a practical breakdown.
A high-quality solid wood shelf mounted into two studs with proper hardware can easily hold 50-80 lbs of evenly distributed weight. The same shelf mounted entirely on drywall anchors might only support 20-40 lbs.
For heavy-duty display needs - like a shelf full of hardcover books or kitchen dishes - always aim for at least one stud connection. Ashdeco's solid wood wall shelves are built from premium hardwood designed to handle real-world loads, but even the strongest shelf is only as reliable as what's holding it to the wall.
Important: Weight should be distributed evenly across the shelf surface. Concentrating all the weight on one end creates a lever effect that multiplies the stress on the mounting point.
Common Mistakes (and How to Avoid Them)
Even experienced DIYers slip up. Here are the most frequent errors - and their fixes.
1. Skipping the Stud Finder
Guessing where studs are leads to shelves anchored in nothing but drywall. Spend $20 on a basic electronic stud finder. It pays for itself on the first project.
2. Not Using a Level
"Eyeballing it" doesn't work. Even a 1-degree tilt is visible once the shelf is loaded. Always use a level - a 24-inch bubble level or a laser level for larger installations.
3. Using the Wrong Anchors
Plastic expansion anchors are not meant for heavy shelves. If you can't hit a stud, use toggle bolts or snap toggles rated for your expected load. Read the packaging.
4. Overtightening Screws
Cranking down with a power drill can strip the hole in drywall or split a wood stud. Drive screws until snug, then stop. The final quarter-turn should be by hand.
5. Ignoring the Shelf's Own Weight
A solid wood floating shelf can weigh 10-20 lbs by itself. Factor this into your total weight calculation. If your anchors are rated for 30 lbs and the shelf weighs 15 lbs, you only have 15 lbs left for items.
6. Drilling Into Plumbing or Wiring
Always check for pipes and wires before drilling. A stud finder with electrical detection mode is worth the extra cost. In kitchens and bathrooms, be especially cautious around areas directly above or below sinks.
7. Mounting Too High or Too Low
A shelf that's out of reach is useless for everyday items. A shelf that's too low gets bumped constantly. Measure twice, hold the bracket up to visualize it, then commit.
Tips for a Professional-Looking Result
- Use painter's tape for marking instead of pencil directly on the wall. It's easier to reposition and leaves no marks.
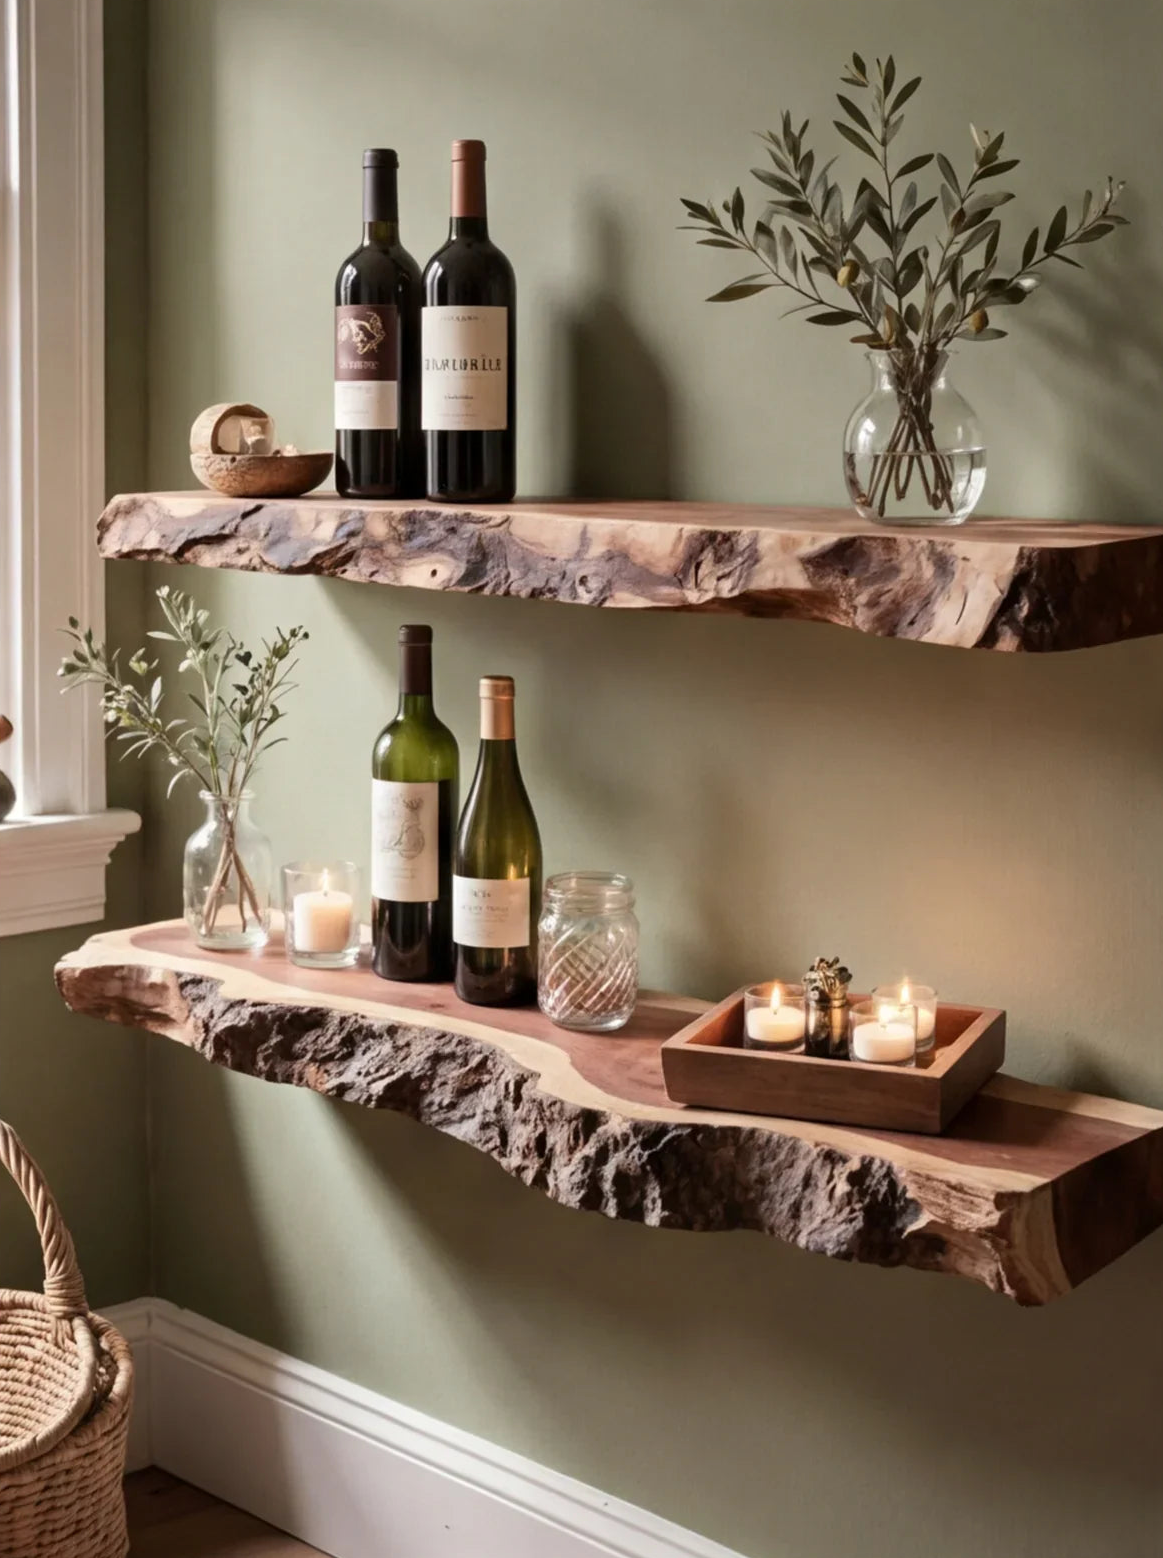
- Install shelves in pairs or groups for a more intentional, designed look. Stagger heights for visual interest.
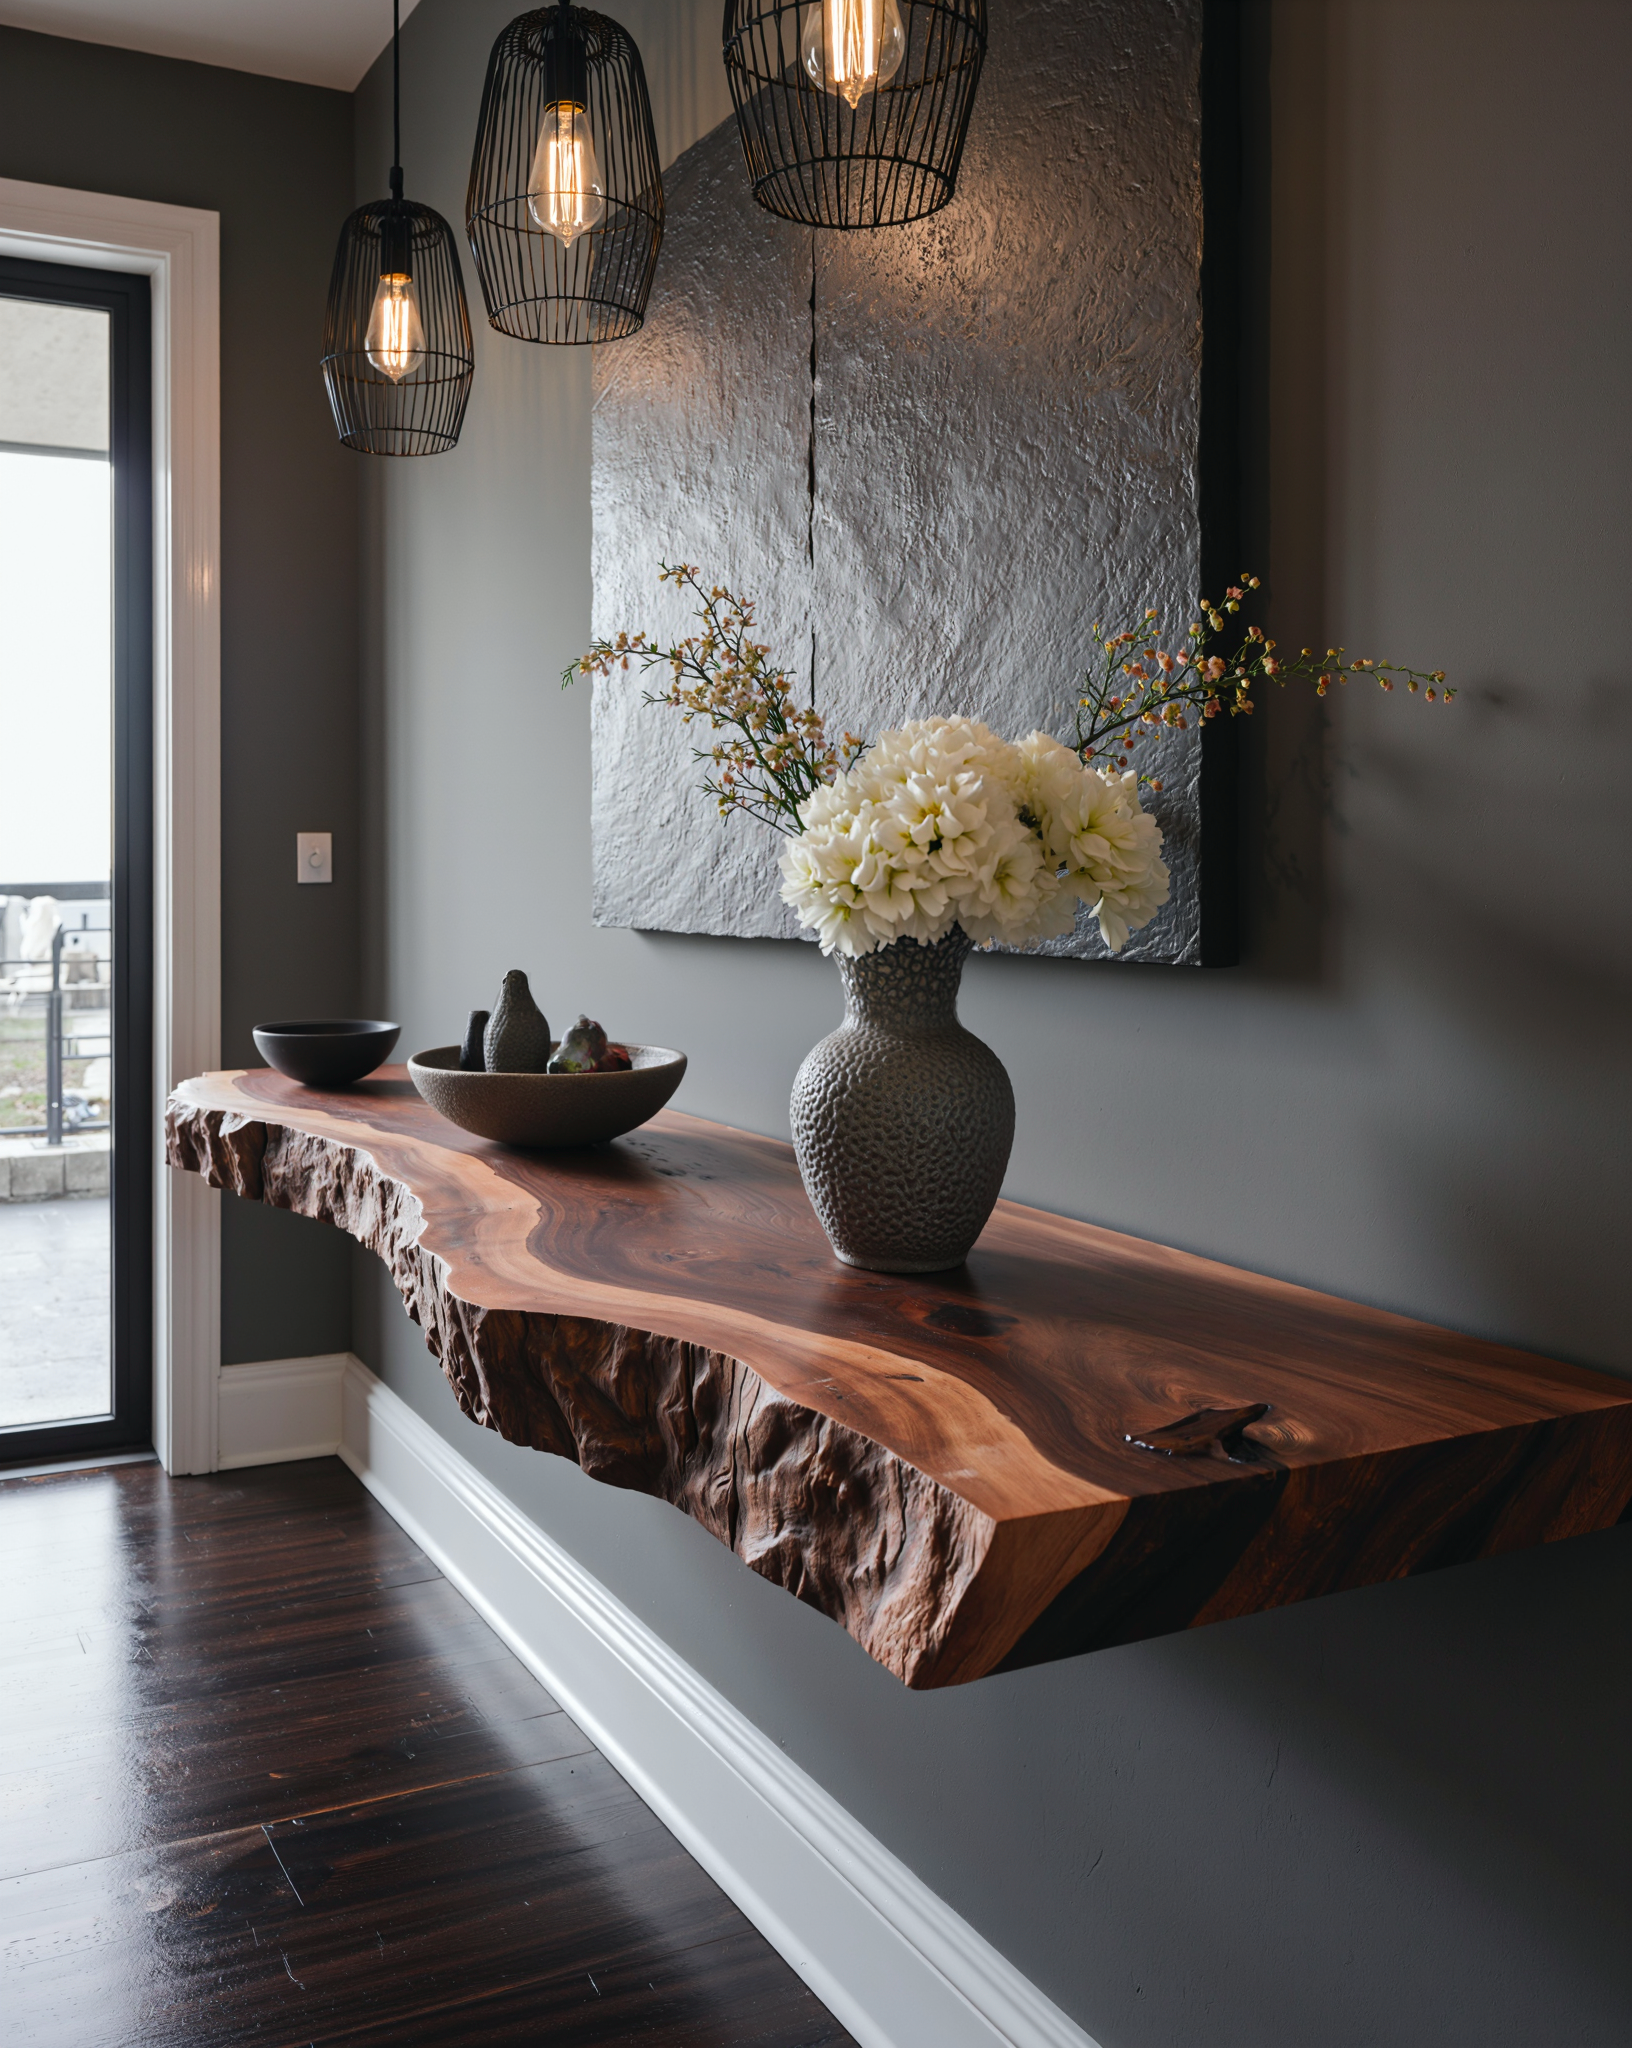
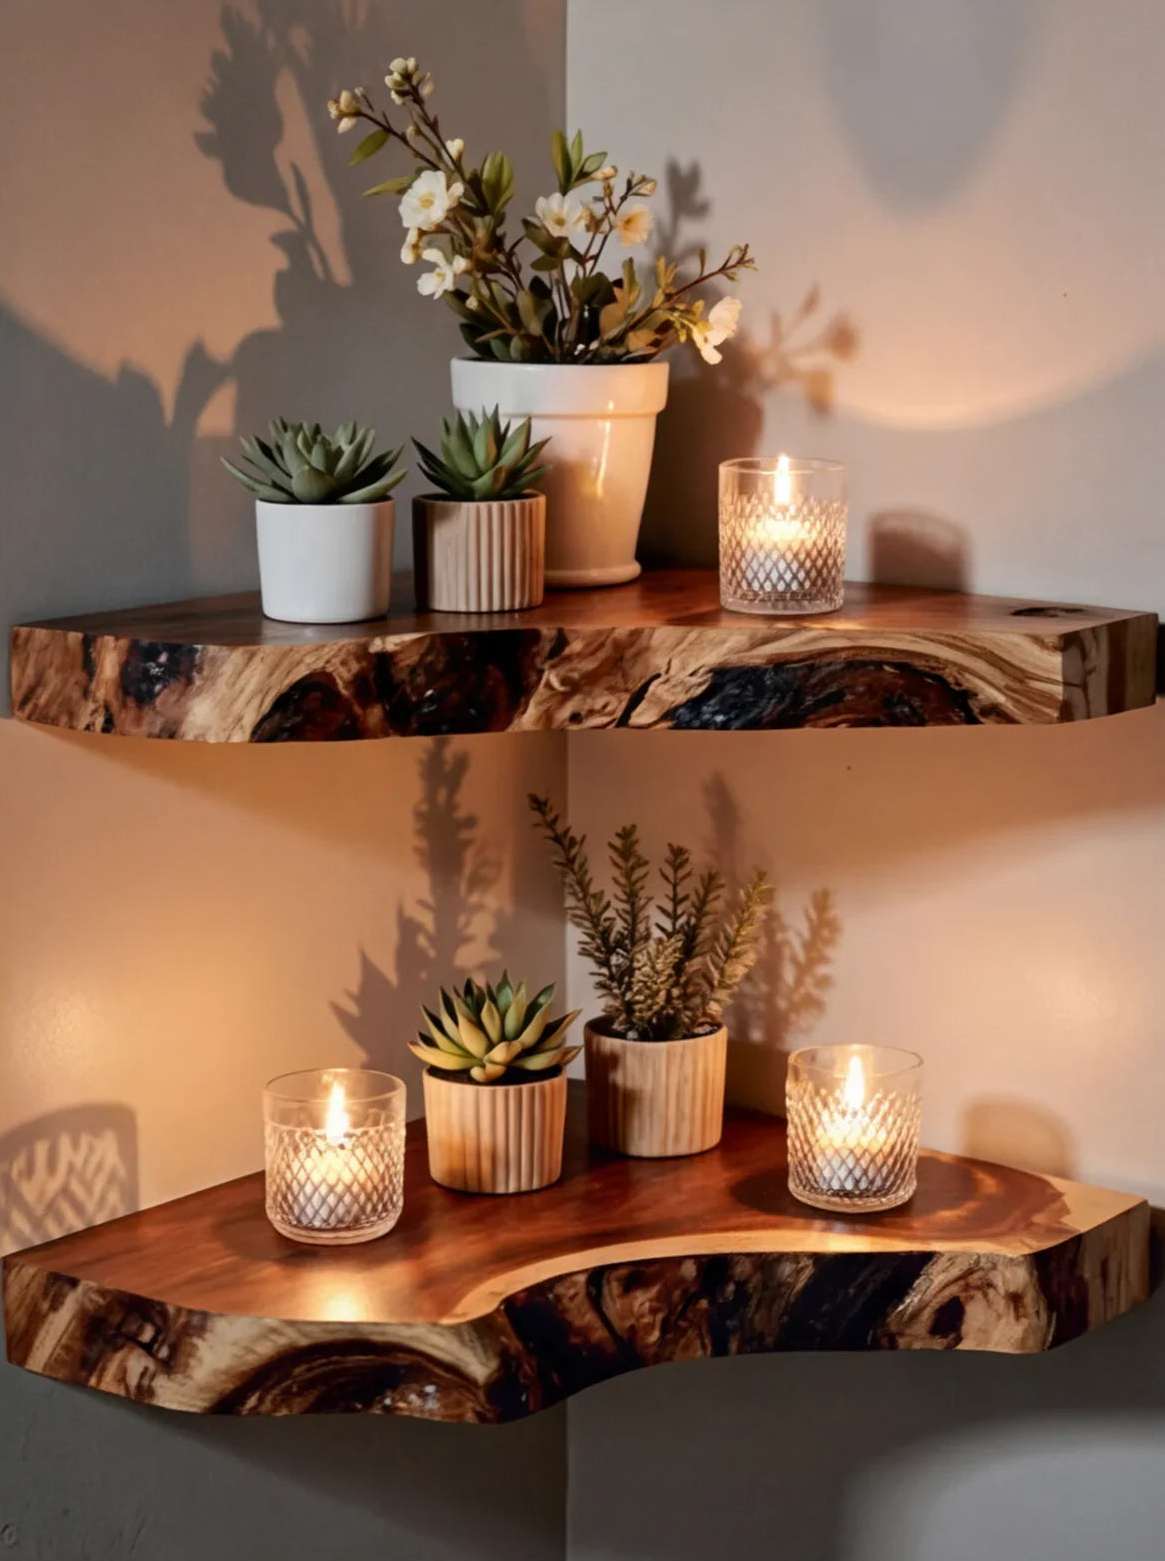
- Match your shelf style to the room. A rustic live-edge corner shelf fits perfectly in a cozy living room, while a mushroom floating shelf adds a playful, organic accent to a nursery or bedroom.
- Fill pilot holes with spackle if you need to reposition - let it dry, sand smooth, and re-drill.
- Wipe shelves with a soft dry cloth after installation to remove dust from drilling.
Ready to Mount Your Floating Shelves?
Now that you know how to mount floating shelves on any wall type, the only question left is which shelf to put up first.
Ashdeco's floating shelf collection features over 130 handcrafted solid wood designs - from wall-mounted display shelves and corner shelves to mushroom-shaped accent shelves. Every shelf is made by Vietnamese artisans from premium hardwood with hidden mounting brackets included.
Browse options by room: kitchen · bathroom · living room · bedroom · laundry room
Or explore by style: rustic · modern · corner · mushroom
Free shipping on every order. 30-day satisfaction guarantee. Use code ASHDECO5 at checkout for 5% off your first shelf.


