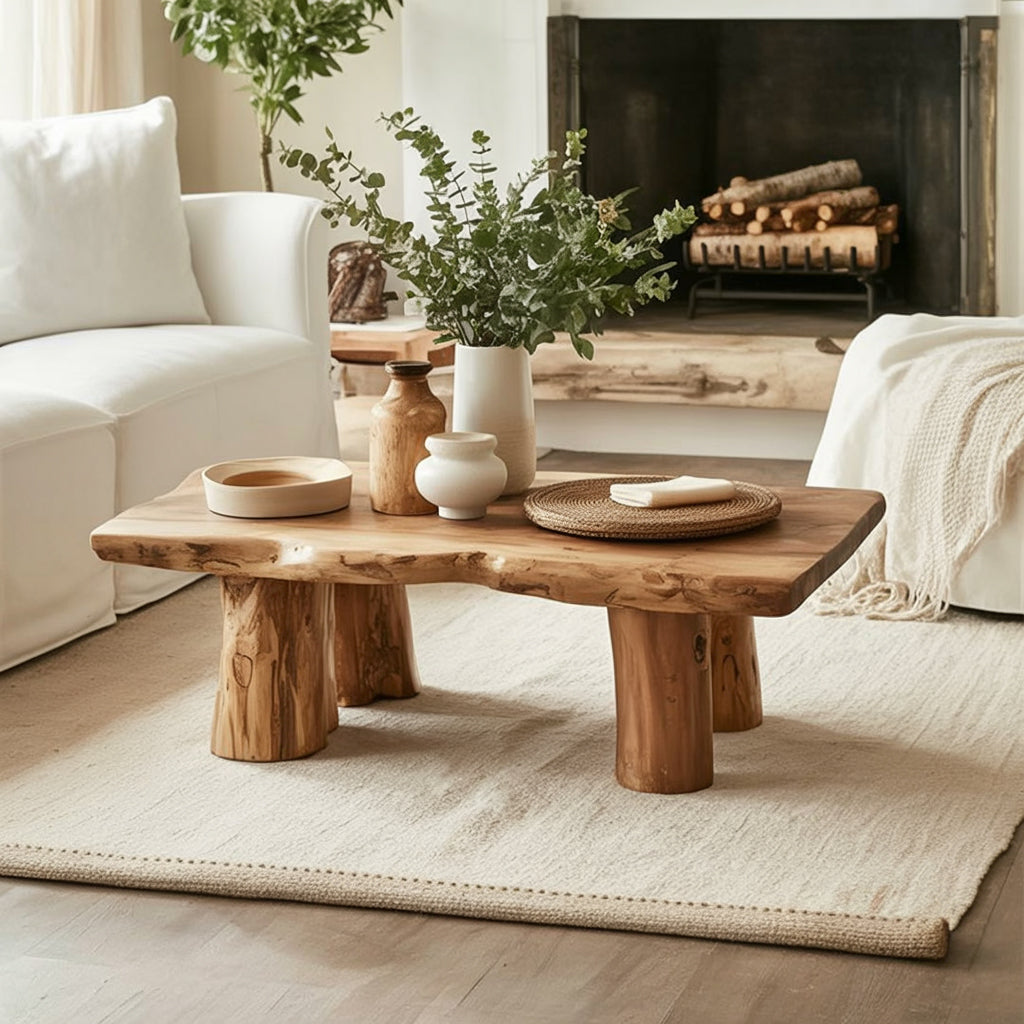
Your live edge coffee table is solid hardwood - it's tough, but it's not indestructible. The right care routine keeps the wood looking rich, the finish protective, and the natural edge intact for decades. The wrong habits (or no maintenance at all) can dull the finish, raise the grain, and invite permanent damage. For a deeper dive, see our article on live edge coffee table buyers guide.

This guide covers daily care, seasonal maintenance, scratch and stain repair, and long-term refinishing - everything you need to keep your live edge coffee table in top condition. Our live edge vs regular coffee table article walks through the specifics.
Daily Care: The Basics That Matter Most
Ninety percent of live edge table care comes down to daily habits. Get these right and you'll rarely need anything more intensive. The wood and finish do most of the work - your job is to not undermine them.
Use coasters. Always. Water rings happen when moisture sits on the finish long enough to cloud it. Cold drinks are the worst offenders because condensation drips continuously. This applies to every finish type - oil, polyurethane, and lacquer alike.
Wipe spills immediately. A quick wipe with a dry cloth prevents 99% of stain problems. Don't let coffee, wine, or juice sit. Even the best finish has microscopic pores that absorb liquids over time.
Dust with a soft, dry cloth. Microfiber works best. Avoid feather dusters - they just redistribute dust. For sticky spots, dampen the cloth slightly with water. No spray cleaners, no furniture polish with silicone. These leave residue that builds up and clouds the surface.
Don't drag objects. Lift items instead of sliding them across the surface. Ceramic mugs, metal decor, and stoneware have rough bottoms that scratch wood finish instantly.
What to Avoid
Certain common habits damage live edge furniture faster than anything. These are the mistakes even careful owners make, and they're all preventable.
Harsh cleaners. No Windex, no all-purpose spray, no bleach-based products. These strip the finish and dry out the wood. If you need to clean beyond a damp cloth, use a cleaner specifically formulated for wood furniture.
Direct sunlight. UV rays fade wood color and degrade finish over time. If your table sits near a window, use curtains or UV-filtering window film. Walnut is especially sensitive - it lightens noticeably in direct sun within months.
Heat sources. No hot pots, pans, or dishes directly on the surface. Heat softens most finishes and can leave permanent white marks. Use trivets or heat-resistant pads.
Excessive humidity swings. Wood expands in humidity and contracts in dry air. This is natural. But extreme swings (like placing the table near a heating vent in winter) can cause cracking. Keep indoor humidity between 35-55% if possible.
Seasonal Maintenance: Twice a Year
Every six months, give your table a deeper treatment. This takes 30 minutes and significantly extends the finish life. Each piece handcrafted by Vietnamese artisans at Ashdeco is finished to withstand daily use - but a little maintenance goes a long way.
For Oil-Finished Tables (Hardwax Oil, Tung Oil, Danish Oil)
Step 1: Clean the surface with a slightly damp cloth and let it dry completely.
Step 2: Apply a thin coat of the same oil originally used (or a compatible maintenance oil). Use a lint-free cloth and rub in the direction of the grain.
Step 3: Let it soak in for 15-20 minutes, then wipe off all excess. Leaving excess oil on the surface creates a sticky, dust-attracting film.
Step 4: Allow 24 hours to cure before placing anything on the table.
For Film-Finished Tables (Polyurethane, Lacquer, Conversion Varnish)
Step 1: Clean with a damp cloth and dry thoroughly.
Step 2: Apply a quality furniture wax (paste wax, not spray) with a soft cloth. Buff in circular motions.
Step 3: Let the wax haze for 5-10 minutes, then buff off with a clean cloth until the surface feels smooth and slightly glossy.
Film finishes don't need re-oiling - the protective layer sits on top of the wood. Waxing adds a sacrificial layer that takes minor abrasion instead of the finish itself.
Fixing Scratches and Minor Damage
Scratches happen. The good news: solid wood can be repaired. This is one of its biggest advantages over veneer or MDF, where damage is permanent.
Light surface scratches: Rub a walnut meat (the nut, not walnut oil) directly on the scratch. The natural oils fill and darken the mark. Buff with a soft cloth. This works surprisingly well on darker woods.
Medium scratches (through the finish): Apply a matching wood touch-up marker or wax fill stick. These are available in walnut, oak, cherry, and maple tones at any hardware store. Fill the scratch, wipe excess, and buff.
Deep gouges: Sand the damaged area lightly with 220-grit sandpaper, feathering into the surrounding finish. Apply matching stain if needed, then recoat with the original finish product. For oil finishes, this is easy. For film finishes, blending requires more skill - consider professional help for visible areas.
Water rings/white marks: Place a clean cloth over the mark and press with a warm (not hot) iron for 5-10 seconds. The heat draws moisture out of the finish. Repeat if needed. This works on most polyurethane and lacquer finishes.
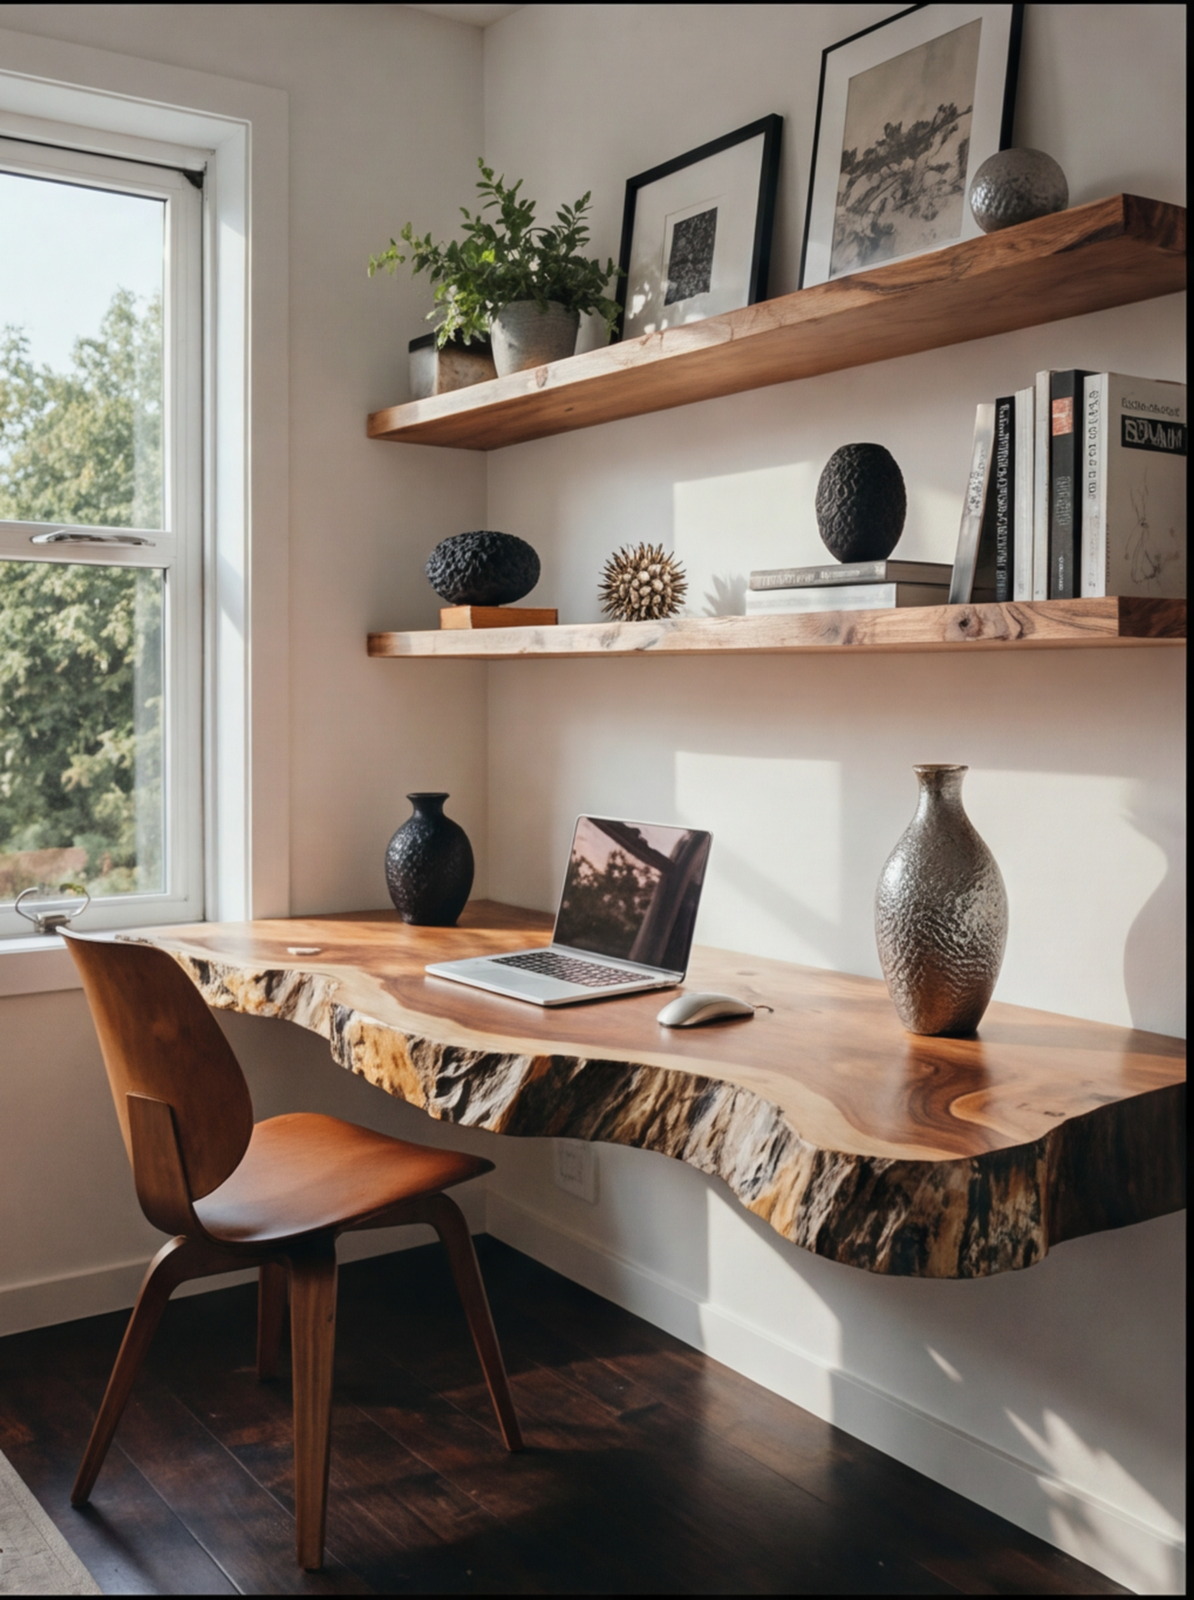
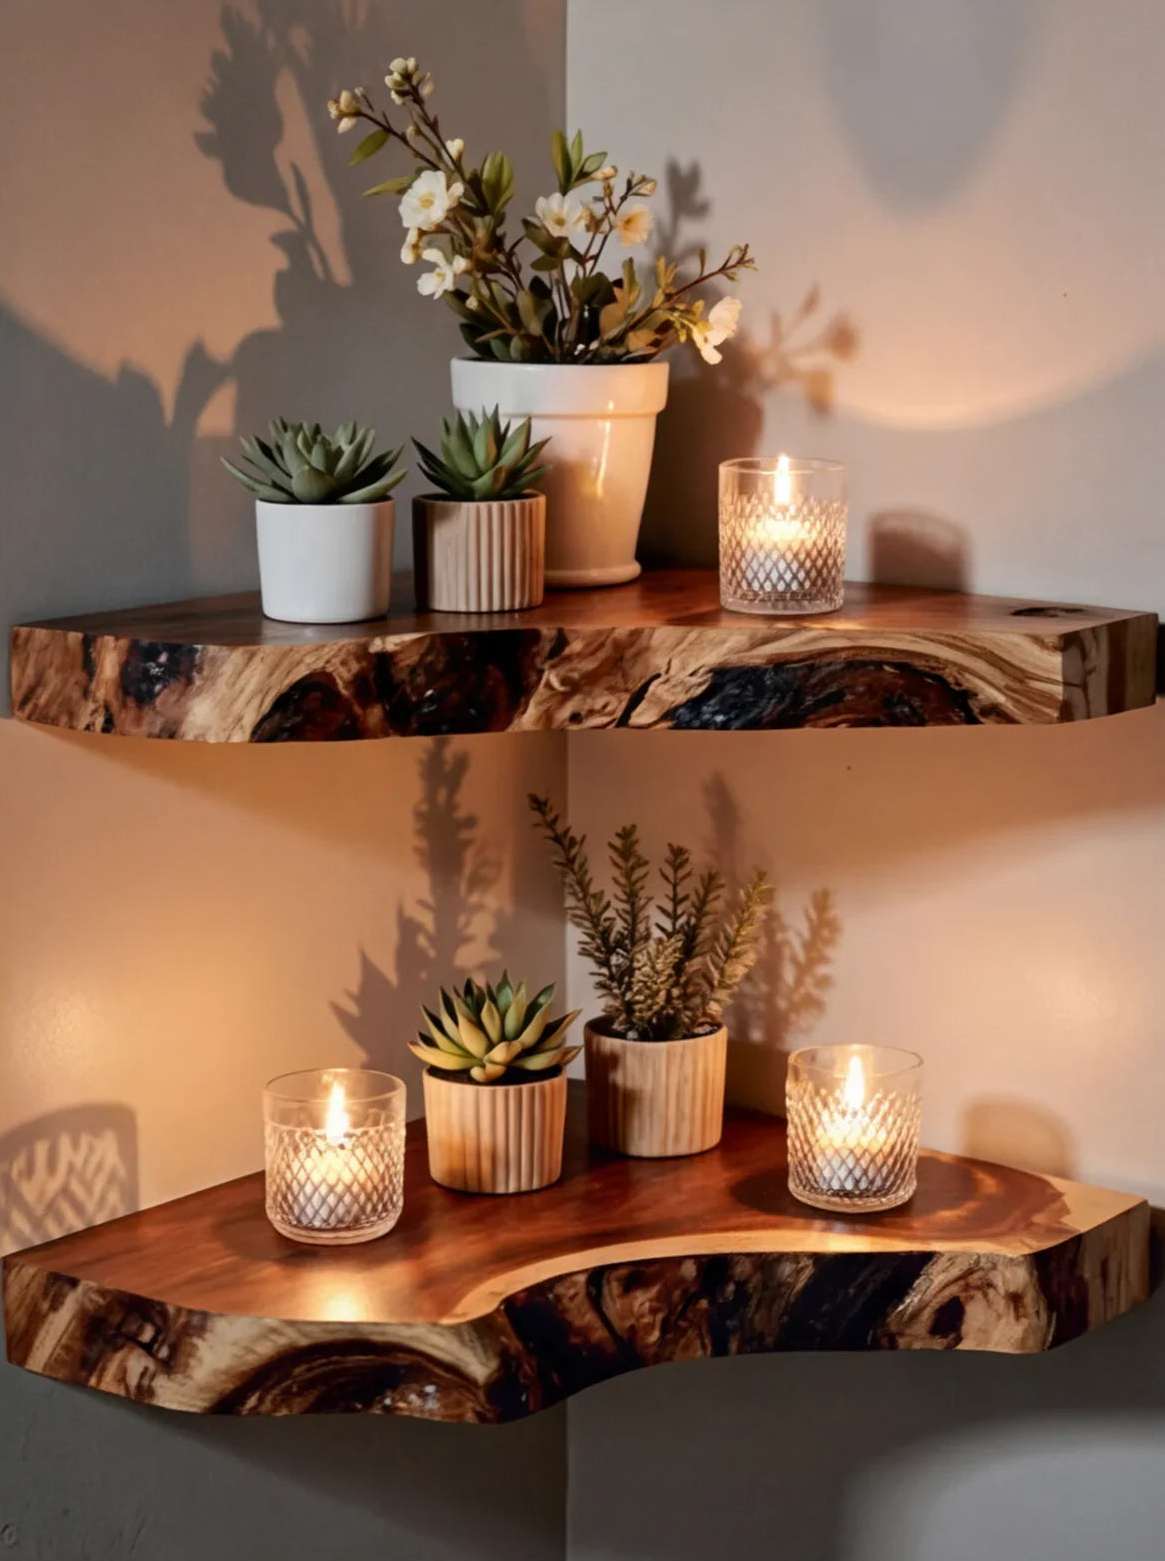
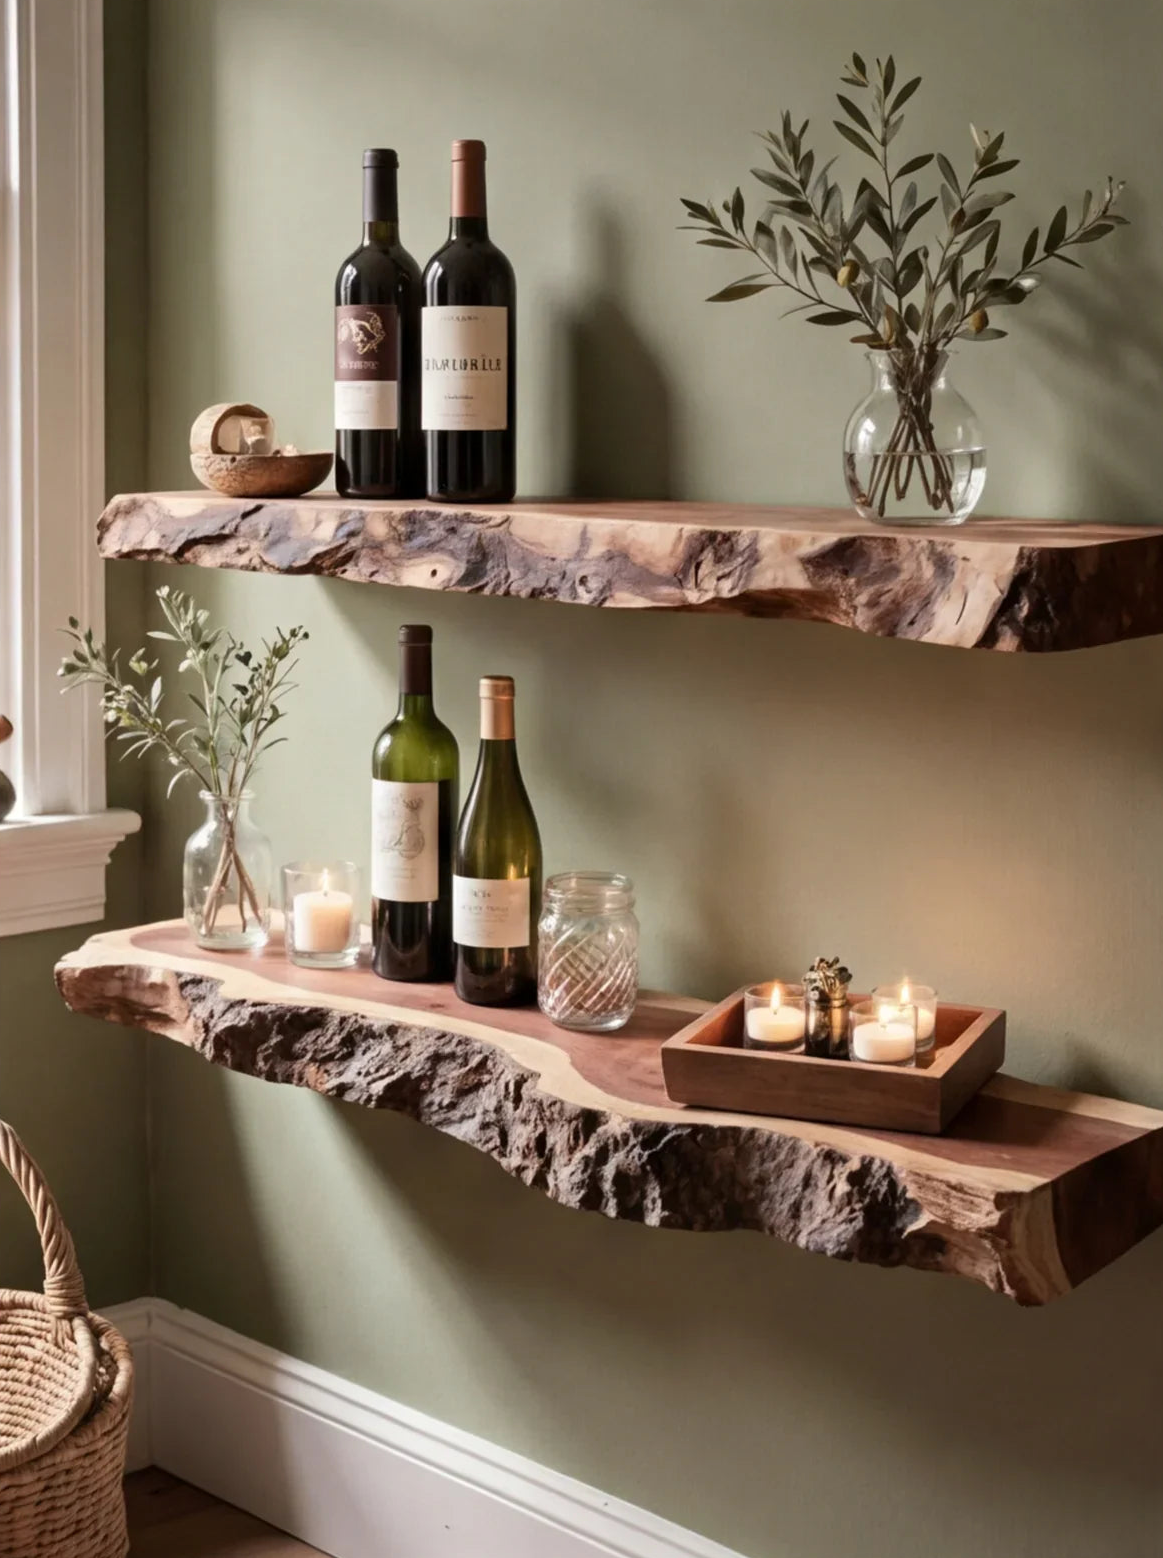
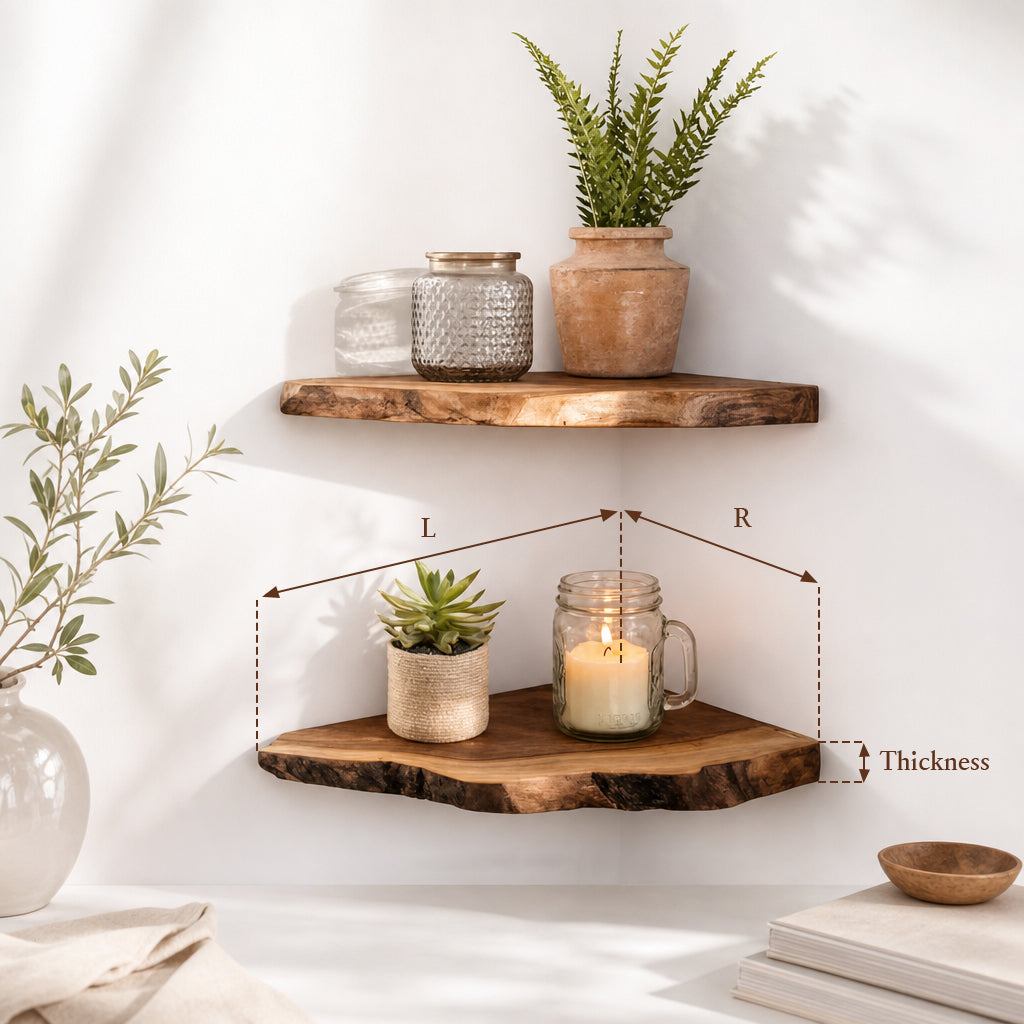
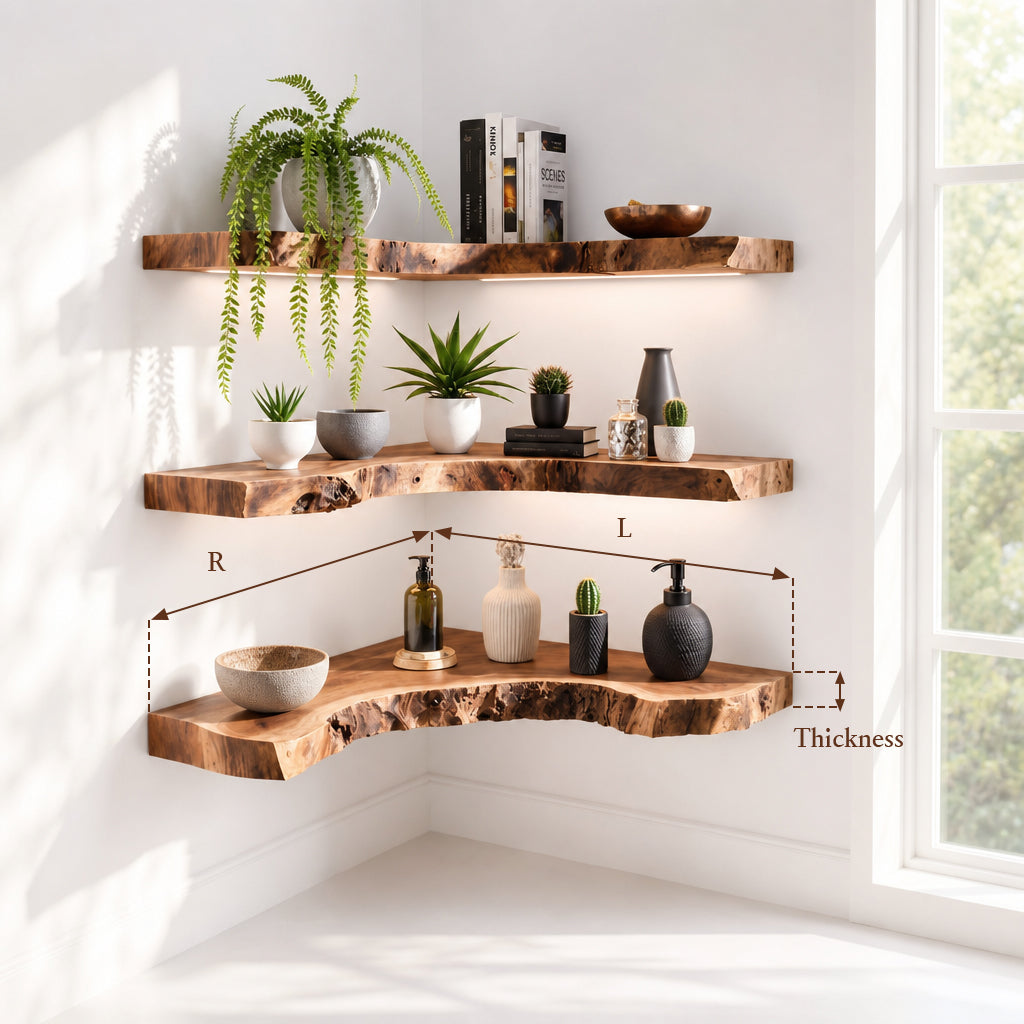
Caring for the Live Edge Itself
The natural bark-line edge needs slightly different attention than the flat top surface. The bark may be left on or removed, and each option has its own care needs.
Bark-on edges: The bark is sealed with the same finish as the top surface. Dust it gently - don't scrub. Over years, bark can loosen. If a small section lifts, reattach it with wood glue and clamp lightly overnight.
Bark-off edges (sanded natural edge): The edge is sealed but textured. It collects dust in the contours. Use a soft brush (a clean paintbrush works well) to get into the crevices during regular dusting.
When to Refinish Completely
A full refinish - sanding back to raw wood and re-applying finish - is rarely needed if you maintain the table properly. Most live edge tables go 10-20 years before needing it. Signs it's time:
The finish feels rough or gritty even after cleaning. This means the topcoat has worn through in high-use areas.
Water no longer beads on the surface. Splash a few drops - if they soak in instead of sitting on top, the finish has failed.
Multiple deep scratches or stains that spot-repair can't fix. At some point, it's easier to strip and start fresh than to patch.
Refinishing a coffee table is a weekend project for a confident DIYer, or a $200-$400 job for a professional. Either way, the result is a table that looks brand new - something you'll never achieve with MDF or veneer.

For more about our live edge coffee tables and the finishes we use, browse the full collection.
Frequently Asked Questions
How often should I oil my live edge coffee table?
For oil-finished tables, every 6 months is ideal for normal use. High-traffic tables (families with kids, daily heavy use) may benefit from every 3-4 months. Film-finished tables (polyurethane, lacquer) only need waxing every 6-12 months.
Can I use olive oil or coconut oil on my wood table?
No. Food-grade oils go rancid over time, creating odor and a sticky surface. Use only furniture-specific oils: hardwax oil, tung oil, or Danish oil. These are formulated to cure and harden, not decompose.
Will my live edge coffee table crack in winter?
Properly kiln-dried wood (6-8% moisture content) handles normal seasonal changes well. The risk increases in homes with forced-air heating that drops indoor humidity below 30%. Running a humidifier in winter to maintain 35-50% humidity prevents most seasonal movement issues.
Is it okay to put a tablecloth on a live edge table?
It protects the surface, but it defeats the purpose - you bought a live edge table for its natural beauty. If you need protection for a dinner party or craft project, use a felt-backed table pad that you remove afterward. Day-to-day, let the wood show.


