



















Quick view
- Why the Space Above Your Toilet is Perfect for Floating Shelves
- How to Choose the Right Floating Shelf Above Toilet
- Floating Shelf Above Toilet Height: Where Exactly to Mount
- What to Put on Your Floating Shelf Above Toilet
- Installation: What Most Articles Don't Tell You
- Floating Shelf vs Other Over-Toilet Storage Solutions
- Frequently Asked Questions
- Final Thoughts
Shop this guide
Handcrafted Floating Shelves, made to order in solid wood.
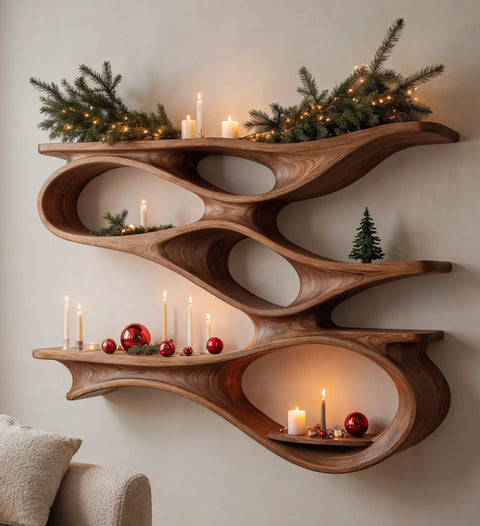
 Sculptural Overlapping Circular Solid Wood Wall Shelf with Multi Tier Display
From $1,354.00
Sculptural Overlapping Circular Solid Wood Wall Shelf with Multi Tier Display
From $1,354.00
 Mountain Landscape Relief Solid Wood Floating Shelf Live Edge Display Ledge
From $1,154.00
Mountain Landscape Relief Solid Wood Floating Shelf Live Edge Display Ledge
From $1,154.00
 Enchanted Forest Circular Wall Shelf - Round Carved Timber Mushroom Portal
From $1,023.00
Enchanted Forest Circular Wall Shelf - Round Carved Timber Mushroom Portal
From $1,023.00
 Cottagecore Arched Wood Wall Niche - Hand-Carved Fairy Mushroom Alcove Shelf
From $1,356.00
Cottagecore Arched Wood Wall Niche - Hand-Carved Fairy Mushroom Alcove Shelf
From $1,356.00
 Sculptural Hand-Carved Mushroom Solid Wood Corner Floating Shelf & Biomorphic Wall Display Ledge
From $345.00
Sculptural Hand-Carved Mushroom Solid Wood Corner Floating Shelf & Biomorphic Wall Display Ledge
From $345.00
 Sculptural Hand-Carved Mushroom Solid Wood Floating Shelves & Biomorphic Wall Display Ledges
From $345.00
Sculptural Hand-Carved Mushroom Solid Wood Floating Shelves & Biomorphic Wall Display Ledges
From $345.00
Floating Shelf Above Toilet: Solve Bathroom Clutter the Right Way
The wall above your toilet is probably the most wasted space in your entire bathroom. There's 3 – 4 feet of vertical real estate sitting there doing absolutely nothing - too narrow for a cabinet, too awkward for furniture, but perfect for one thing: a floating shelf above toilet.
We build bathroom shelves for a living, and this single placement is the #1 recommendation we give customers with small bathrooms. Not because it's fancy - because it works. A floating wall shelf above the toilet solves the "nowhere to put anything" problem without adding a single piece of bulky furniture to your floor.
This guide covers everything we've learned from years of designing and installing bathroom storage: ideal height, the right wood species for humid environments, what to put on each shelf, and the installation details that most articles skip.

Why the Space Above Your Toilet is Perfect for Floating Shelves
The Most Underutilized Wall in Your Bathroom
Think about it. The wall above your toilet tank has 3 – 4 feet of vertical space that does nothing. You can't put furniture there - the toilet is in the way. You can't hang art - it's too narrow and too close to the ceiling. But shelves? Shelves fit perfectly.
A wood floating shelf mounted above the toilet adds storage without taking floor space. In a bathroom that's usually the smallest room in the house, that matters.
Functional Storage Without Bulk
Unlike over-toilet cabinets or ladder shelves, a floating shelf adds zero visual weight. No legs, no frame, no boxy cabinet blocking your view. Just clean, open storage that makes the room feel bigger, not smaller.
This is especially important in small bathrooms where every inch of floor space counts. A shelf floating on the wall keeps the floor visible and open - a simple trick that makes tight spaces feel less cramped.
Easy Access to Bathroom Essentials
Position your shelves right, and everything you need is within arm's reach:
- Bottom shelf: Extra toilet paper, phone, wipes
- Middle shelf: Candle, diffuser, or small plant
- Top shelf: Decorative basket with extra towels or supplies
No bending down, no opening cabinet doors - just grab what you need.

How to Choose the Right Floating Shelf Above Toilet
Size and Dimensions
- Width: Match or slightly narrower than your toilet tank (typically 20 – 24"). A shelf wider than the tank looks unbalanced.
- Depth: 6 – 8" is ideal - enough for towels, bottles, and baskets without protruding into head-space.
- Number of shelves: 2 – 3 stacked gives you maximum storage without hitting the ceiling.
Material Matters in a Humid Environment
This is where most people get it wrong. Bathrooms are hostile environments for furniture. After a hot shower, humidity hits 80 – 100%. Standard building materials react badly:
- MDF: Absorbs moisture, swells, warps, grows mold. Lifespan in a bathroom: 6 – 18 months.
- Particle board: Disintegrates when wet. Don't even try.
- Pine (unfinished): Absorbs moisture, warps, stains. Maybe 1 – 2 years.
What actually works:
- Teak: Naturally water-resistant - it's what they build boats with. 20+ year lifespan.
- White oak: Dense, moisture-resistant hardwood. Excellent for bathrooms.
- Acacia: Naturally water-resistant, more affordable than teak.
- Solid hardwood with oil finish: Oil repels moisture, minimal absorption. 10 – 20+ years.
Bottom line: If it says "engineered wood" and it's going in a bathroom, walk away. A proper wood floating shelf made from solid hardwood with the right finish is the only thing that lasts.
Weight Capacity and Mounting
A solid wood shelf with proper brackets holds 15 – 30 lbs when mounted into wall studs. That's more than enough for towels, toiletries, and decorative items.
The key word here is studs. Drywall anchors alone won't support a loaded bathroom shelf long-term. We'll cover proper mounting below.
Style That Matches Your Bathroom
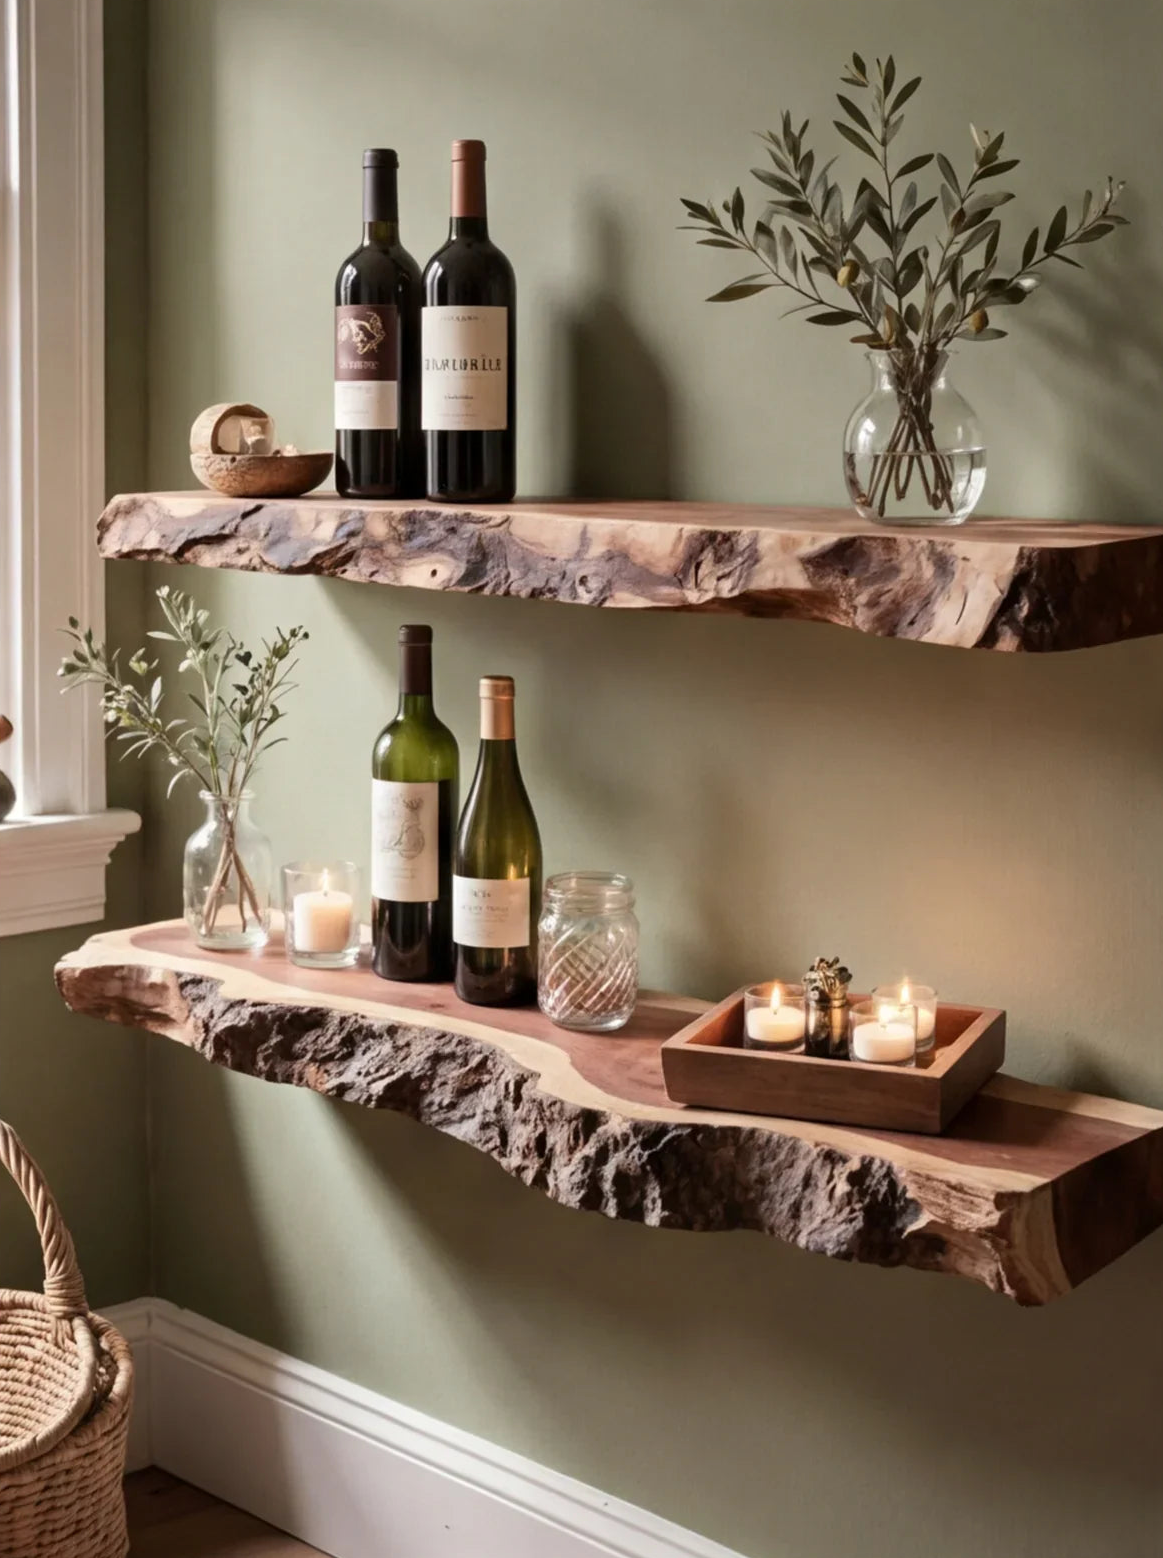
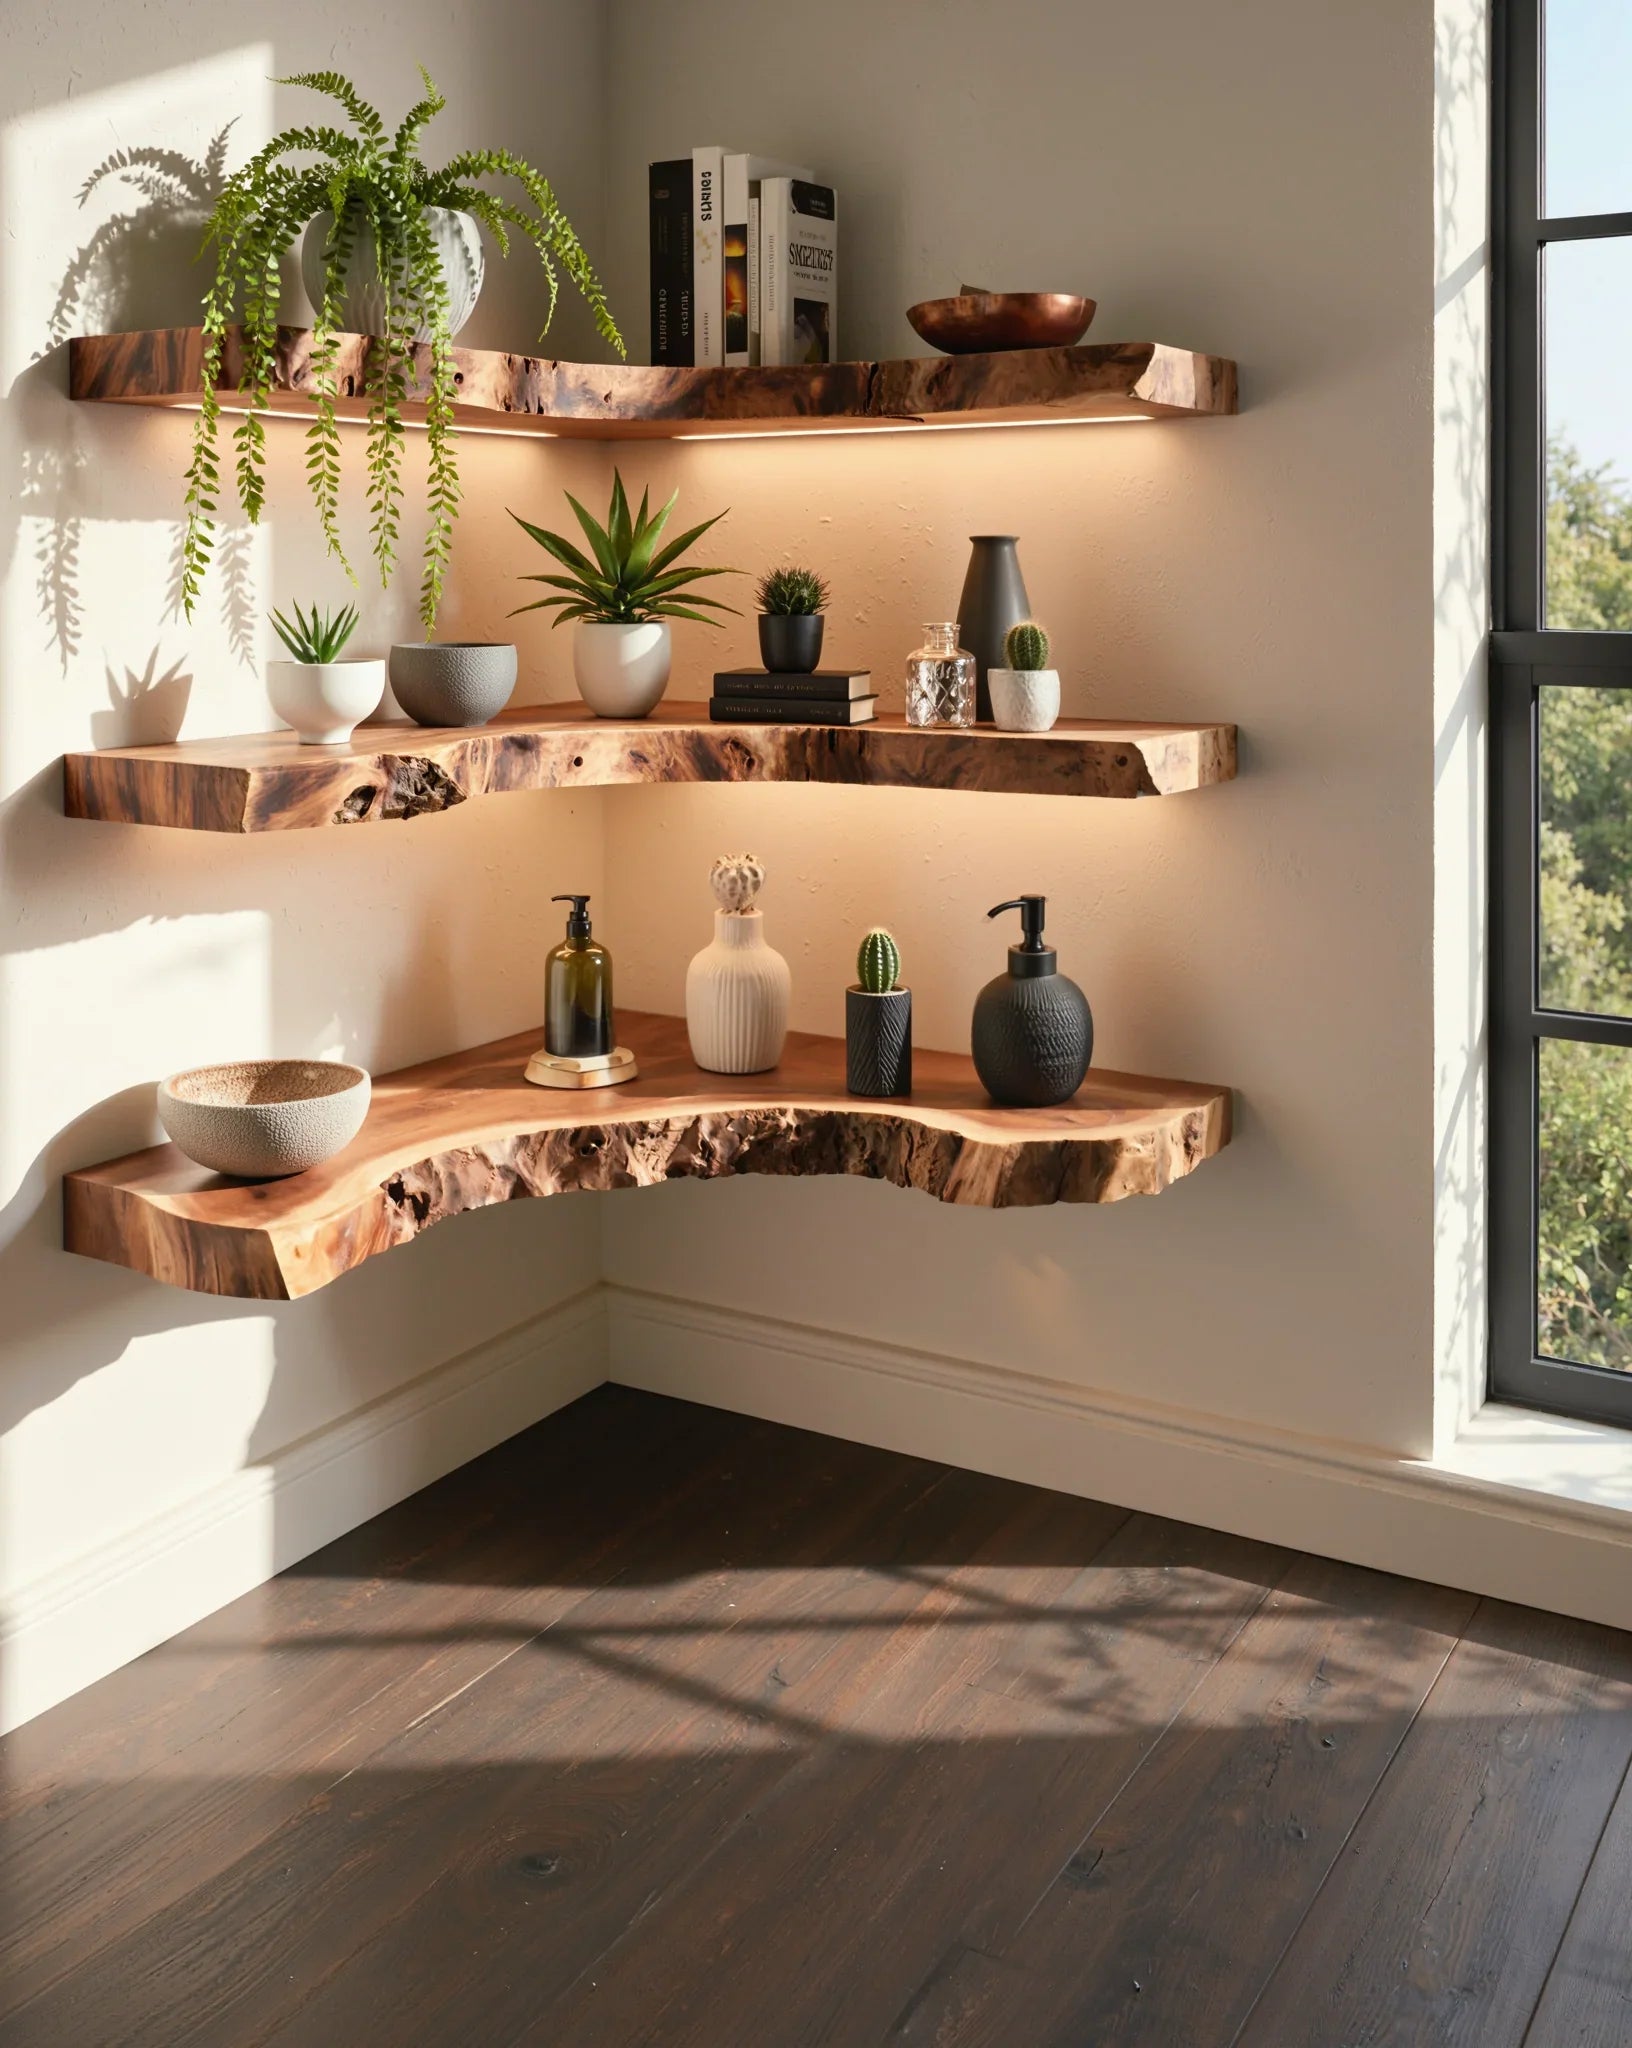
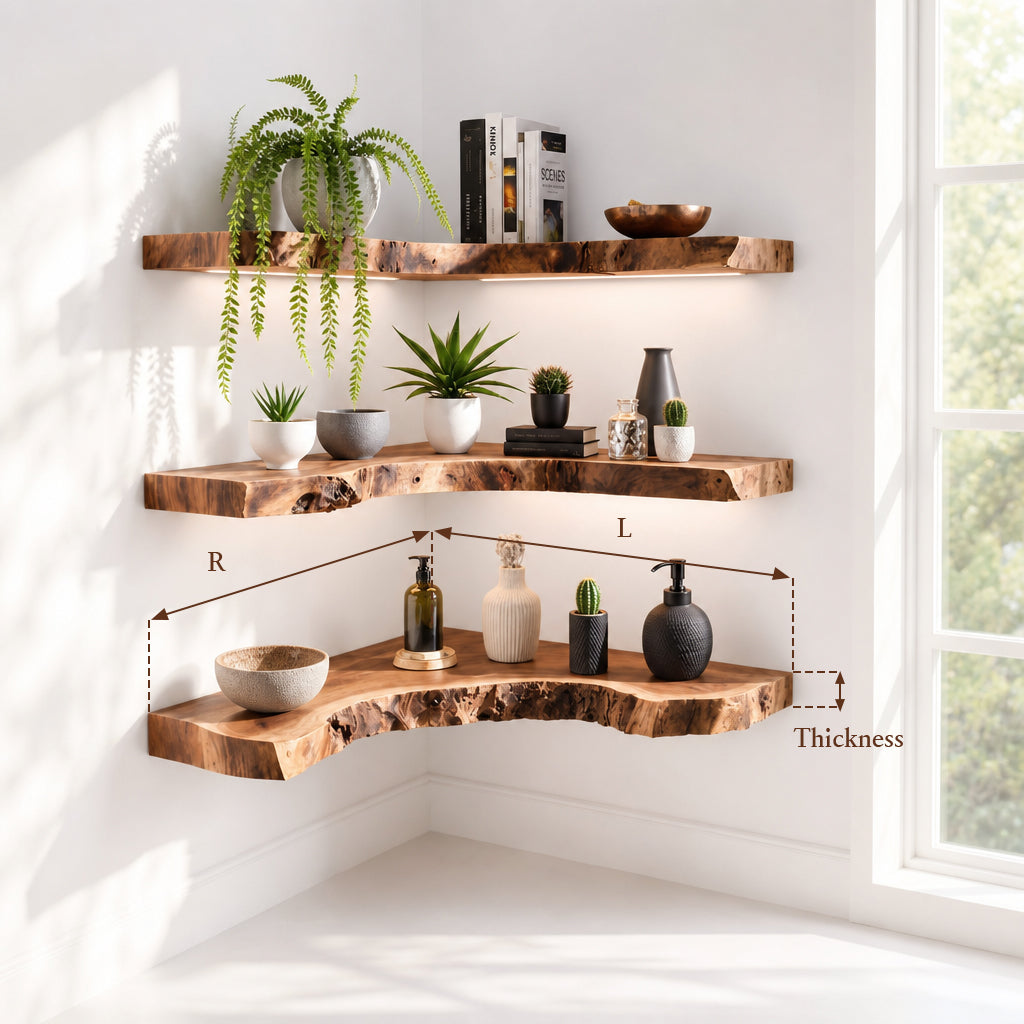
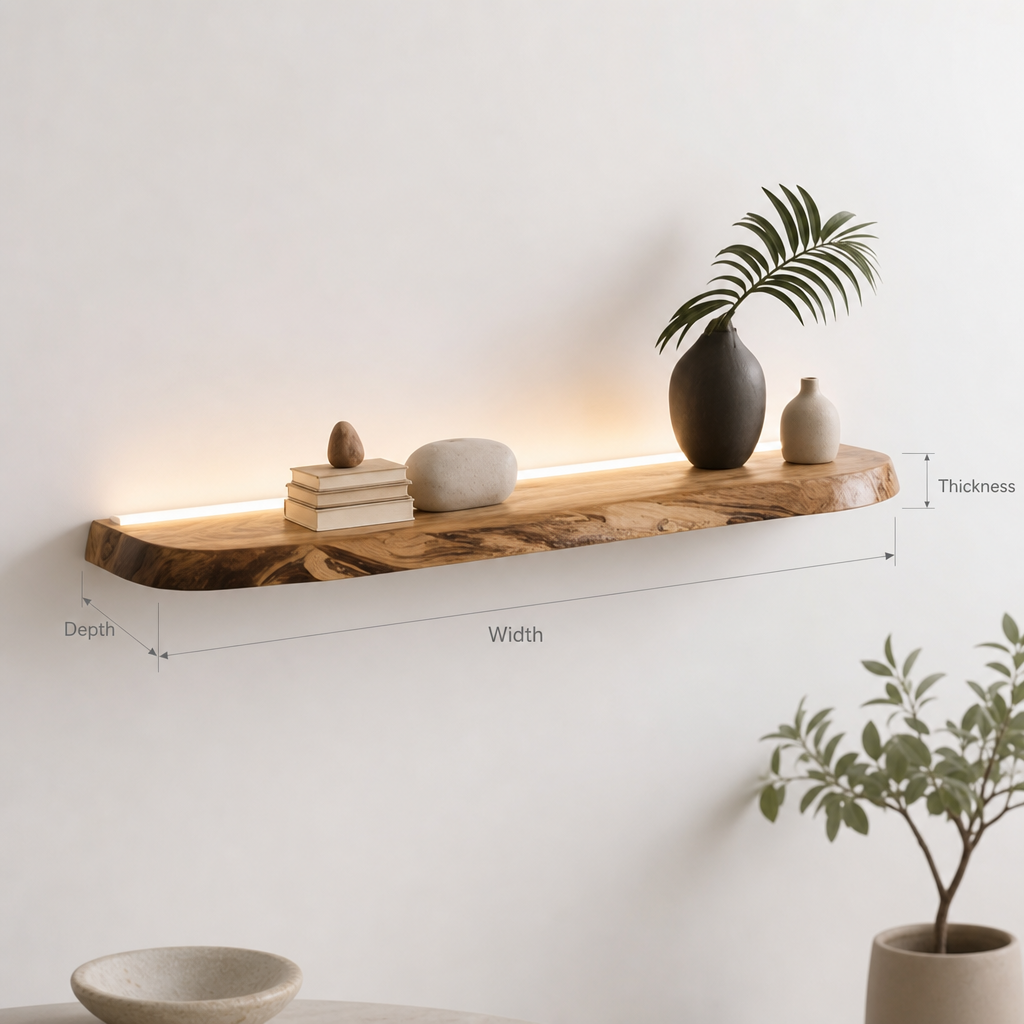
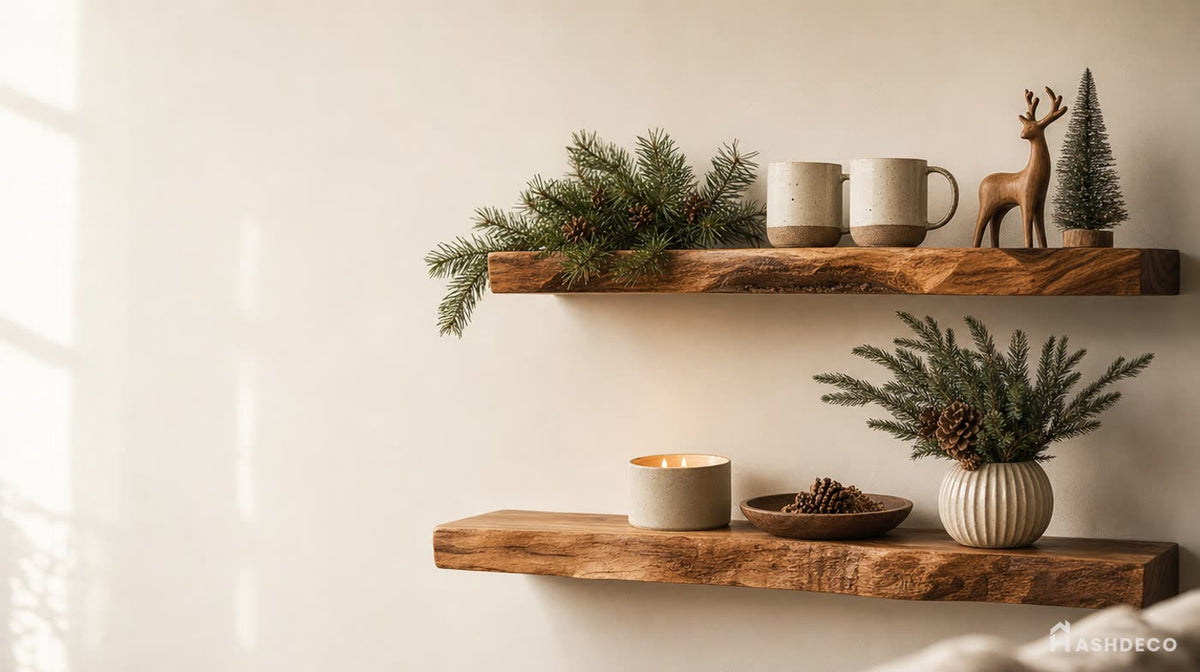
- Live edge: Natural, organic look with the wood's original edge preserved. Perfect for rustic, farmhouse, or spa-style bathrooms.
- Clean rectangular: Modern, minimal, straight lines. Works with contemporary or Scandinavian design.
- Reclaimed wood: Character marks, nail holes, weathered patina. Adds warmth and personality.
Mushroom Floating Shelf Above Toilet
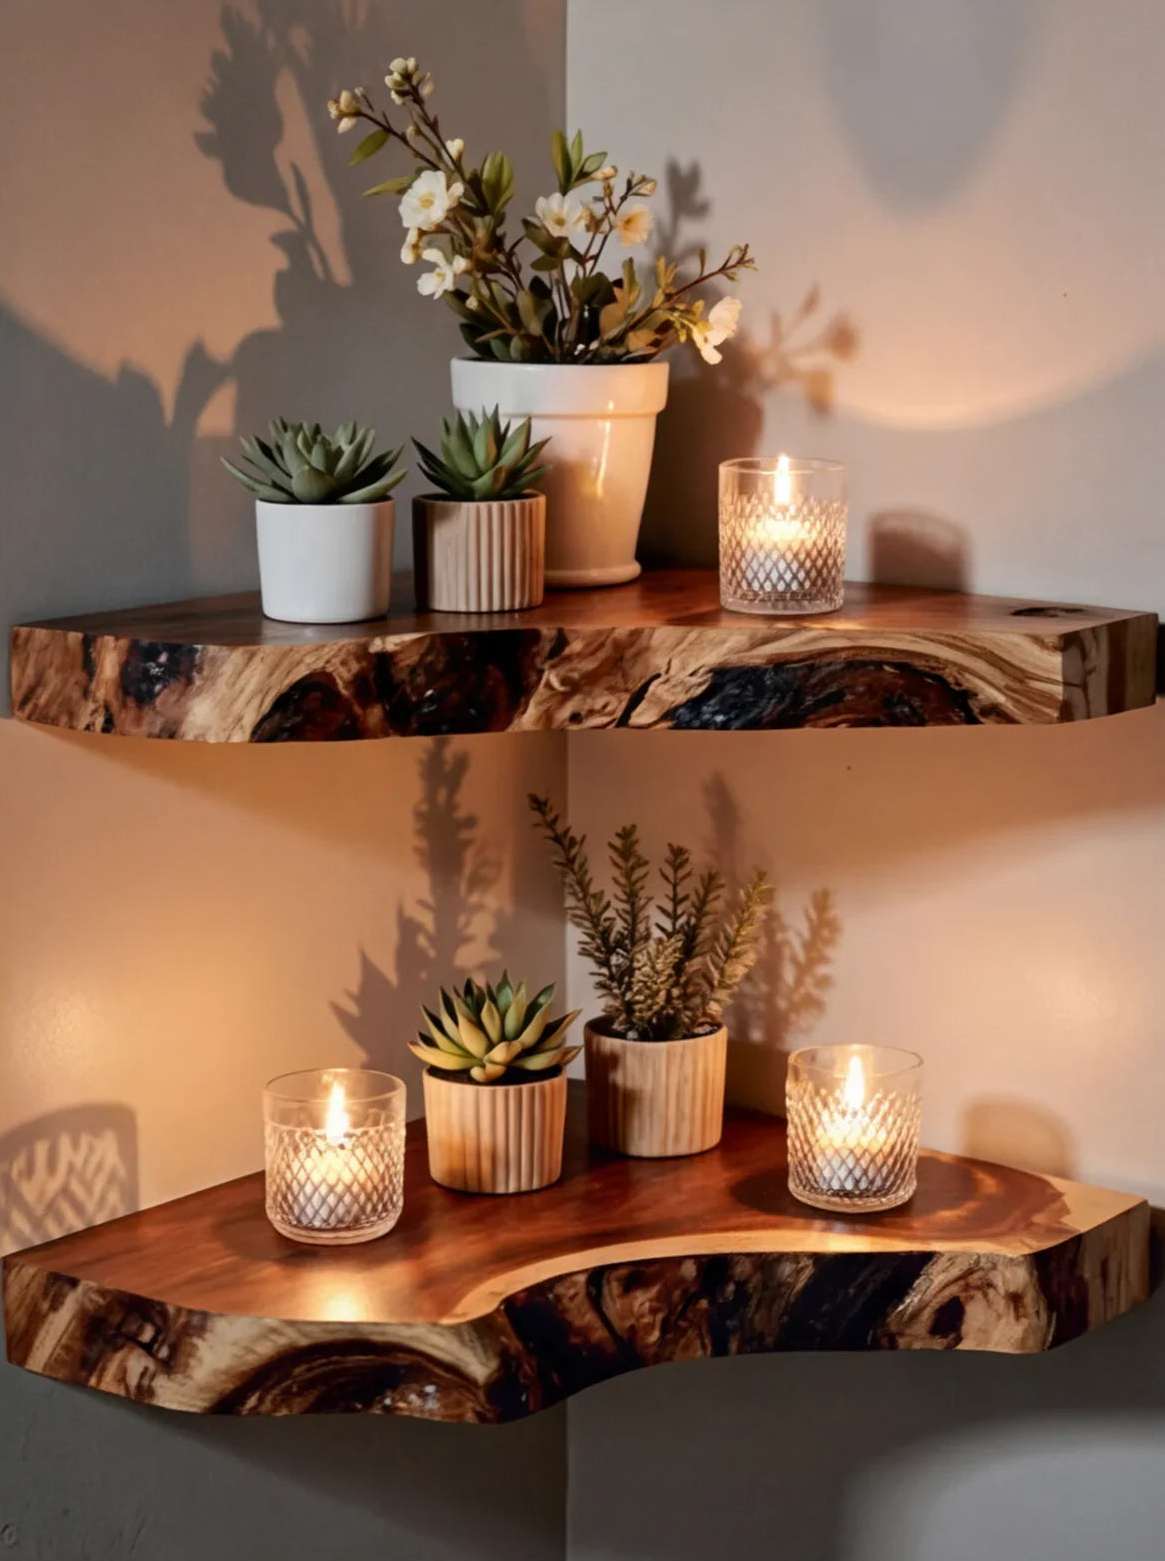
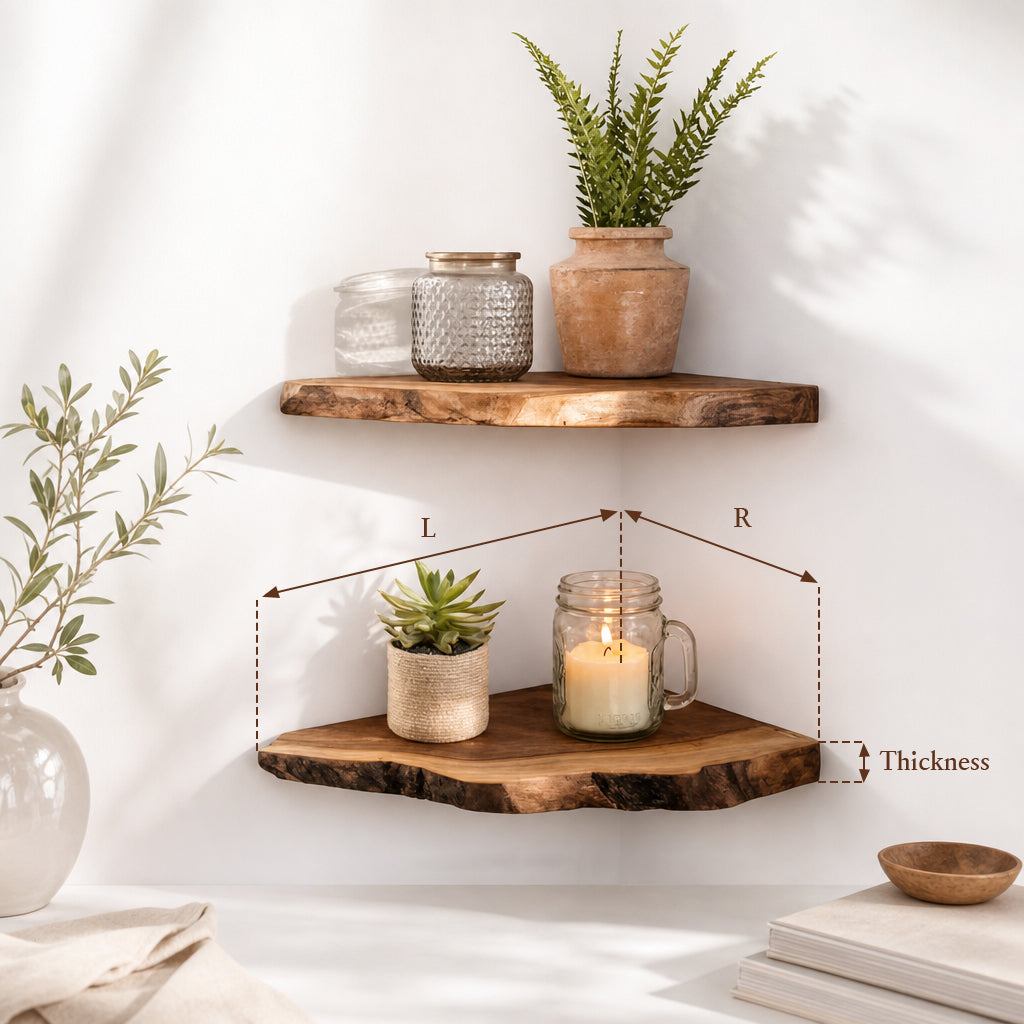
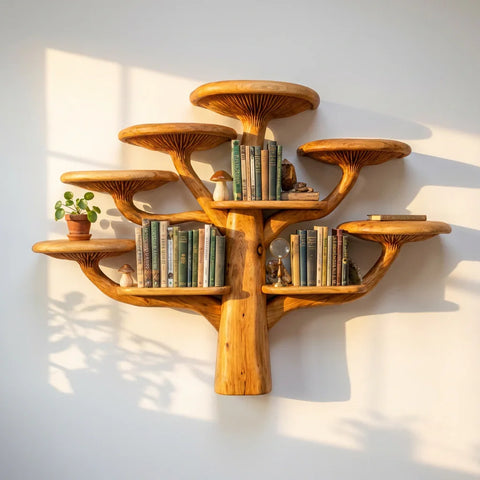
If you want something with more personality than a straight-edge shelf, a mushroom floating shelf above the toilet is a growing favorite for small bathrooms. The rounded, organic silhouette softens the boxy feel of a toilet corner and pairs naturally with plants, candles, or a small ceramic tray. Because the shape is compact, it works well as a single accent shelf above the tank rather than part of a stacked set - mount it at the same 24 – 28" height rule as any other floating shelf above the toilet, and the same solid-hardwood-only rule applies just as strictly, since the curved shape still needs to survive the same humidity.



Floating Shelf Above Toilet Height: Where Exactly to Mount
The Golden Rule of Placement
- Bottom shelf: 24 – 28" above the toilet tank. This is the sweet spot - comfortable reach for everyday items, no head-bumping when you stand up.
- Between shelves: 10 – 12" spacing. Enough room for baskets, rolled towels, or decorative items.
- Top shelf: Leave at least 6" below the ceiling or any light fixture.
Adjusting for Your Ceiling Height
- Standard 8-foot ceiling: 2 – 3 shelves work perfectly.
- Low ceiling (7 feet): Stick to 2 shelves max to avoid a cramped feeling.
- High ceiling: You can go up to 4 shelves for dramatic vertical storage.
Common Mistakes to Avoid
- Mounting too low: The #1 mistake. If your bottom shelf is less than 20" above the tank, someone will hit their head when standing up. We've seen it happen.
- Not checking the toilet lid: Some toilet lids open higher than others. Test the lid's full range before marking your shelf height.
- Ignoring the light switch: If your bathroom light switch is on the same wall, make sure shelves don't block access.
- Forgetting about the exhaust fan: If there's a vent fan on the same wall, don't mount shelves where they block airflow.
What to Put on Your Floating Shelf Above Toilet
Bottom Shelf (Everyday Essentials)
This is your "grab and go" shelf. Keep it functional:
- Extra toilet paper (rolled or in a woven basket)
- Hand towels or guest towels
- Cleaning wipes or spray bottle
- Phone holder or small tray for jewelry/watch
Middle Shelf (Function + Style)
Half practical, half decorative:
- Small plant (pothos or fern thrive in bathroom humidity; air plants need zero maintenance)
- Candle or reed diffuser
- Decorative jar with cotton balls or bath salts
- Woven basket with hair tools or extra supplies
Top Shelf (Decorative)
This is your display shelf - things you look at, not reach for daily:
- Small framed art or a leaning mirror
- Decorative bottle or ceramic vase
- Stack of folded luxury towels (rolled looks better than folded)
- Small sculpture or travel souvenir
Styling Tips for a Cohesive Look
The secret to good-looking bathroom shelves is uniform containers. Transfer products into matching bottles and jars. The shelf goes from "messy collection of random bottles" to "curated" instantly. Amber glass bottles ($8 – 15 for a set of 5) are the most popular choice.
- Stick to 2 – 3 colors max
- Mix textures: wood + ceramic + woven basket
- Use trays or baskets to corral small items
- Leave 30% negative space - don't overfill

Don't miss
These pieces qualify for 10% off orders over $2,000. Applied automatically at checkout.
Installation: What Most Articles Don't Tell You
Most installation guides give you the same generic steps: find studs, drill holes, mount brackets, done. That's all true - but it skips the details that actually matter in a bathroom.
The Moisture Trap Nobody Talks About
Here's something we learned the hard way: moisture gets trapped between the shelf's back edge and the wall. Over time, this creates a perfect breeding ground for mold - hidden behind your shelf where you can't see it.
The fix: Apply a thin bead of clear silicone along the back edge of the shelf before mounting. This creates a moisture barrier that prevents water from wicking into the wall. It takes 30 seconds and saves you from a mold problem down the road.
Hardware That Won't Rust
Bathroom humidity destroys regular steel hardware. We've seen chrome-plated screws rust within 6 months - the chrome chips, moisture gets in, and the steel underneath corrodes.
Use only:
- Stainless steel screws (never regular steel, never chrome-plated)
- Stainless steel or brass brackets (not chrome-plated steel)
- Stainless steel toggle bolts if you can't hit studs
Yes, stainless costs more. But replacing rusted hardware - and possibly a damaged shelf - costs more.
Step-by-Step (The Details That Matter)
- Find studs with a stud finder. Mark the center of each stud with pencil. Above a toilet, studs are typically 16" apart.
- Measure height: Mark your bottom shelf at 24 – 28" above the toilet tank. Use a level to draw a horizontal line across both stud marks.
- Apply silicone bead along the back edge of the shelf where it will contact the wall.
- Pre-drill pilot holes through bracket holes into the marked studs. Use a bit slightly smaller than your screw diameter.
- Mount brackets with stainless steel screws. Tighten firmly but don't over-torque (you don't want to strip the stud).
- Slide shelf onto brackets. Check level again - adjust if needed.
- Wipe away excess silicone that squeezed out from the back edge.
- Load and style. Wait 24 hours before loading heavy items if you used silicone - let it cure.
Dealing with Tile Walls
If your bathroom walls are tiled and you can't reach studs through the tile:
- Use a masonry drill bit to drill through tile (go slow, don't apply pressure - let the bit do the work)
- Use stainless steel toggle bolts rated for heavy loads (not plastic anchors)
- Alternative: ceiling-mounted hanging shelves that bypass the tile problem entirely
Maintenance for Longevity
Even the best wood shelf needs care in a bathroom:
- Re-apply oil finish every 6 – 12 months (this replenishes the moisture barrier)
- Run the exhaust fan for 15 – 20 minutes after every shower (removes the humidity spike that damages everything over time)
- Wipe down the shelf if water splashes on it
The exhaust fan tip is the single best thing you can do for any bathroom furniture. We can't overstate this.

Floating Shelf vs Other Over-Toilet Storage Solutions
Floating Shelf vs Over-Toilet Cabinet
A cabinet gives you more storage and hides clutter behind doors. But it's visually heavy, takes up more space, and can make a small bathroom feel even smaller. If you have a large bathroom and need maximum storage, a cabinet works. For most small bathrooms, a floating shelf is the better choice.
Floating Shelf vs Ladder Shelf
A ladder shelf is freestanding (no drilling required) - great for renters. But it takes floor space, can wobble, and collects dust on every rung. A wall-mounted floating shelf has zero floor footprint and stays permanently stable.
Floating Shelf vs Wall-Mounted Cabinet
Similar space-saving benefits, but a cabinet has doors that hide mess. Open shelves are easier to access, lighter looking, and usually cheaper. If you're the type who keeps things tidy, open shelves are perfect. If you tend to accumulate clutter, a cabinet might be more forgiving.

Frequently Asked Questions
How high should a floating shelf be above the toilet?
The ideal floating shelf above toilet height is 24 – 28 inches above the toilet tank. This allows easy access to items while preventing head-bumping when standing up. Always test the toilet lid's full range before marking your final height.
How much weight can a floating shelf above toilet hold?
A properly mounted wood floating shelf attached to wall studs can hold 1 5– 30 lbs. This is more than enough for towels, toiletries, and decorative items. The key is mounting into studs - drywall anchors alone won't support a loaded bathroom shelf long-term.
Can I install a floating shelf above toilet on tile walls?
Yes, but you'll need a masonry drill bit to drill through the tile and stainless steel toggle bolts rated for heavy loads if you can't reach wall studs. Go slow when drilling tile - let the bit do the work without applying pressure. Alternatively, consider ceiling-mounted hanging shelves that bypass the tile problem entirely.
What's the best wood for bathroom floating shelves?
Teak, white oak, and acacia are the best choices because they're naturally moisture-resistant. Always seal with marine-grade polyurethane or a penetrating oil finish for maximum protection against humidity. Avoid MDF, particle board, and unfinished pine - they won't survive bathroom conditions.
Final Thoughts
The wall above your toilet isn't dead space - it's your bathroom's best-kept secret. A single floating shelf above toilet can transform chaos into calm, clutter into curated display, and wasted wall into your favorite storage solution.
The best bathroom storage doesn't announce itself. It just quietly solves your problems while looking beautiful doing it. And when you get the height right, choose the right wood, and install it properly - that shelf will still be there, still holding your essentials, still looking great, years from now.
That's not just storage. That's bathroom organization done right.