Kitchen Floating Shelves Placement Guide: Windows, Zones & Workflow
Getting kitchen floating shelves placement right is a mix of math, workflow, and eyeballing it in the room. Place them too low and you can't use your counter. Too high and you need a step stool to grab a mug. In front of the wrong wall and they look decorative but add zero function to your cooking routine.
This guide walks through the exact measurements for height and spacing, how to position shelves around kitchen windows, where they belong based on your kitchen's work zones, and the most common placement mistakes to avoid. Let's drill it right the first time.

Handcrafted Solid Wood Kitchen Shelves
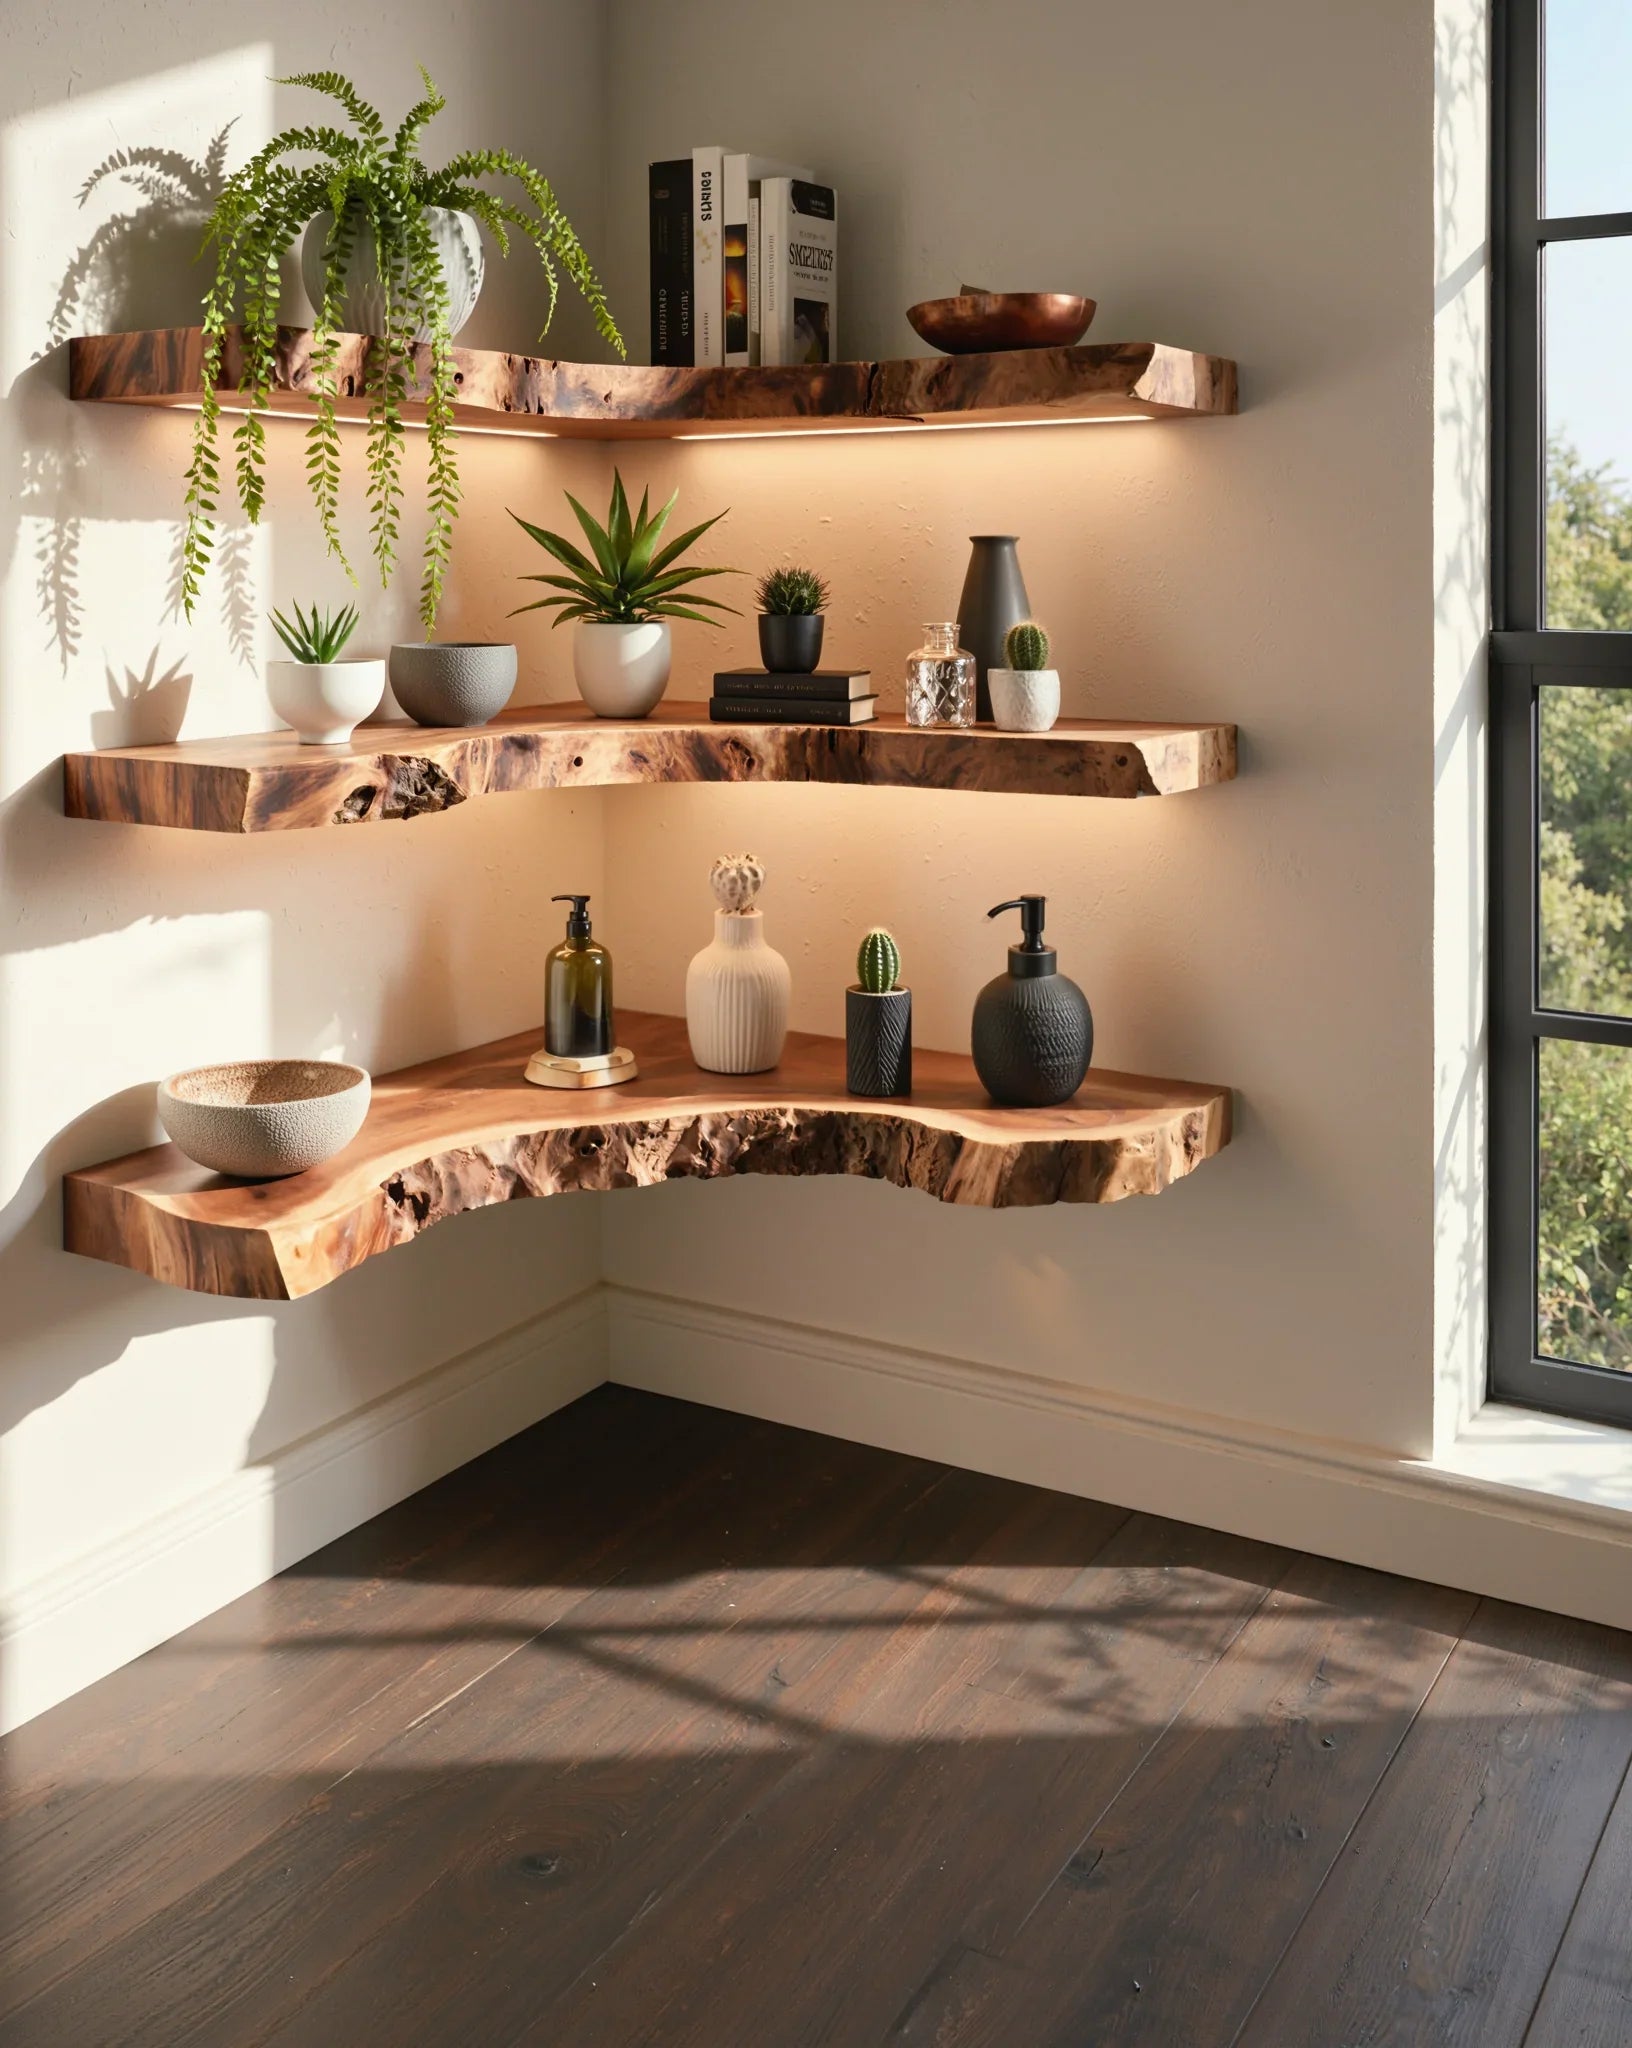
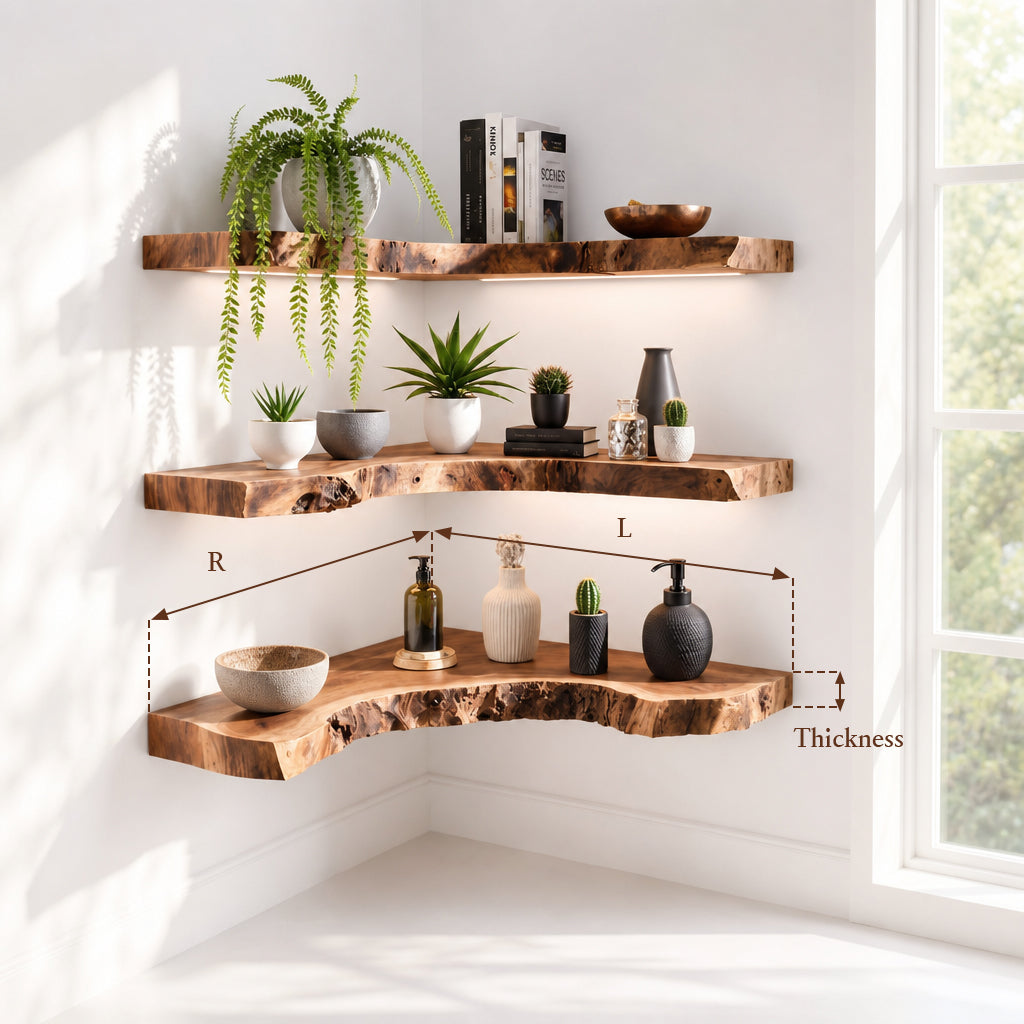
Every measurement in this guide assumes a shelf that can actually hold real weight - not MDF that sags under a stack of plates. Ashdeco's kitchen floating shelves are handcrafted solid wood, sized from 10" to 62" wide, with concealed mounting hardware built in.
Shop Kitchen Floating ShelvesThe Golden Rule: 18 Inches Above Counter
The universal starting point for any floating shelf in a kitchen is 18 inches from the countertop surface to the bottom of the lowest shelf. This number shows up consistently across designers, manufacturers, and kitchen remodelers - and for good reason:
- Below 16 inches: You lose usable counter space. Your stand mixer, toaster, or cutting board won't fit underneath.
- 18–20 inches: The sweet spot. Enough clearance for small appliances, easy reach for most adults, and visually balanced with standard 18-inch backsplash height.
- Above 24 inches: Short users can't reach the bottom shelf without stretching. The gap between counter and shelf starts to feel awkward and empty.
If your ceiling height is standard (8 feet / 96 inches), mounting the bottom shelf at 18 inches above a 36-inch counter puts it at 54 inches from the floor - a height most adults can reach and view comfortably without stretching or stooping.
For rooms with 9-foot or vaulted ceilings, you can bump the bottom shelf to 20–24 inches above counter without losing visual proportion. The extra vertical space demands it - otherwise the shelves look stranded at the bottom of a tall wall.

Kitchen Floating Shelf Spacing - How Far Apart?
Once the bottom shelf is positioned, the vertical gap between shelves depends on what you plan to store:
| What You're Storing | Spacing Between Shelves | Notes |
|---|---|---|
| Everyday dishes & bowls | 12–14 inches | Fits stacked plates and standard bowls |
| Tall glasses & mugs | 10–12 inches | Average mug is 4"; glasses 6-8" plus hand clearance |
| Large platters & serving trays | 14–15 inches | Allow room to slide items in and out |
| Decorative / mixed use | 12–15 inches (varied) | Vary spacing per shelf for visual interest |
| Cookbooks | 10–11 inches | Standard cookbook height is 8-10" |
For a standard two-shelf setup above the counter, the most common layout is 18 inches from counter to bottom shelf, then 12–14 inches between the two shelves. This gives you room for everyday items on the bottom shelf and lighter or decorative items on top.
With three shelves, try 18 inches from counter, then 12 inches between each shelf. That fits a 96-inch ceiling wall comfortably with room to spare at the top.

Kitchen Floating Shelf Placement Around Windows
Kitchen windows are the trickiest placement challenge. They're often right where you'd want shelves - above the sink or between upper cabinets - and the solutions depend on your window size, sill height, and how much light you want to preserve.
Kitchen Floating Shelves In Front of a Window
Yes, you can mount floating shelves directly in front of a kitchen window - and it's a surprisingly functional choice:
- Light still passes through the gaps between shelves and around displayed items. Thin shelf profiles (1.5–2 inches thick) minimize light blockage.
- Perfect for herbs and small plants that need sunlight. A windowsill shelf with a potted herb garden is both beautiful and practical.
- Use narrow-depth shelves (6–8 inches deep) to keep the window feel open. Deep shelves that extend far into the window frame will feel heavy and block too much view.
Mounting tip: Align the shelf bracket height with the bottom of the window frame, or mount brackets on the window frame itself (if it's sturdy enough). Leave at least 2–3 inches between the shelf back and the glass for cleaning access.
Kitchen Floating Shelves Flanking a Window
When the window sits in the center of a wall, the most common solution is to install matching shelves on either side. This is the safest, most visually balanced approach:
- Install 2–3 shelves on each side of the window, keeping the bottom shelf at the standard 18 inches above counter.
- Match shelf depth to the width of the wall space on each side - typically 18–30 inches wide per section.
- Keep the top shelf height aligned with the top of the window frame for a clean horizontal line across the entire wall.
This layout is especially effective when the window is centered over the sink - the flanking shelves become natural extensions of your prep zone without blocking your view or natural light.
Kitchen Floating Shelves Above a Window
If there's wall space between the top of your window and the ceiling, a single floating shelf above the window can work beautifully:
- Mount it 2–4 inches above the window frame for a tight, built-in look.
- Use it for decorative items only - cookbooks, small plants, or ceramics. This shelf will be harder to reach than counter-level shelves.
- Match the shelf width to the window width (or go slightly wider) for a framing effect.

Shelf Placement by Kitchen Work Zone
Modern kitchen design has moved beyond the classic work triangle toward a work zone approach - grouping items by the task area where they're used. Your floating shelf placement should support this workflow:
Prep Zone (Near the Sink)
The prep zone is where you wash, chop, measure, and mix. Shelves here should hold:
- Cutting boards (lean them vertically against the wall or lay flat)
- Mixing bowls
- Measuring cups and spoons in a small jar or basket
- Everyday plates and bowls
Placement: Above or beside the counter area between the sink and the nearest open workspace. Bottom shelf at 18 inches above counter. Shelf depth of 10–12 inches accommodates most prep items.

Cooking Zone (Near the Stove)
The cooking zone needs ingredients and tools within arm's reach of the stove. Shelves here should hold:
- Spice jars (smaller jars on a 6–8 inch deep shelf)
- Cooking oils, vinegar, soy sauce
- Frequently used pots, pans, or a wooden spoon crock
Placement: Beside or above the stove area - but not directly over the cooktop where steam, grease, and heat will damage wood shelves and soil everything on them. If the only available wall is above the range hood, place the shelf at least 24 inches above the cooktop surface and use a heat-resistant material like metal or sealed hardwood. For dedicated spice storage, a tiered spice rack shelf keeps jars visible and within reach without eating into counter space.

Cleaning Zone (Near Dishwasher / Trash)
This zone is often overlooked for shelving, but it's practical:
- Dish towels and cleaning cloths
- Dish soap refills
- Drying rack or tray
Placement: A single shelf above or beside the dishwasher area, at standard 18-inch height. Keep items here minimal - this zone is about function, not display.
Coffee / Beverage Station
One of the most popular uses for floating shelves in modern kitchens:
- Bottom shelf: Coffee maker or kettle, mugs
- Middle shelf: Coffee beans, tea boxes, sugar, creamer
- Top shelf: Decorative canisters or a small plant
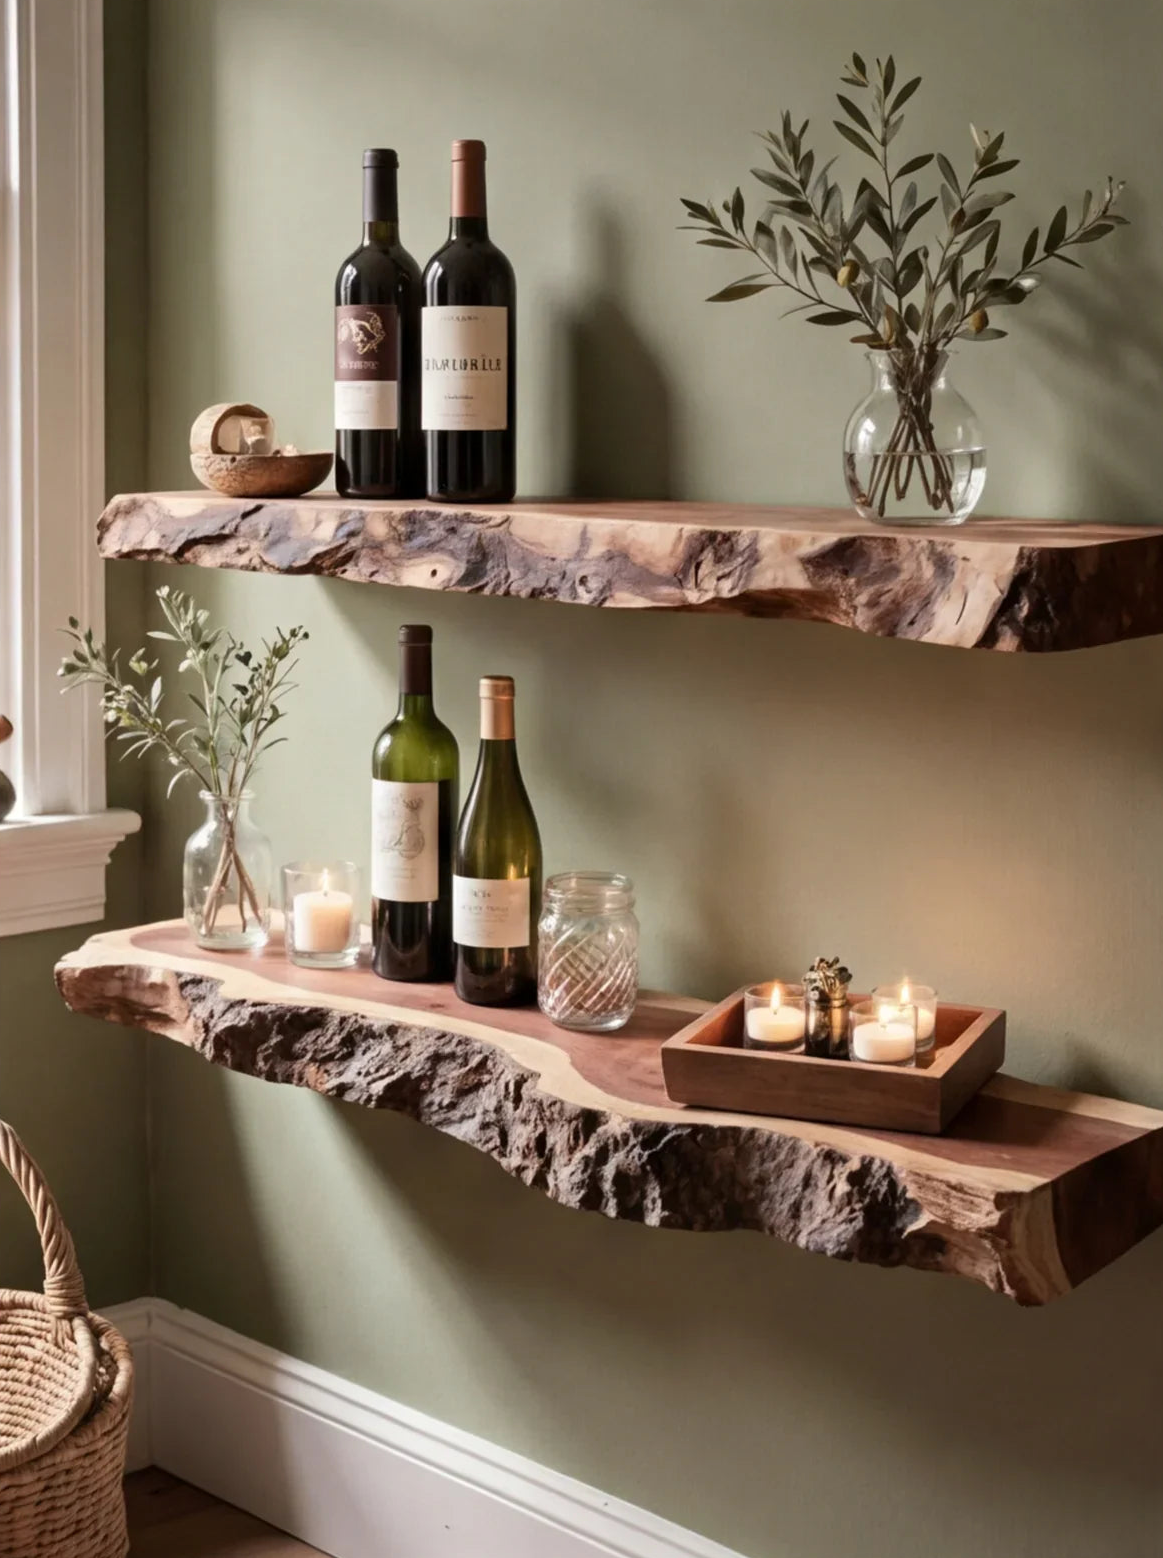
Placement: Any counter area with an accessible outlet. A dedicated beverage station on a side counter or kitchen island keeps morning traffic from crossing the main prep zone. A bar-style floating shelf works especially well here if you're also displaying glassware or bottles alongside the coffee setup.
Layout Scenarios - 2, 3 & 4 Shelf Setups
| Number of Shelves | Bottom Shelf Height | Spacing Between | Best For |
|---|---|---|---|
| 2 shelves | 18" above counter | 12–14" apart | Small kitchens, minimalists, targeted zones |
| 3 shelves | 18" above counter | 12" apart each | Standard setup - most common, most versatile |
| 4 shelves | 18" above counter | 10–12" apart | Tall ceilings, maximalists, full upper-cabinet replacement |
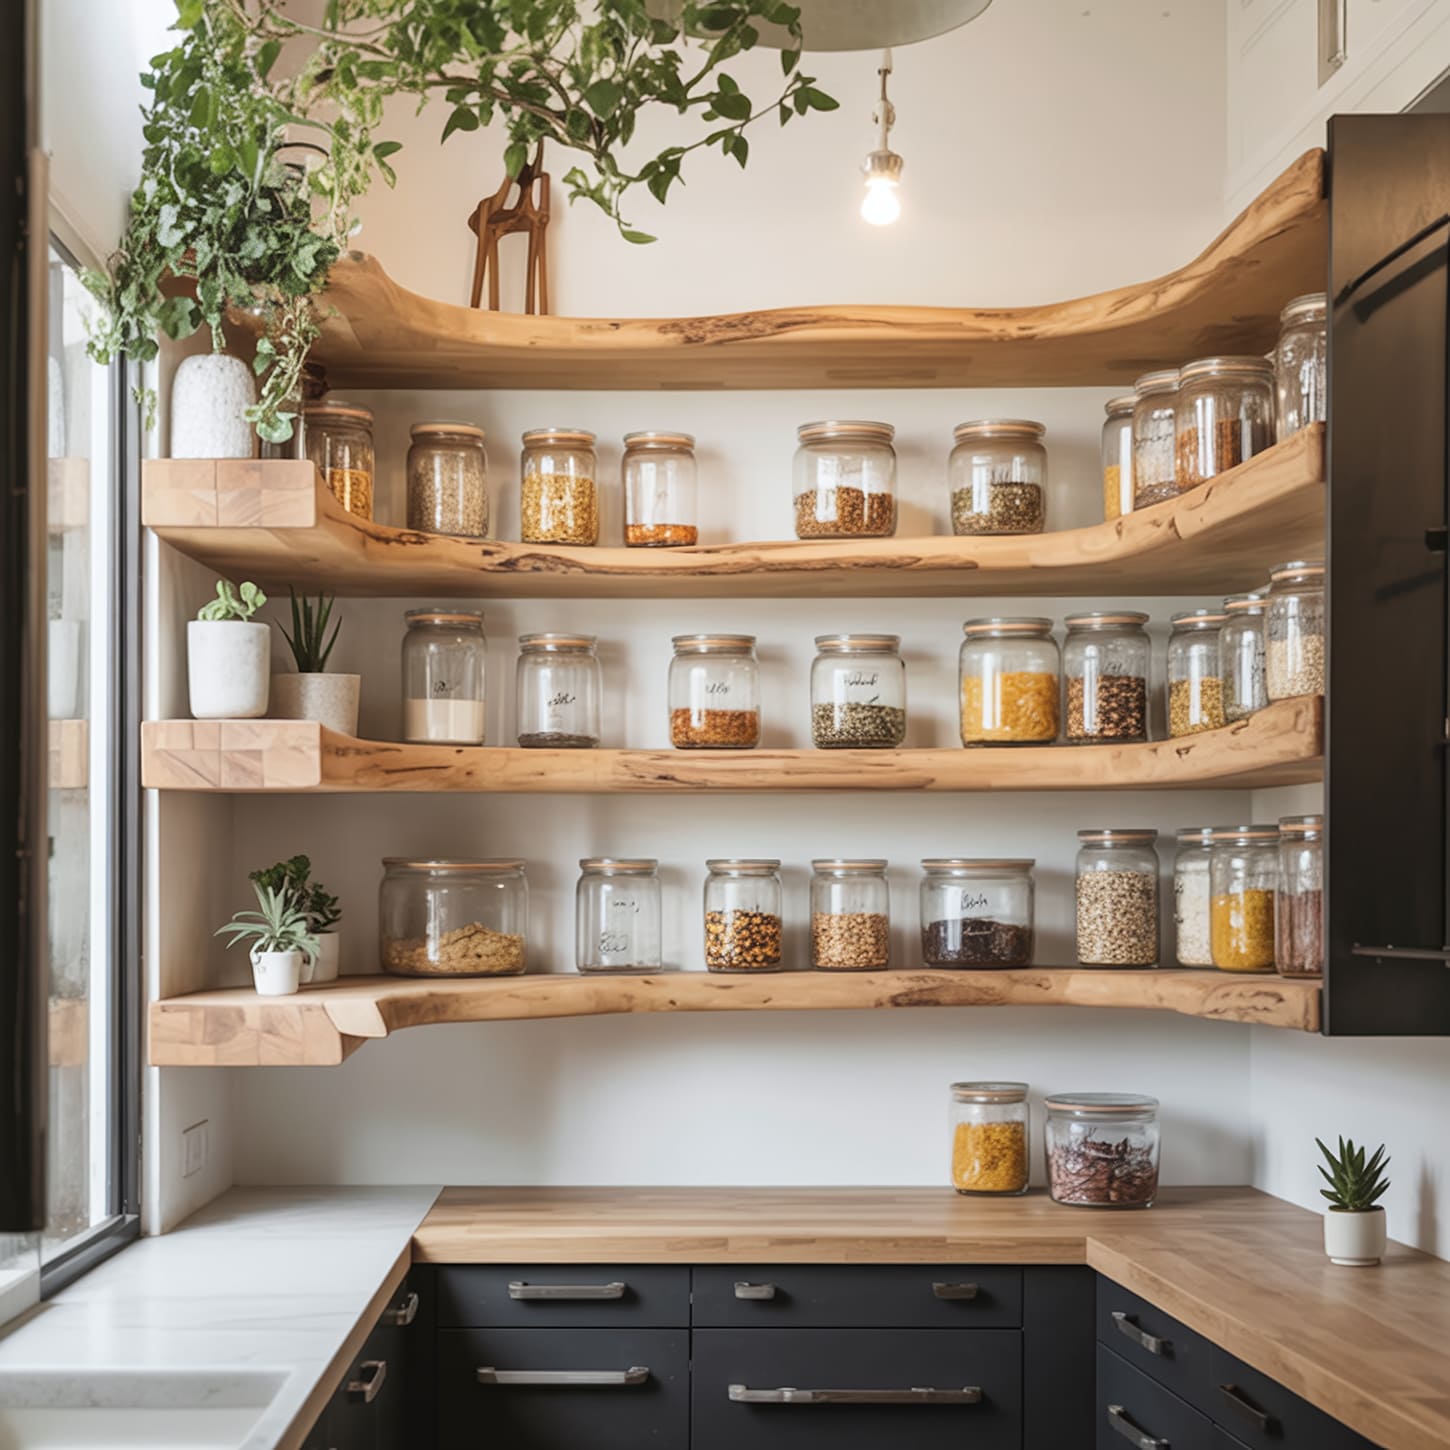
When replacing upper cabinets entirely with floating shelves, plan for 4 shelves spaced 10–12 inches apart, starting 18 inches above the counter, and leave a few inches of breathing room below the ceiling rather than running the top shelf flush to it. This gives you roughly the same vertical storage as a standard upper cabinet, but with an open, airy feel. The trade-off: everything is visible, so organization matters more.
For a staggered, asymmetrical look (more decorative than functional), try 3 shelves with 10 inches vertical offset and 4–6 inches horizontal offset between each. This works well on blank walls that aren't primary work zones - think beside the fridge or on a kitchen entry wall. Mushroom floating shelves or a mix of rustic and modern styles both work well for this kind of accent placement.
5 Placement Mistakes That Ruin Kitchen Shelves
Mistake 1: Mounting Too Low - Under 16 Inches Above Counter
The #1 complaint we see. People mount shelves at 12–14 inches above counter, then realize their stand mixer doesn't fit underneath. The counter space below the shelf becomes dead space. Minimum: 18 inches. Measure your tallest appliance first, add 2–3 inches, and that's your shelf height.
Mistake 2: Placing Shelves Directly Over the Cooktop
Heat, steam, and grease rising from the stove will damage wood shelves and coat everything displayed on them. If you must place shelving near the range, keep it to the sides - never directly above the burners unless you're using a metal shelf or sealed hardwood mounted at least 24 inches above the cooktop.
Mistake 3: Ignoring Wall Studs
Kitchen shelves hold heavy items - cast iron pans, stacks of plates, glass jars of flour. Mounting into drywall alone is a guaranteed shelf collapse. Always anchor into wall studs (typically 16 inches on center) or use heavy-duty toggle bolts rated for the weight. A 24-inch solid wood shelf loaded with dishes can easily approach 40–50 pounds, which is exactly why stud mounting matters - it's the difference between a shelf rated for 30-60 lbs and one that's quietly overloaded. See our floating shelf weight limit guide for how to calculate what your wall and shelf can actually support.
Mistake 4: Shelf Depth Too Deep for the Space
A 12-inch-deep shelf above a 24-inch-deep counter leaves you reaching awkwardly. For kitchen use, 10–12 inches of shelf depth is usually ideal - enough for plates and bowls, not so deep that items get pushed to the back and forgotten. If you're installing shelves in front of a window, go even shallower: 6–8 inches.
Mistake 5: Not Accounting for the Faucet
If shelves flank a window above the sink, make sure the shelf doesn't block the faucet swing radius. Measure the faucet's full arc before deciding shelf depth and lateral position. Nothing's more annoying than reaching for a plate and whacking your hand on the faucet handle.
FAQ
How high should kitchen floating shelves be above the counter?
The standard height is 18 inches from the countertop to the bottom of the lowest shelf. For 9-foot or vaulted ceilings, you can go up to 24 inches. Always measure your tallest small appliance first and add 2–3 inches of clearance.
How far apart should kitchen floating shelves be?
For everyday dishes and bowls, space shelves 12–14 inches apart. For tall glasses and mugs, 10–12 inches works. If you're storing large platters, bump it to 14–15 inches.
Can you put floating shelves in front of a kitchen window?
Yes. Use narrow-depth shelves (6–8 inches) to minimize light blockage, leave 2–3 inches between the shelf back and the glass for cleaning, and consider the spot ideal for herbs or small plants that benefit from natural light.
How many floating shelves should I put in my kitchen?
For most kitchens, 2–3 shelves per wall section is the sweet spot. Two shelves work for targeted zones (coffee station, spice area). Three shelves provide general-purpose storage and look balanced on most walls. If you're replacing upper cabinets entirely, plan for 4 shelves.
Should floating shelves match the kitchen cabinets?
They don't have to - but they should coordinate. Matching wood tones create a cohesive look. Contrasting tones (dark shelves on light walls, or vice versa) create a deliberate design statement. What to avoid: random mid-tone-on-mid-tone with no clear intent, which just looks accidental.
What's the maximum weight floating shelves can hold?
It depends on the bracket system and wall anchoring. A well-installed solid wood shelf mounted into studs can typically hold 30–60 pounds. Hidden bracket systems vary more widely - always check the manufacturer's weight rating and anchor into studs, not just drywall. Our weight limit guide breaks down how to calculate this for your specific wall.
Once you've got the placement figured out, the step-by-step installation guide and damage-free mounting guide cover the actual drilling and hanging. And if you're still deciding on material, our guide to best wood for kitchen floating shelves explains why solid hardwood holds up better than MDF near heat and moisture.
Browse Ashdeco's kitchen floating shelves - handcrafted solid wood, sized from 10" to 62" wide, with concealed mounting hardware built in.