Quick view
- Why DIY closet shelves are worth building
- Plan your closet shelves before you cut anything
- Best wood for closet shelves and when to use each option
- Tools and supplies for DIY closet shelves
- How to build closet shelves step by step
- How to keep closet shelves from sagging
- Common mistakes people make with closet shelves
- When ready-made shelves make more sense
- Final thoughts on building closet shelves that last
Shop this guide
Handcrafted Trending, made to order in solid wood.
 Christmas edit
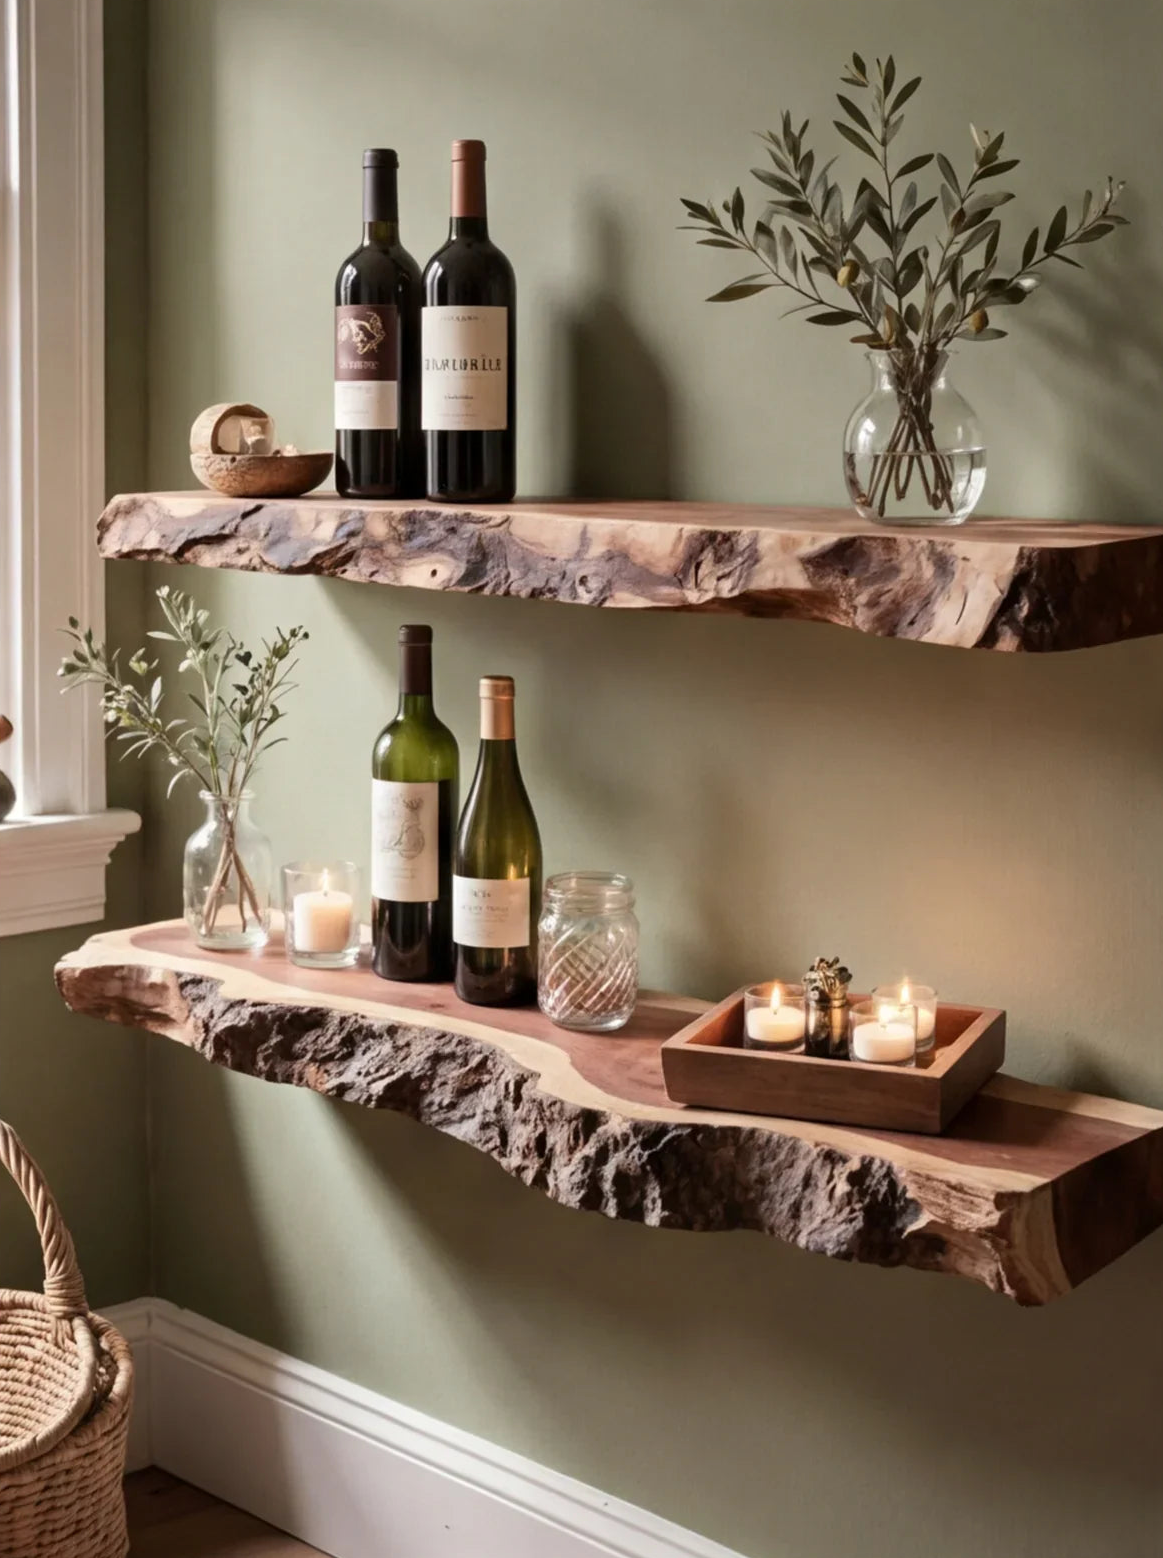
Handcrafted Live Edge Floating Bar Shelf – Rustic Solid Wood Wall Shelf for Kitchen or Bar
From $167.00
Christmas edit
Handcrafted Live Edge Floating Bar Shelf – Rustic Solid Wood Wall Shelf for Kitchen or Bar
From $167.00
 Christmas edit
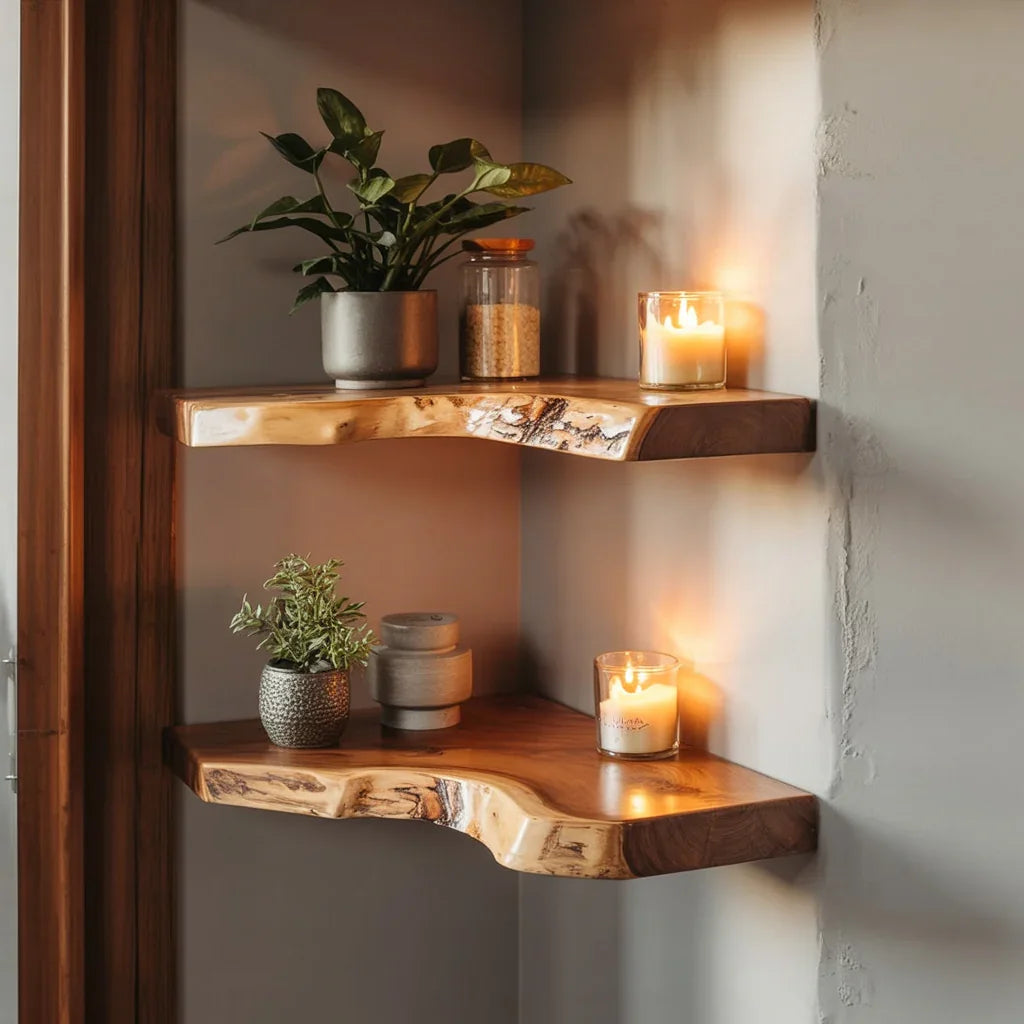
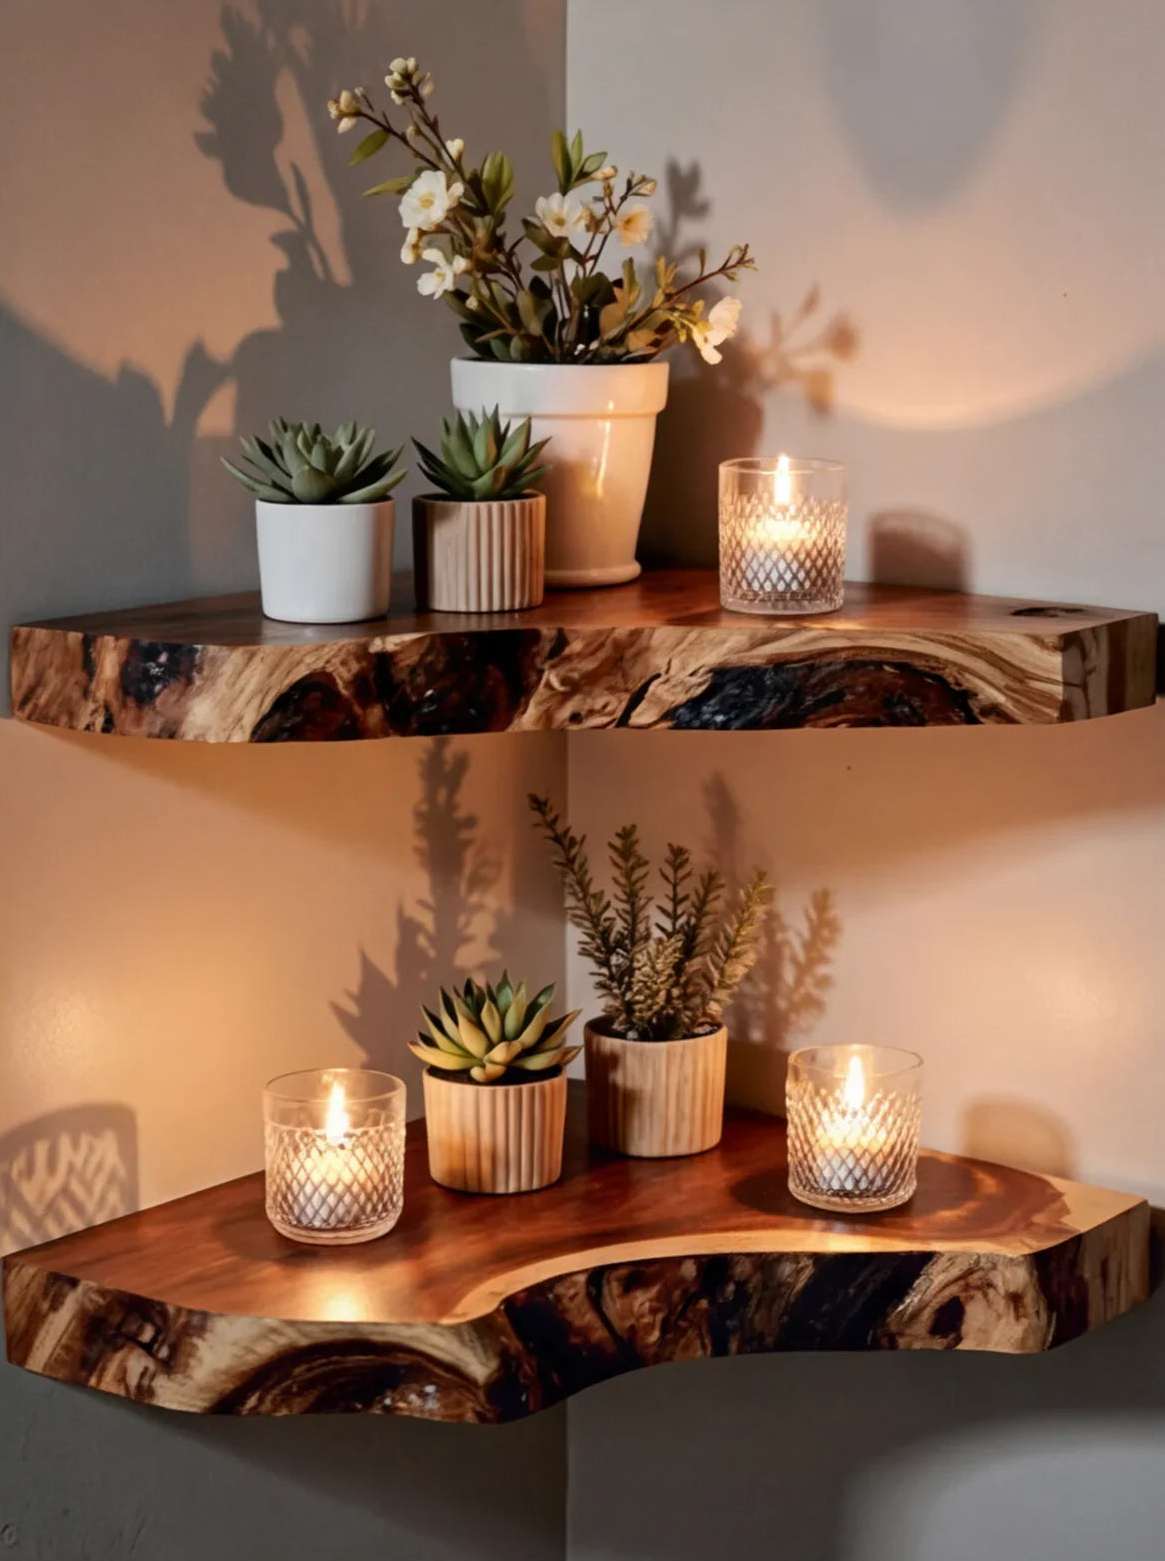
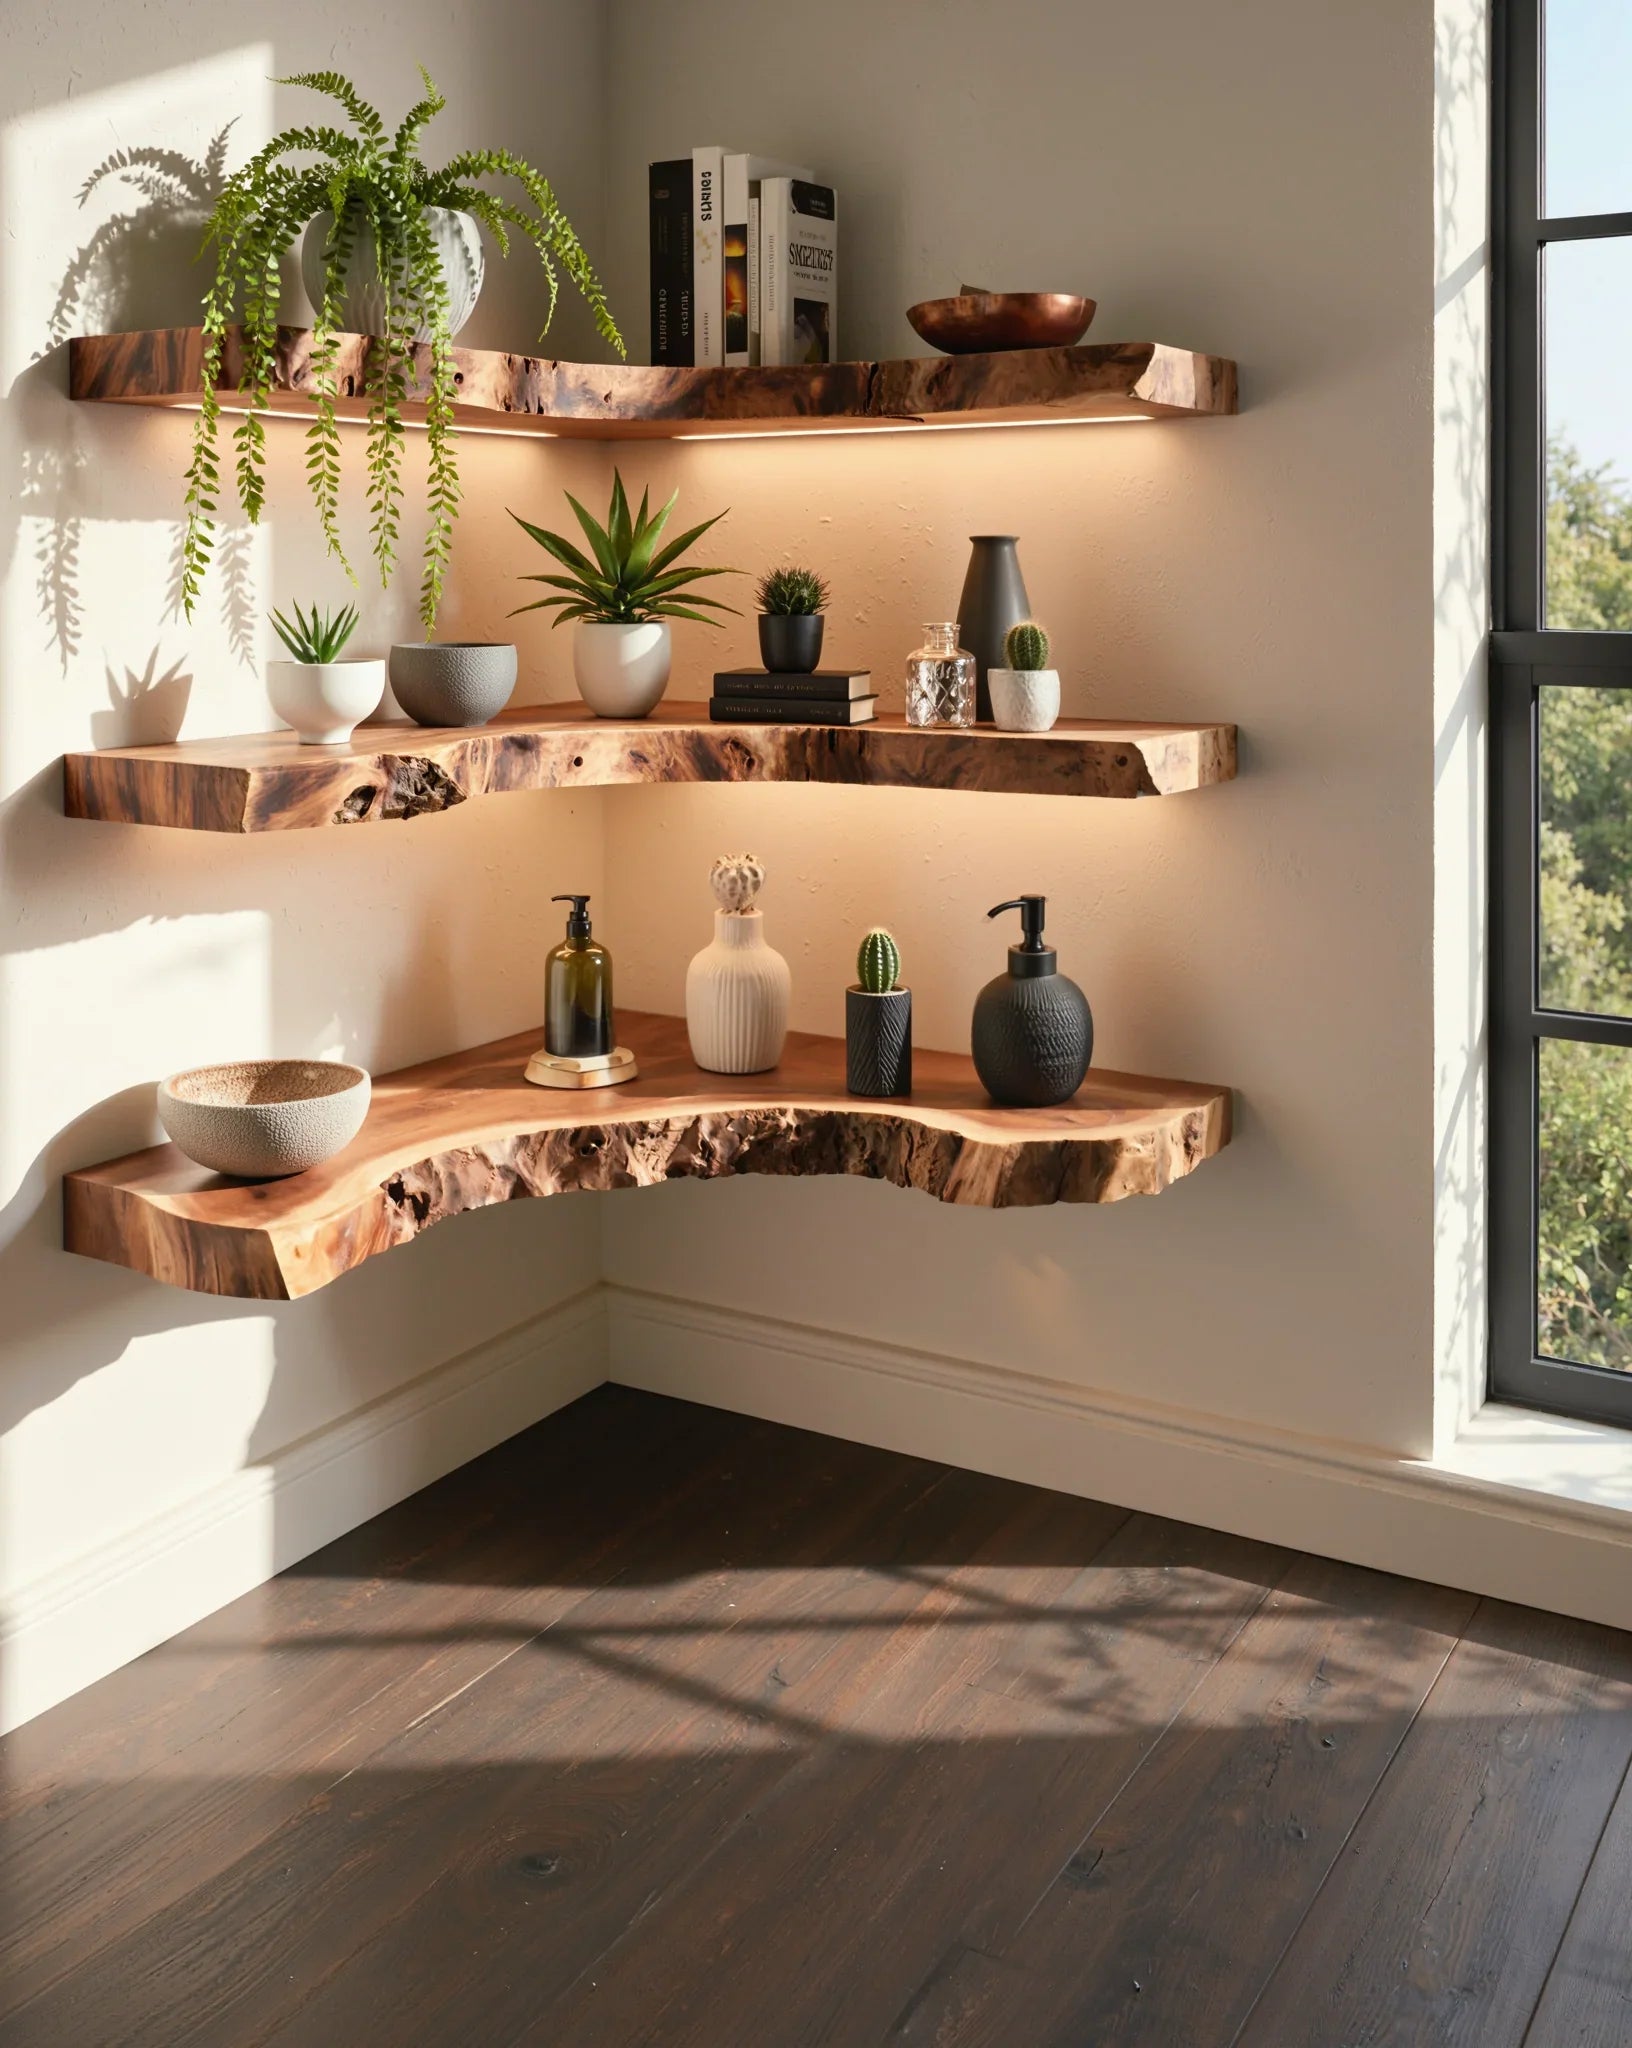
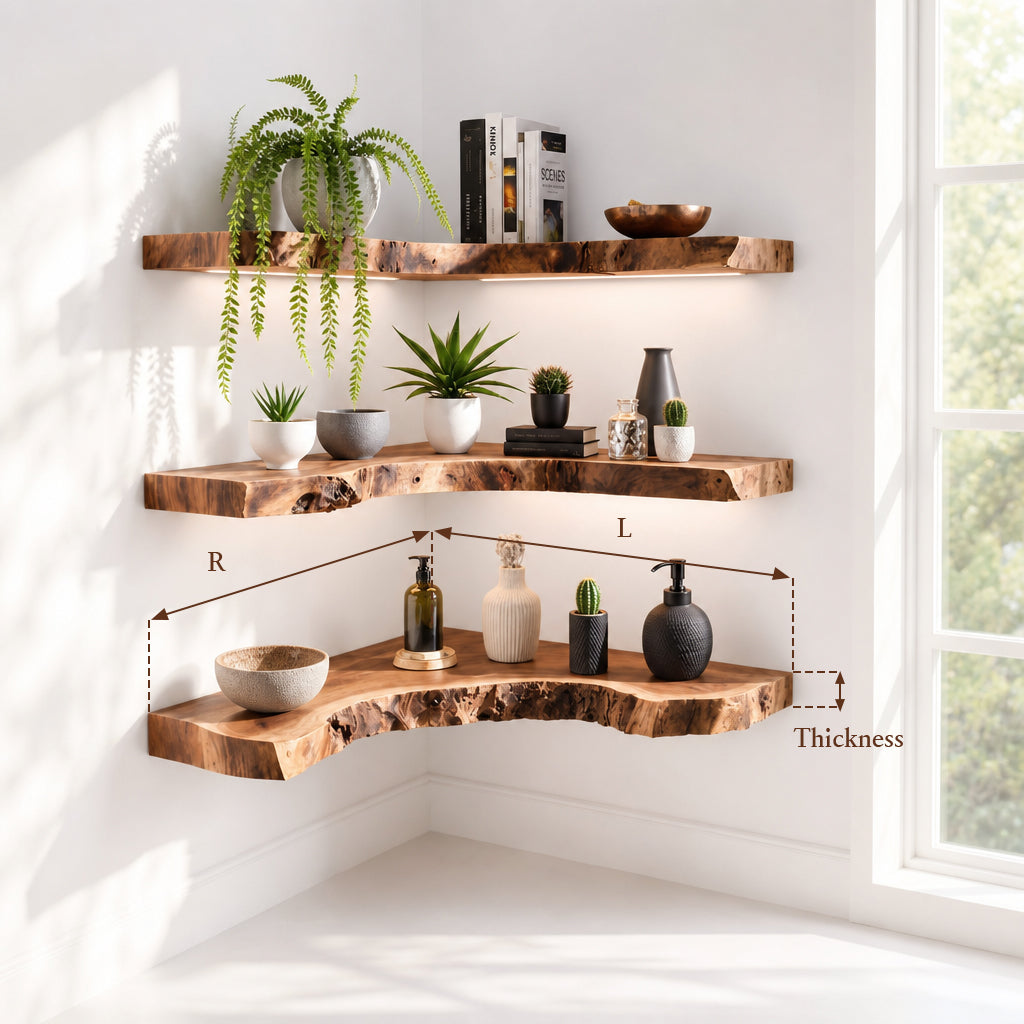
Rustic Corner Wall Shelf – Natural Live Edge Wood Floating Shelf for Candles and Plants
From $176.00
Christmas edit
Rustic Corner Wall Shelf – Natural Live Edge Wood Floating Shelf for Candles and Plants
From $176.00
 Christmas edit
Rustic Live Edge Floating Vanity – Handmade Wooden Bathroom Shelf with Brackets
From $180.00
Christmas edit
Rustic Live Edge Floating Vanity – Handmade Wooden Bathroom Shelf with Brackets
From $180.00
 Christmas edit
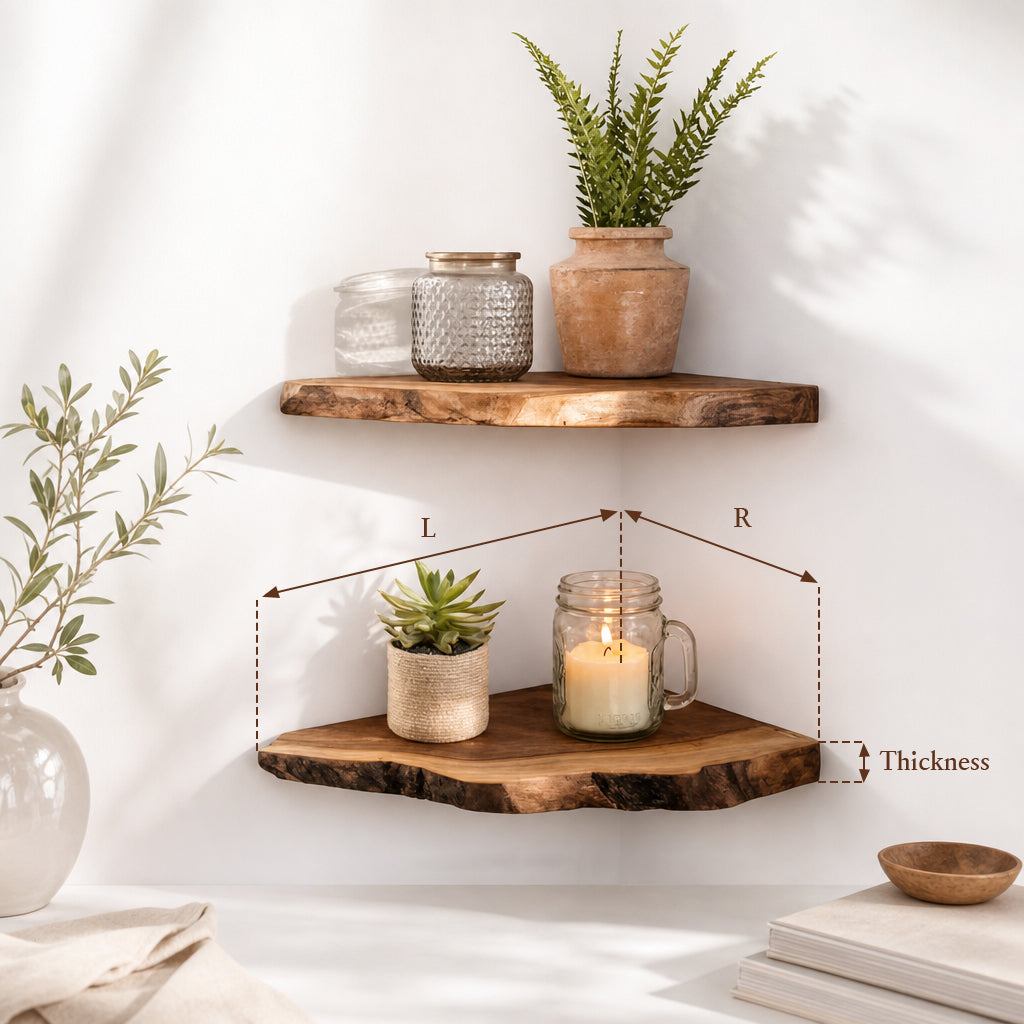
Rustic Teak Root Wood Corner Shelf - Floating Corner Shelf Decor
From $176.00
Christmas edit
Rustic Teak Root Wood Corner Shelf - Floating Corner Shelf Decor
From $176.00
 Christmas edit
Live Edge Corner Floating Shelf – Handcrafted Solid Wood Wall Shelf
From $140.00
Christmas edit
Live Edge Corner Floating Shelf – Handcrafted Solid Wood Wall Shelf
From $140.00
 Christmas edit
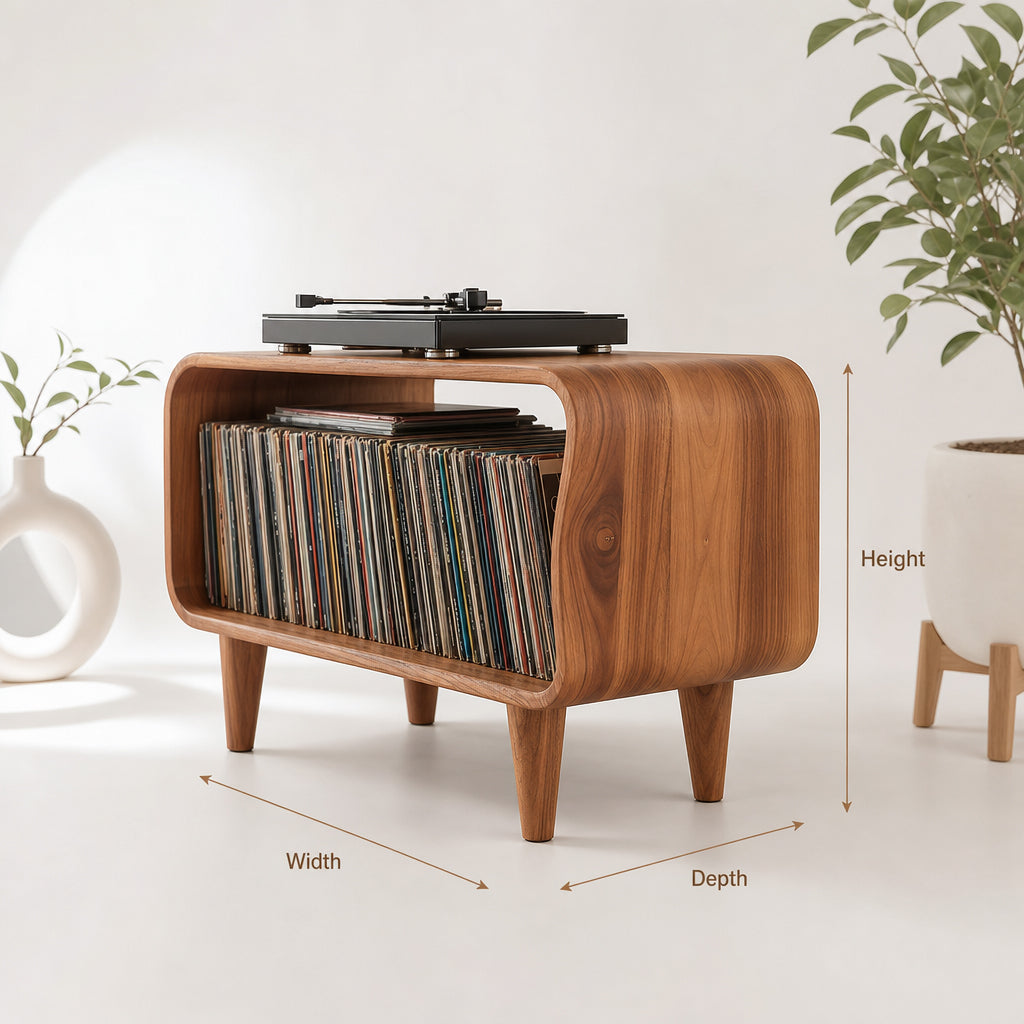
Ashdeco Solid Wood Record Player Stand – Mid-Century Modern Turntable Console
From $1,023.00
Christmas edit
Ashdeco Solid Wood Record Player Stand – Mid-Century Modern Turntable Console
From $1,023.00
If your closet feels cramped or saggy, custom closet shelves can fix a lot of that fast. A well-planned setup gives you cleaner storage, better use of wall space, extra room for shoes and bags, plus a layout that fits your things instead of forcing everything into a builder-grade design.
This guide walks through how to plan, cut, install, and finish DIY shelving that actually holds up over time. We will keep the focus on practical build steps for a US home, with a quick recap on wood for closet shelves along the way. If you want a deeper material breakdown first, read Ashdeco’s guide to the best wood for closet shelves.
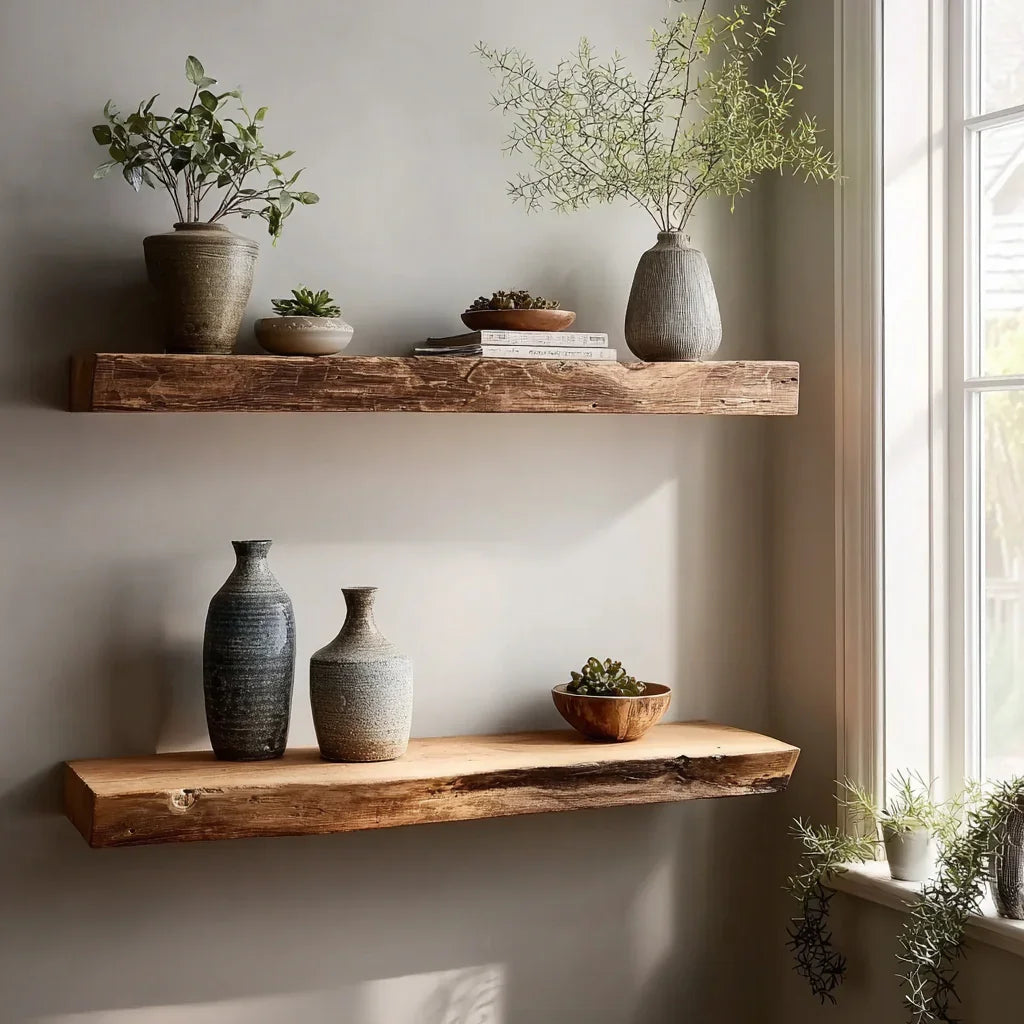
Solid Wood Live Edge Floating Shelf - Rustic Wall Decor for Bathroom & Laundry
Ashdeco does not sell closet systems. We do make handcrafted solid wood wall shelving, so if you decide you would rather skip the build, you can browse our floating shelves collection or rustic floating shelves as a ready-made option for nearby storage areas.
Why DIY closet shelves are worth building
Store-bought wire systems are easy to find, though they often waste depth and can leave clothes or folded items looking messy. Custom shelving lets you size every span to your real needs. You can make lower shelves for shoes, taller openings for boots, deeper sections for bins, plus a top shelf that spans the full width.
DIY also gives you more control over your closet shelf material. That matters because shelf sag usually comes from a weak span, thin stock, poor support, or the wrong board choice for the load. Build it well once and your closet shelving will feel solid for years.
Plan your closet shelves before you cut anything
The cleanest builds start with a simple sketch and exact measurements. Measure the full width and depth of the closet, then note the height and any trim offsets in several spots. Walls are rarely perfect, and even small variations can show up once you start fitting the boards.
Write down these measurements:
- left wall to right wall at the back, front, and any tight point near trim
- shelf depth from back wall to door opening or trim
- floor to ceiling height
- locations of studs, baseboards, doors, and existing rods
Next, decide what the shelves need to hold. Folded sweaters need a different opening than handbags or storage cubes. Heavy items call for shorter spans or thicker material. This is where many DIY builders save time later. When the layout matches what you own, the closet works better every day.
A few common sizing guidelines help:
- top shelves are often 11 to 14 inches deep
- shelves for folded clothes are often 12 to 16 inches apart vertically
- shelves meant for shoes may need less height, though boots need more
- long spans usually need a center support or thicker stock
If your closet is wide, break the run into sections. Smaller spans are stronger and easier to install.


Best wood for closet shelves and when to use each option
Choosing the right wood for closet shelves matters as much as the install. If you want the full comparison of solid wood, plywood, MDF, and other options, use Ashdeco’s detailed guide on best wood for closet shelves. For this DIY build, here is the short version.
Plywood for closet shelves
For many homeowners, plywood is the best material to build these shelves. Good plywood stays flatter than many cheap boards, comes in large sheets, takes paint well, and is easy to source. A lot of people asking about plywood for closet shelves are really asking what thickness will resist sag. In most closets, 3/4-inch plywood is the safe starting point for fixed shelves.
If the span is wide or the load is heavy, add a face frame or front edge strip. That stiffens the shelf and gives it a more finished look.
Solid wood for closet shelves
Solid wood looks warmer and can last a very long time when the span is designed well. It is a strong option if you want stained shelves with visible grain. The tradeoff is cost, movement with humidity, the need to choose straight boards carefully, and the higher price of better lumber.
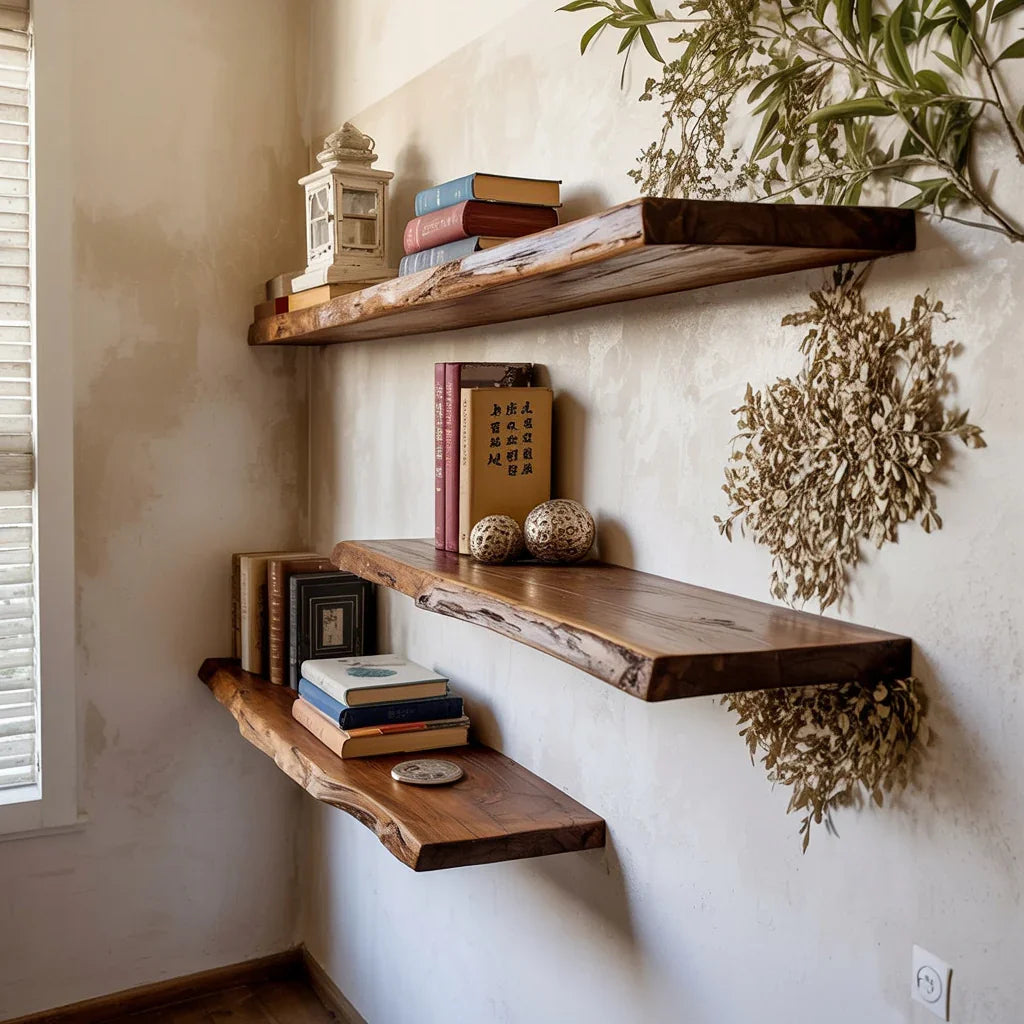
Live Edge Floating Shelf - Handcrafted Solid Wood Wall Decor
If you love real wood details and want a handcrafted look in nearby spaces, Ashdeco’s ready-made floating shelves collection shows the kind of solid wood finish that works well outside the closet too.
MDF closet shelves
People often compare mdf closet shelves with plywood because MDF is smooth, affordable, easy to paint, and widely available. The issue is weight and sag. MDF can work for short painted shelves with good support, though it is usually a weaker choice for long spans or heavy closet use. If you are deciding between mdf or plywood for closet shelves, plywood is usually the safer DIY pick.
Melamine and prefinished panels
Melamine-covered panels look clean and wipe down easily. They are common in closet systems, though the core material varies and cut edges need extra care. If you want a quick custom build with less painting, this route can work. You still need proper support under long shelves.
Tools and supplies for DIY closet shelves
You do not need a huge shop to build good shelving, though you do need accurate cuts and solid fastening.
Use a setup like this:
- tape measure, long level, stud finder, pencil, and straightedge guide
- circular saw with guide or table saw
- drill or driver, countersink bit, screws, and wall anchors
- shelf brackets, cleats, side supports, wood filler, and sandpaper
For materials, most DIY builds use 3/4-inch plywood, 1x2 or 1x3 solid wood edging, primer, paint or clear finish, and wall fasteners rated for the load.
Don't miss
These pieces qualify for 10% off orders over $2,000. Applied automatically at checkout.
 10% off
Modern Floating Wooden Vanity – Handmade Rustic Solid Wood Bathroom Cabinet
From $2,090.00
10% off at checkout
10% off
Modern Floating Wooden Vanity – Handmade Rustic Solid Wood Bathroom Cabinet
From $2,090.00
10% off at checkout
 10% off
Solid Wood Turntable Stand – Rustic Record Player Cabinet with Farmhouse Storage
From $2,036.00
10% off at checkout
10% off
Solid Wood Turntable Stand – Rustic Record Player Cabinet with Farmhouse Storage
From $2,036.00
10% off at checkout
 10% off
Tree Bookshelf – Rustic Wooden Book Tree Shelf, Wall-Mounted Natural Wood Décor
$2,099.00
10% off at checkout
10% off
Tree Bookshelf – Rustic Wooden Book Tree Shelf, Wall-Mounted Natural Wood Décor
$2,099.00
10% off at checkout
 10% off
Live Edge L-Shaped Desk – Handmade Solid Wood Corner Desk for Home Office
From $2,340.00
10% off at checkout
10% off
Live Edge L-Shaped Desk – Handmade Solid Wood Corner Desk for Home Office
From $2,340.00
10% off at checkout
How to build closet shelves step by step
Step 1: Mark the layout on the wall
Use painter’s tape or pencil lines to mark where each shelf will sit. Check that the spacing feels right for what you plan to store. This is the time to catch a shelf that is too low for folded jeans or too shallow for bins.
Mark all studs. If your closet shelving will be fixed in place, studs are your best friend.
Step 2: Install cleats or side supports
Many DIY shelf builds are easiest to build with wall cleats. A cleat is a wood strip fastened level to the back wall and side walls. The shelf sits on top of it.
For a basic fixed shelf, install support strips along the back and both sides. Use long screws into studs where possible. If you cannot hit a stud at every point, use strong wall anchors rated for the expected weight.
On wider shelves, add a front support edge or a center divider below. That keeps the shelf from dipping over time.
Step 3: Cut each shelf to fit
Cut one shelf at a time if the walls are uneven. Measure the back width and front width. If they differ, scribe the shelf or trim gradually until the fit is snug.
This matters a lot with built-in storage because small gaps are obvious in a tight space. Sand the cut edges before test fitting.
Step 4: Add a face edge for strength
A front edge strip can make average shelves feel far stronger. Glue and nail or screw a solid wood strip to the front of each shelf. This trick helps plywood hold a straight line under weight and gives the finished piece a cleaner profile.
If you are staining the project, match the edging wood to the visible parts of the shelf. If you are painting, fill and sand the fastener holes for a smooth finish.
Step 5: Secure the shelves in place
Set each shelf on the installed cleats, check for level, then fasten from above into the supports. Pre-drill near edges to reduce splitting. For adjustable systems, use shelf pins and drilled side panels instead of fixed cleats.
At this stage, test the feel of the shelves with a few weighted bins, books, or shoes. If there is bounce, add more support now before paint.
Step 6: Finish the surface
Paint is common for these shelves because it brightens dark closets and hides mixed materials well. Prime first, especially on plywood edges or MDF. Sand lightly between coats.
If you prefer a wood look, use a clear topcoat that is easy to wipe clean. Satin finishes usually look softer than full gloss and show fewer marks.
How to keep closet shelves from sagging
Sag is the biggest complaint with DIY shelf builds, and it is usually preventable. The problem comes down to span, thickness, support, and load.
Here is what helps most:
- use 3/4-inch material for most fixed shelves
- keep long spans shorter with dividers or supports
- add a solid wood front edge to stiffen plywood
- avoid overloading one wide shelf with dense items
If you are wondering what kind of wood will hold weight best, good plywood with proper support is hard to beat for value and reliability.
Common mistakes people make with closet shelves
A lot of DIY frustration comes from the same repeat issues. Watch for these before you install the final shelf.
- using material that is too thin for the span
- measuring only one wall point in an out-of-square closet
- skipping studs and trusting weak anchors for heavy loads
- painting before test fitting all the shelves
Another mistake is copying a pretty layout from social media without thinking about daily use. Good closet shelving should fit your life first. That means enough height where you hang longer clothes, enough depth for bins, enough open access to grab things fast, plus support where weight tends to collect.
When ready-made shelves make more sense
Sometimes the smarter move is to build the closet system yourself and buy finished shelving for nearby walls, entry spaces, bathrooms, or bedrooms. That is where ready-made solid wood shelves can save time and still give you the warmth of real timber.
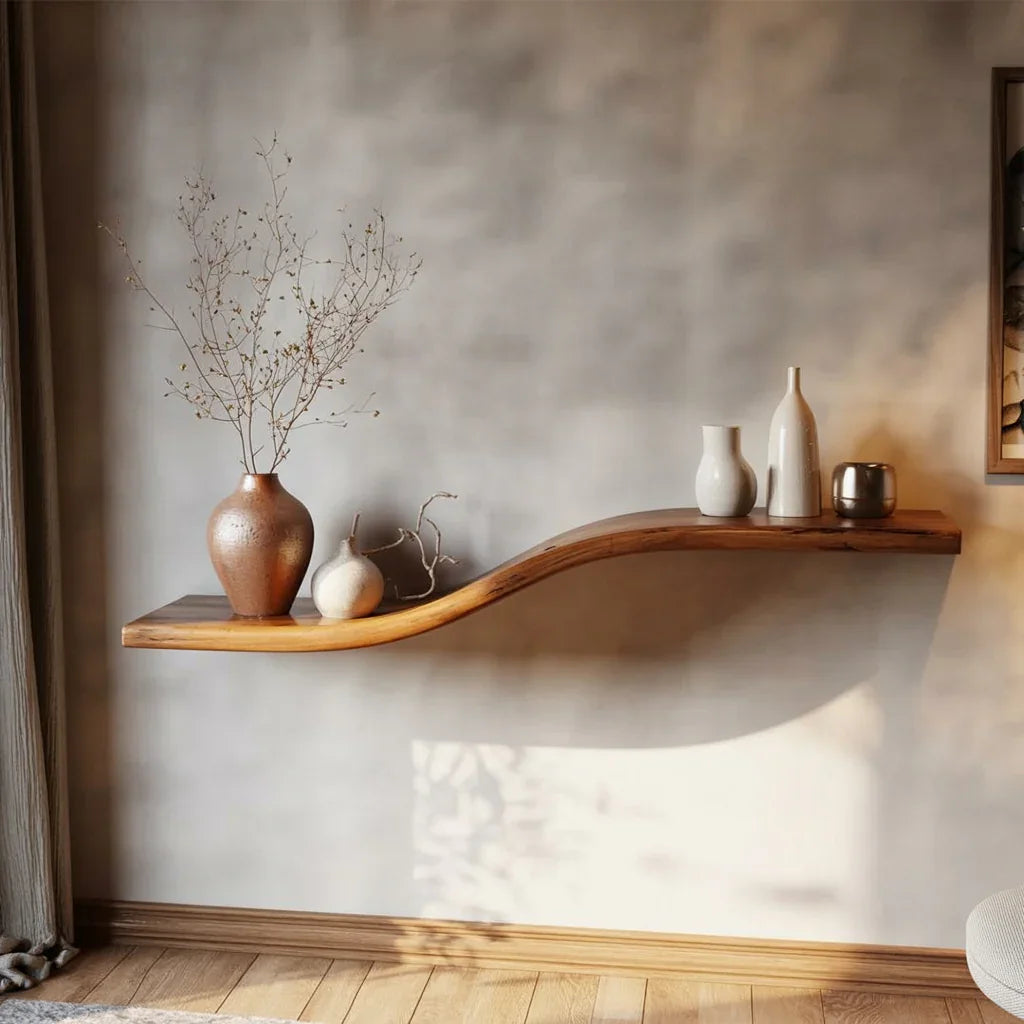
Rustic Floating Wall Shelf with Live Edge - Solid Wood for Home Decor
Ashdeco focuses on handcrafted solid wood wall shelves made by Vietnamese artisans. If you want a polished shelf for spaces outside the closet, take a look at our floating shelves collection or rustic floating shelves. Customers rate Ashdeco 4.9 stars across 387 reviews, which gives you a good sense of how these ready-made pieces perform in real homes.
This article is still about the DIY build, though it helps to know when to build from sheet goods and when to choose a finished solid wood shelf for a different part of the house.
Final thoughts on building closet shelves that last
Strong shelves come from a simple formula: a smart layout, the right closet shelf material, accurate cuts, enough support where the load sits, and a reasonable span for the material. For many homes, 3/4-inch plywood with a solid wood front edge is the best balance of cost, strength, finish quality, and availability. If you want help choosing material first, start with Ashdeco’s guide to best wood for closet shelves, then come back here for the build.
Take your time with planning and fit each shelf carefully. Do a weight test before calling it done. That extra hour now can save you from replacing sagging shelves later.
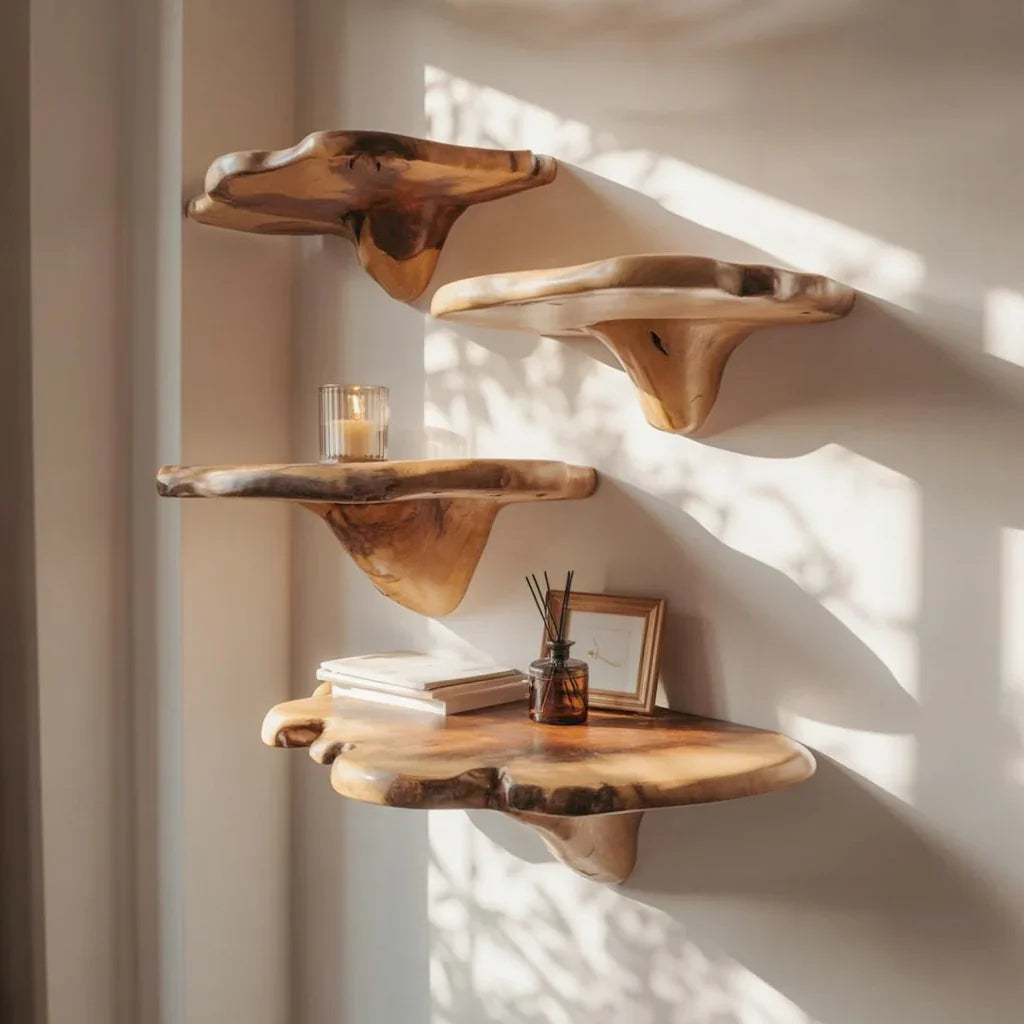
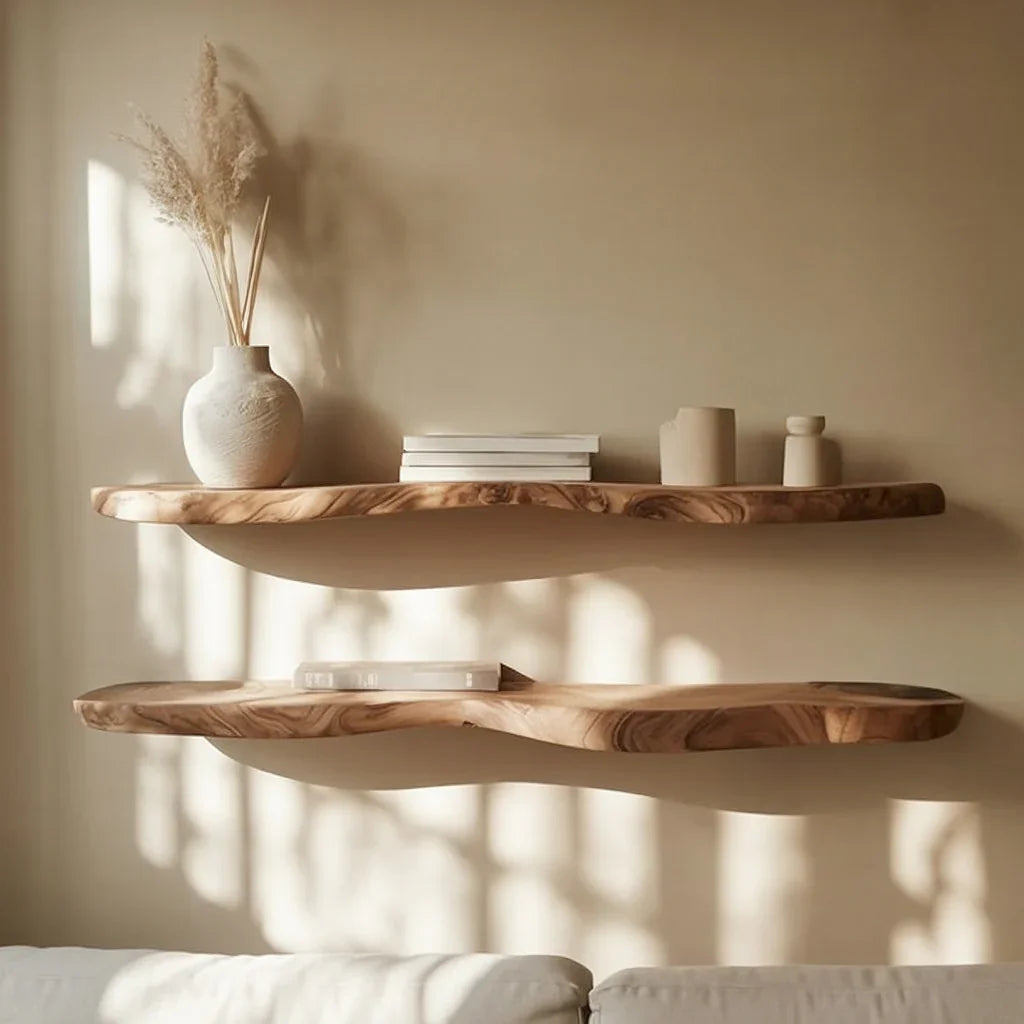
Ashdeco Mushroom Floating Shelves - Handcrafted Solid Wood Decor for Living Room & Nursery
If you want the feel of handcrafted solid wood in nearby spaces, Ashdeco’s floating shelves collection is a good place to browse for inspiration.